A captive portal is the login or welcome page shown when you join guest WiFi. To set one up: choose an authentication method (click-through, email, SMS, social, or vouchers), create a guest SSID, point your access points or controller at a portal host backed by RADIUS, brand the splash page, configure the walled garden so it loads over HTTPS, and test on a phone and a laptop. Most access points — including UniFi, Aruba Instant On, and Meraki — support this without new hardware.
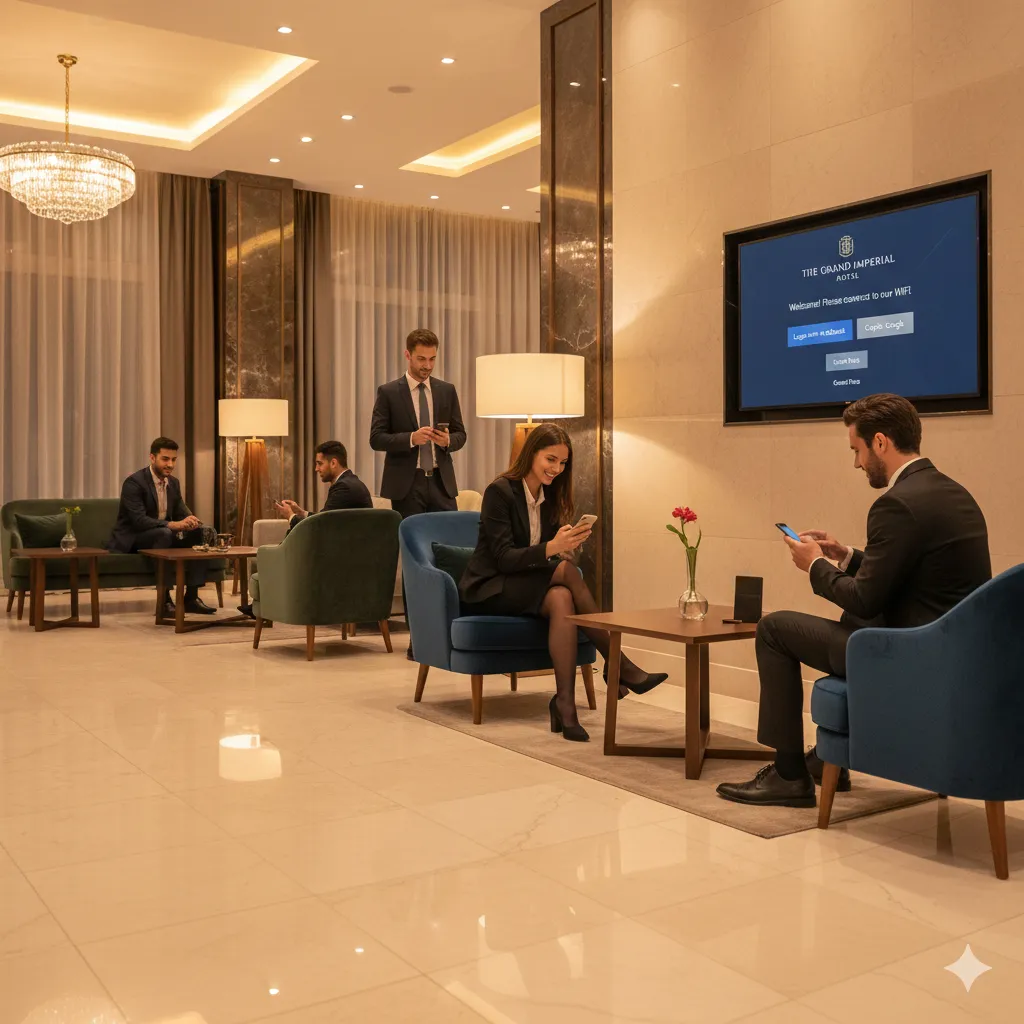
You have used one whether you knew the term or not: the screen at a hotel, café, airport, or office lobby that pops up the moment you join guest WiFi and asks you to accept terms, sign in, or enter an email before the internet starts working. Setting one up is how you turn an open, anonymous SSID into a controlled, branded, and accountable guest network.
This guide is the hands-on walkthrough: what you need before you start, how the captive portal redirect actually works (including the "captive portal app" that pops up on phones), and the step-by-step process to get one live on a typical WiFi network. It also covers the platform-specific notes for UniFi, Aruba Instant On, and Meraki, and how to fix the single most common problem — a login page that never appears.
If you are still choosing between products rather than configuring one, start with our captive portal software comparison; this article assumes you are ready to build.
What a Captive Portal Actually Does
When a device joins a network with a captive portal, it associates to the SSID and gets an IP address as usual — but the access point does not let its traffic reach the internet yet. Instead, the device is held in a "walled garden": a small set of allowed destinations (the portal itself, DNS, and the operating system's connectivity-check servers) while everything else is blocked. The first time the device tries to load a web page, the network intercepts the request and redirects it to the portal's splash page.
The visitor then does whatever the portal asks — clicks "I agree," enters an email, accepts a voucher code, or signs in. If the portal is doing real authentication, those credentials are checked against a back-end, most often a cloud RADIUS service, which tells the access point to move the device out of the walled garden and onto the internet. That redirect-then-authorize loop is the whole mechanism, whether the network is a single café router or a thousand-site hotel chain.
What You Need Before You Start
A captive portal has a few moving parts. You do not need all of them for a simple click-through page, but a production guest network usually wants the full set:
- Access points or a controller that support a captive portal: nearly all business and prosumer gear does — UniFi, Aruba Instant On, Meraki, Ruckus, Cisco, MikroTik and others. Check your model against a supported-hardware list if you are pointing it at an external portal.
- A portal host: the server that renders the splash page. A cloud-hosted portal removes the need to run your own and keeps every location consistent.
- An authentication back-end: if you are doing more than a plain "accept and continue," you need RADIUS to validate logins, vouchers, or sponsored access and to log sessions.
- A walled garden and valid HTTPS: the allow-list of pre-auth destinations, plus a trusted TLS certificate on the portal so modern browsers will display it without warnings.
How to Set Up a Captive Portal, Step by Step
The specifics differ by vendor, but the sequence is the same everywhere. Work through it in order and test before you announce it.
- Choose your authentication method. Click-through (accept terms) is simplest; email or SMS capture supports marketing; social login lowers friction; vouchers and sponsored access suit events and offices. This decision drives everything else.
- Create a guest SSID. Add a separate open or OWE network for guests, isolated from your internal VLANs, and enable the captive portal feature on it.
- Point the network at your portal. In the controller, set the external/hosted portal URL and the RADIUS server details so authentication requests flow to your back-end rather than staying local.
- Design the splash page. Add your logo, colors, terms of service, and the login fields that match the method you chose. Keep it light so it loads fast on the captive portal app's small window.
- Configure the walled garden and HTTPS redirect. Allow the portal domain, DNS, payment or social-login endpoints, and OS connectivity-check hosts. Serve the portal over a valid certificate.
- Test on a phone and a laptop. Join as a guest on iOS, Android, and a laptop; confirm the portal pops up, the login succeeds, and the device reaches the internet afterward.
The "Captive Portal App": Why a Login Window Pops Up by Itself
People often search for a "captive portal app" or "captive portal login app," expecting something to install. There is no app to download. What they are seeing is the Captive Network Assistant (CNA) — a mini-browser built into iOS, Android, macOS, and Windows. When a device joins a network, the OS quietly requests a known connectivity-check URL; if it gets a redirect instead of the expected response, it knows a captive portal is present and opens the CNA window automatically so you can log in.
That automatic pop-up is convenient, but the CNA is a stripped-down browser: it can struggle with heavy JavaScript, some social logins, and pages that try to set cookies across domains. Good portal design keeps the login flow simple enough to complete inside that window — and the same OS detection mechanism is exactly what fails when a portal is misconfigured, which is why login pages sometimes never appear at all.
Why the captive portal app matters for design
Because most guests authenticate inside the CNA mini-browser rather than a full browser, your splash page should load fast, avoid pop-ups and multi-tab flows, and finish the login in one screen. Test the experience in the CNA itself, not just in desktop Chrome.
Setting Up a Captive Portal on Popular Platforms
The redirect model is universal, but the menu paths differ. A few of the most common:
- UniFi: create a guest WLAN, enable the guest portal, and choose "External portal server" to point it at a hosted splash page and RADIUS. UniFi handles the redirect and walled garden once the portal URL is set.
- Aruba Instant On: the "aruba instant on portal" is the built-in guest network feature — enable a guest network, turn on the portal, and select external authentication to hand login off to your portal host instead of the default page.
- Meraki: set the SSID splash page to "Click-through" or "Sign-on with my RADIUS server," then add the walled-garden ranges and RADIUS details in the access-control settings.
If your guest network also carries staff or back-office devices, pair the captive portal with secure 802.1X on a separate SSID — the same RADIUS service can power both, and our Aruba RADIUS setup guide walks through that side for Aruba gear.
Don't skip the walled garden
The most common reason a freshly configured portal "works on my laptop but not for guests" is an incomplete walled garden. If the OS connectivity-check domains, your portal host, and any social-login or payment endpoints aren't allowed pre-authentication, the login page can't load — and the device assumes there is no internet.
Cloud-Hosted vs. Built-In Router Captive Portals
Most routers ship with a basic built-in portal. It is fine for a single site, but it does not scale and rarely supports real authentication or logging. A cloud-hosted portal centralizes branding, policy, and session data across every location.
| Capability | Built-in router portal | Cloud-hosted portal |
|---|---|---|
| Multi-site consistency | Configured per device | One portal, every location |
| Authentication options | Click-through, basic | Email, SMS, social, vouchers, RADIUS |
| Session logging | Minimal or none | Full per-session audit trail |
| Branding control | Limited templates | Fully custom splash pages |
| Maintenance | Manual, per router | Centrally managed, auto-updated |
When the Login Page Won't Appear (and How to Fix It)
"Captive portal not showing up" is the most common guest-WiFi complaint, and it is almost always one of a handful of causes. Work through them in order:
- HTTPS / HSTS: if the device first tries a secured site, the network can't redirect it, so the portal never triggers. Have the user open http://neverssl.com (or any plain-HTTP page) to force the connectivity check.
- Walled garden gaps: the OS detection domains (Apple, Google, Microsoft connectivity checks) must be allowed pre-auth, or the device decides there is no internet and gives up.
- Untrusted certificate: a portal served over an invalid or self-signed certificate is blocked by modern browsers — install a valid TLS certificate.
- Cached session: a device that authenticated earlier may skip the portal. "Forget" the network and rejoin to clear it.
- DNS interception conflicts: custom DNS or DNS-over-HTTPS on the device can bypass the redirect; the portal must handle or allow for it.
Keep the Guest Data You Collect Compliant
The moment your portal captures an email, a phone number, or a name, you are processing personal data. Collect only what you actually use, state why on the splash page, and store sessions where you can honor deletion requests. Our GDPR-compliant guest WiFi guide covers the consent and retention details, and it applies well beyond the EU as a sensible baseline.
Captive Portal or Passpoint?
A captive portal is the right tool when you want a branded, interactive welcome — a hotel splash page, an event sign-in, a café email capture. When you instead want guests and members to connect seamlessly and securely without seeing a page at all, Passpoint is the better fit. The two are complementary, and our comparison of Passpoint and captive portals explains when to reach for each.
The Bottom Line
Setting up a captive portal comes down to one loop: intercept the device, redirect it to a splash page, authenticate, and let it through. Get the SSID, portal host, RADIUS back-end, and walled garden right, design a login that finishes inside the captive portal app's small window, and test on real phones before you go live — and a wide-open guest SSID becomes a branded, accountable network. IronWiFi's cloud captive portal runs that whole flow on the access points you already own.
Set This Up on Your Own Network
IronWiFi runs captive portals with cloud RADIUS behind them: social login, email capture, SMS verification and vouchers, on 200+ access point vendors. Nothing to install on site.
Start Free Trial Have Questions?Trusted by 1,000+ organizations in 108 countries

Daniel Konecny
Blog Writer, IronWiFi
Daniel writes about enterprise WiFi authentication, identity threat detection, and how security teams close the gap between RADIUS, captive portals, and the rest of their identity stack.
About the author