This page explains the configuration of the Captive Portal with authentication through IronWiFi for the Ruckus Cloud Controller.
IronWiFi Console Configuration
- Create an IronWiFi account the first>>> Open an account
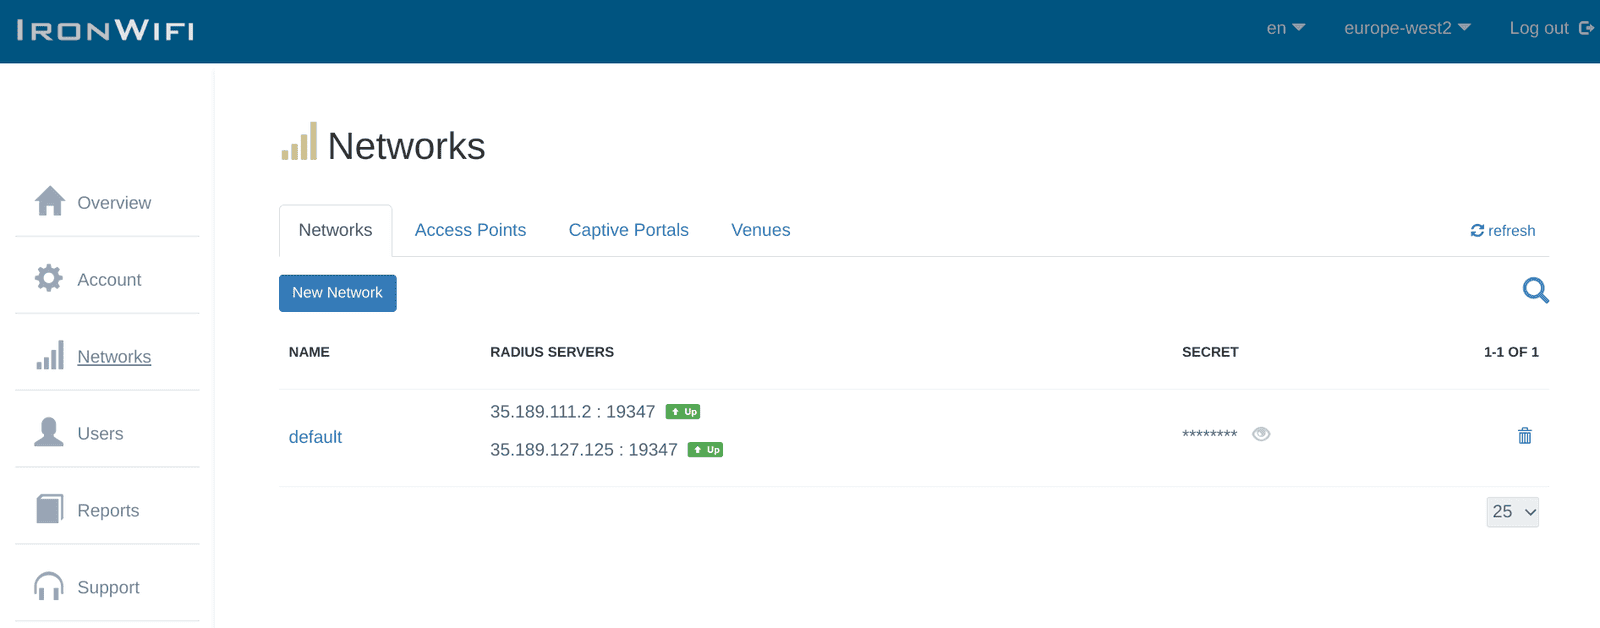
- Create a new Network
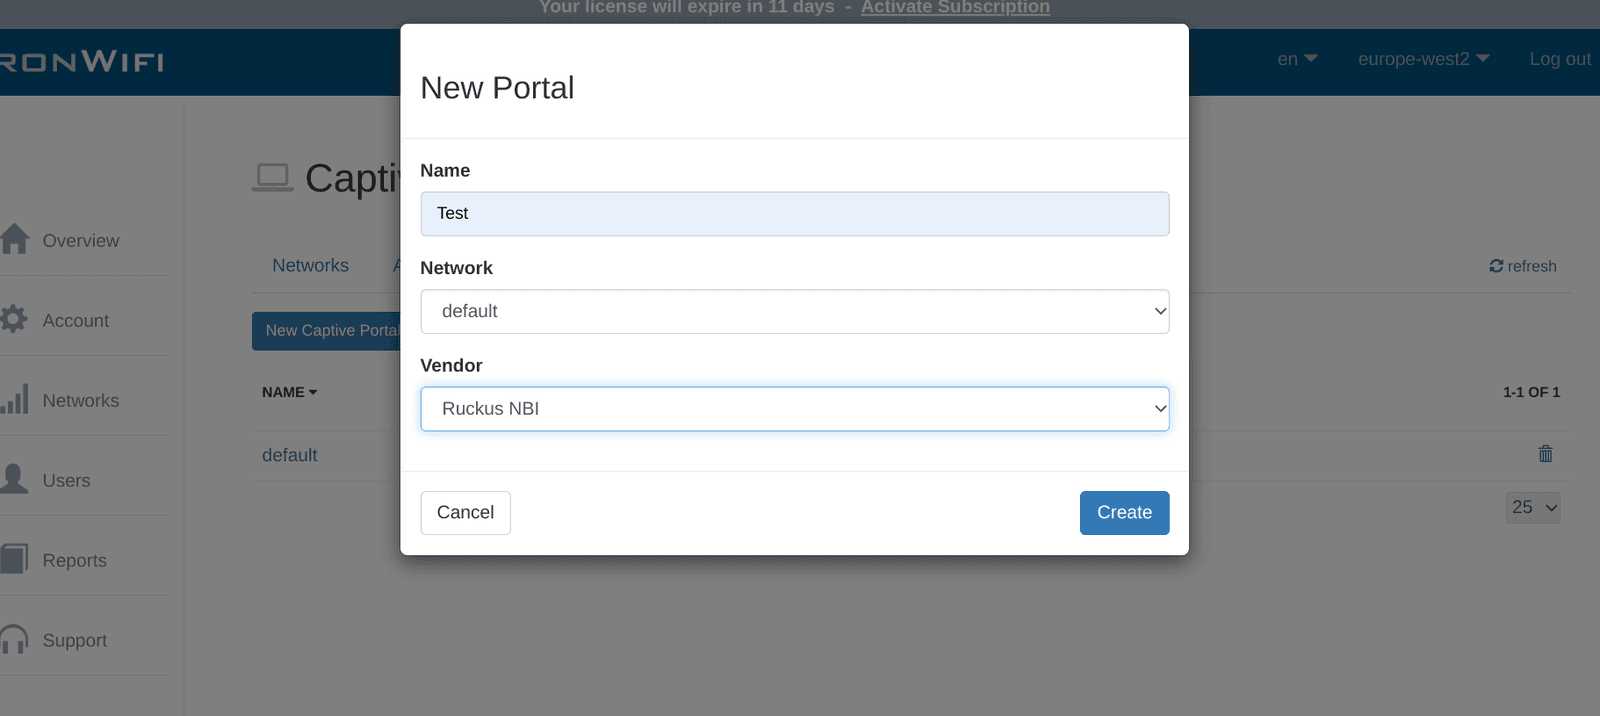
- After that, create a new Captive Portal, with vendor Ruckus NBI
Access Point Configuration
Log in to your ruckus cloud dashboard at https://cloud.ruckuswireless.com
1. Click Networks on the left menu and add a new network. Use the settings below.
- Network Name - Guest Wi-Fi (or anything else)
- Type - Captive Portal
- Captive Portal Type - 3rd Party Captive Portal (WISPr)
3. Click Next and continue the configuration with:
- Portal Provider - IronWiFi
- Captive Portal URL -
- Integration Key - copy and save this key somewhere safe, you will need it
- Walled Garden List - 107.178.250.42
You will also need to include the following domains in the walled garden list if you want to make use of social login.
| Facebook: | |||
|---|---|---|---|
| *.facebook.com | *.twitter.com | *.linkedin.com | *.instagram.com |
| *.fbcdn.net | *.twimg.com | *.licdn.net | |
| *.akamaihd.net | *.licdn.com | ||
| connect.facebook.net | *.licdn.com |
4. Click Next and select which Venue to apply the configuration to. Enable the venue by turning the Activated switch to ON.
If you are asked to select which APs to apply to, choose All APs unless you have a specific requirement.
5. Click Next to confirm settings and then Create to finish.
6. In the IronWiFi console, under captive portal settings, use the following values so that we can connect to your controller

- Controller username - api
- Controller password - integration key that you obtained in the 3rd step
-
Vendor - Ruckus NBI
! You must also install a valid SSL certificate on your controller/AP, in order to avoid authentication issues!