Zapier & IronWiFi integration
How to start using Zapier to automate tasks in the IronWiFi console.
Zapier allows you to automate tasks in our console such as user creation or voucher generation. There are thousands of applications that you can seamlessly connect with IronWiFi without the need to write a single line of code.
The integration is currently in beta as it has not been officially published, we are working on getting that done as soon as possible. Despite that, you can still start using it today by clicking on the invite link below. Once the integration is officially approved and published by Zapier, your settings will remain in place and you can continue using your zaps as usual.
Setup
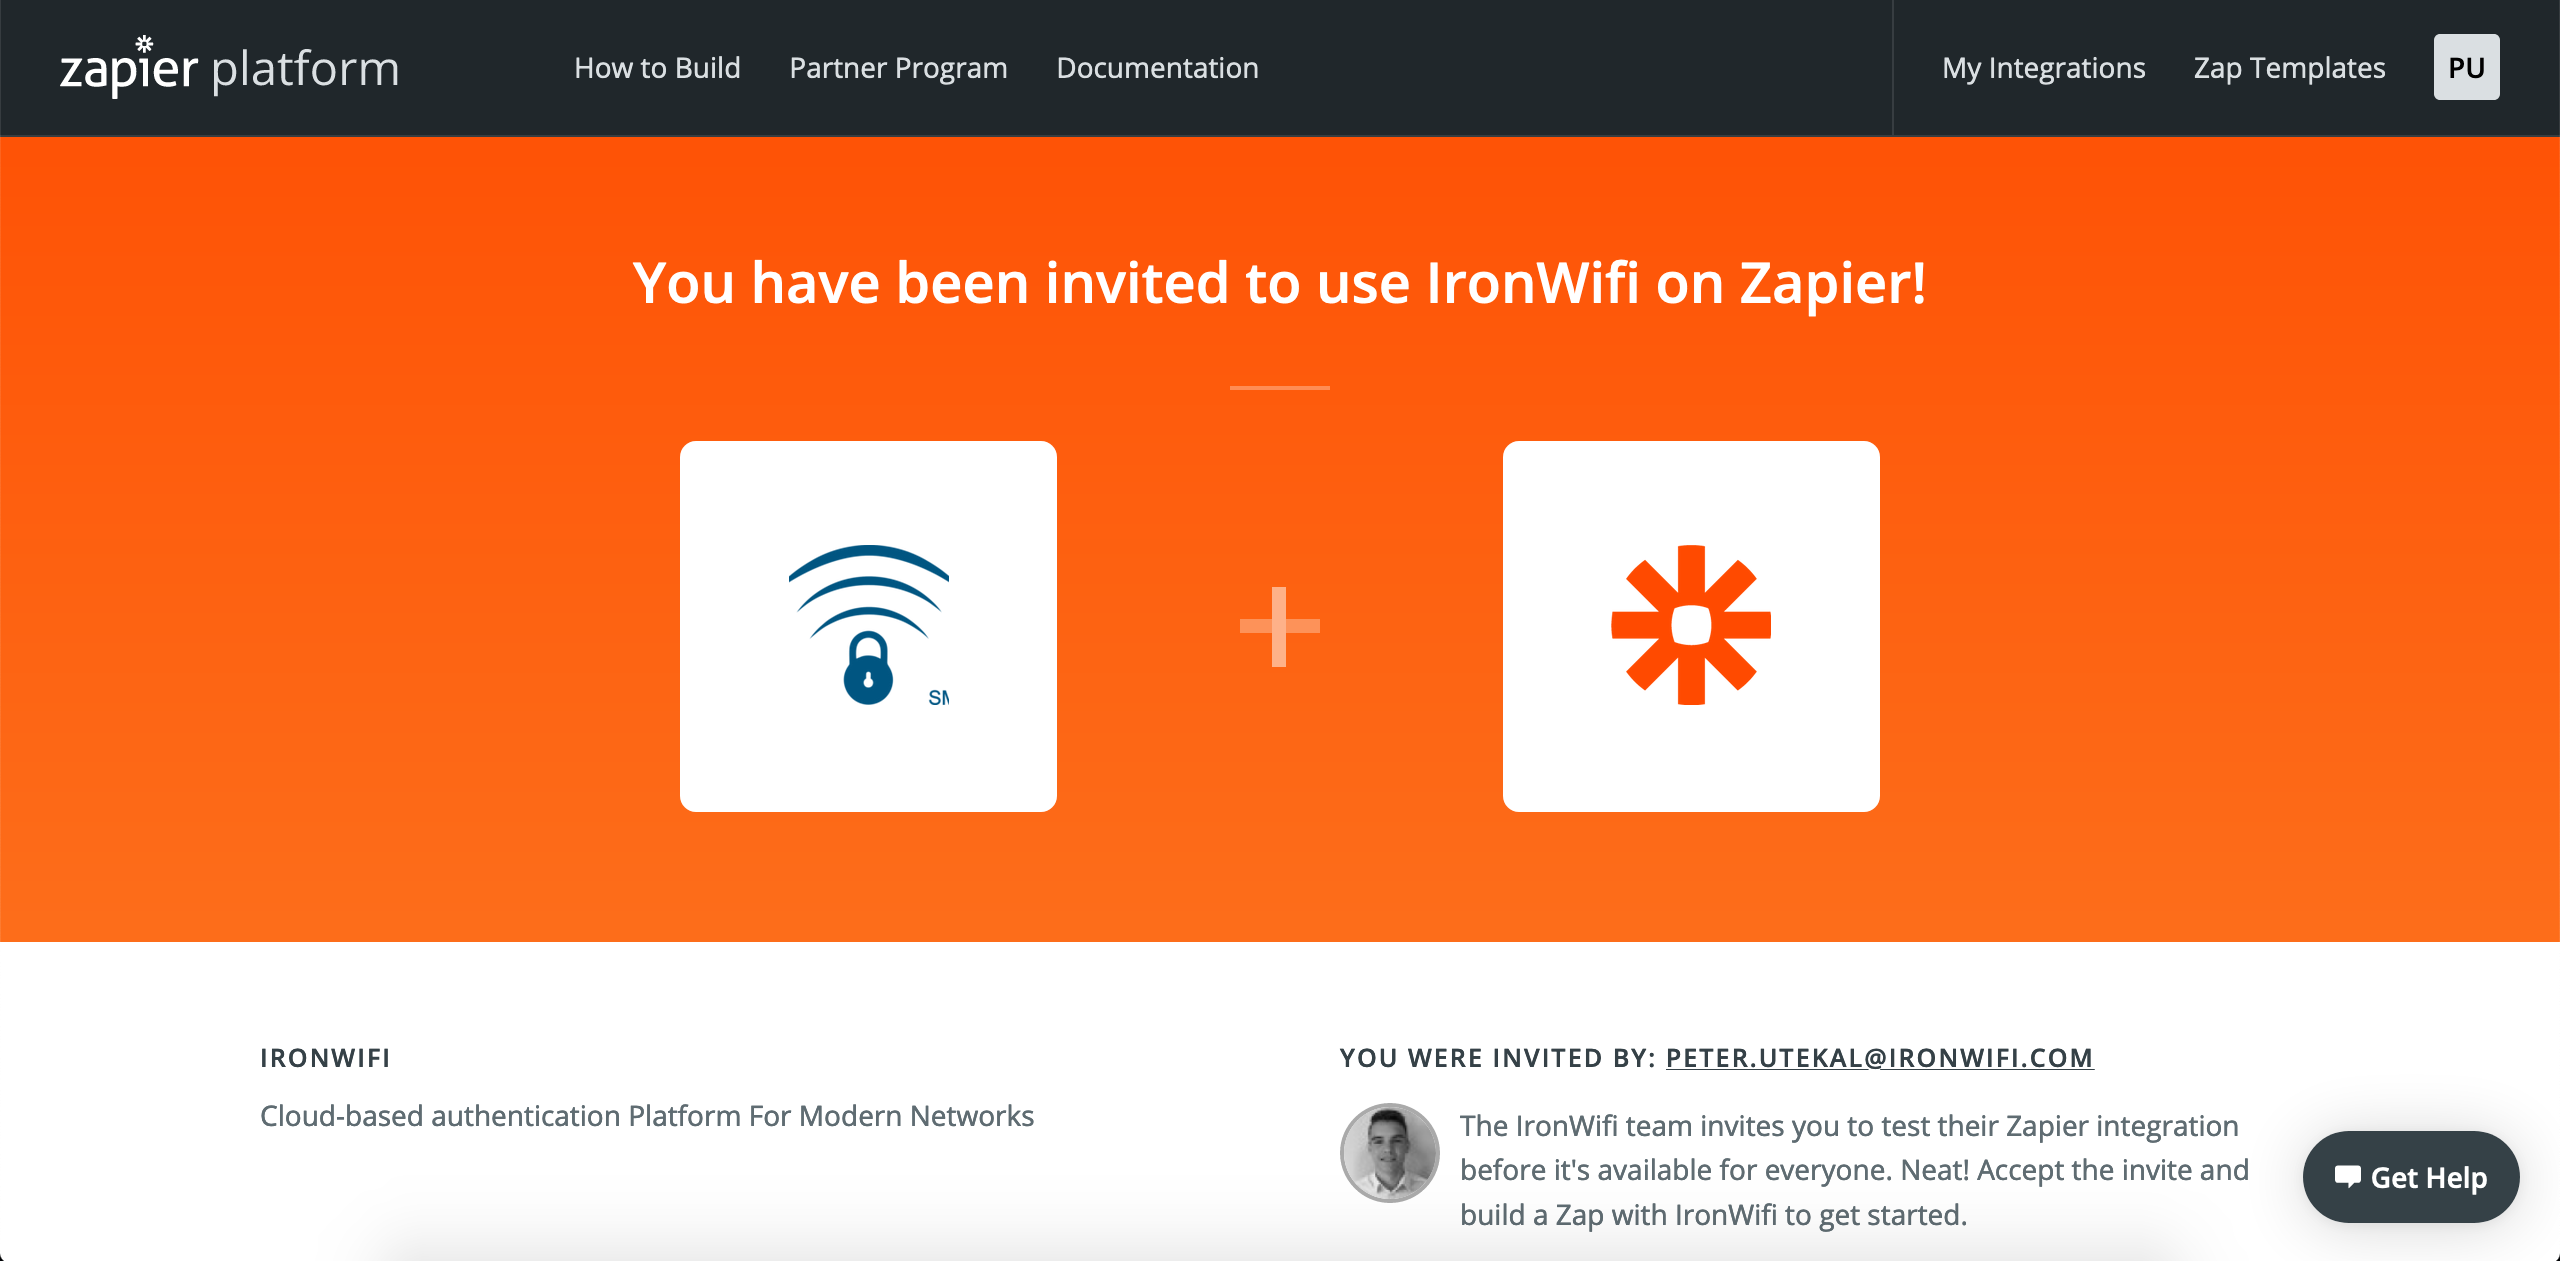
- Click on this link to become a beta tester, you should see a webpage like below
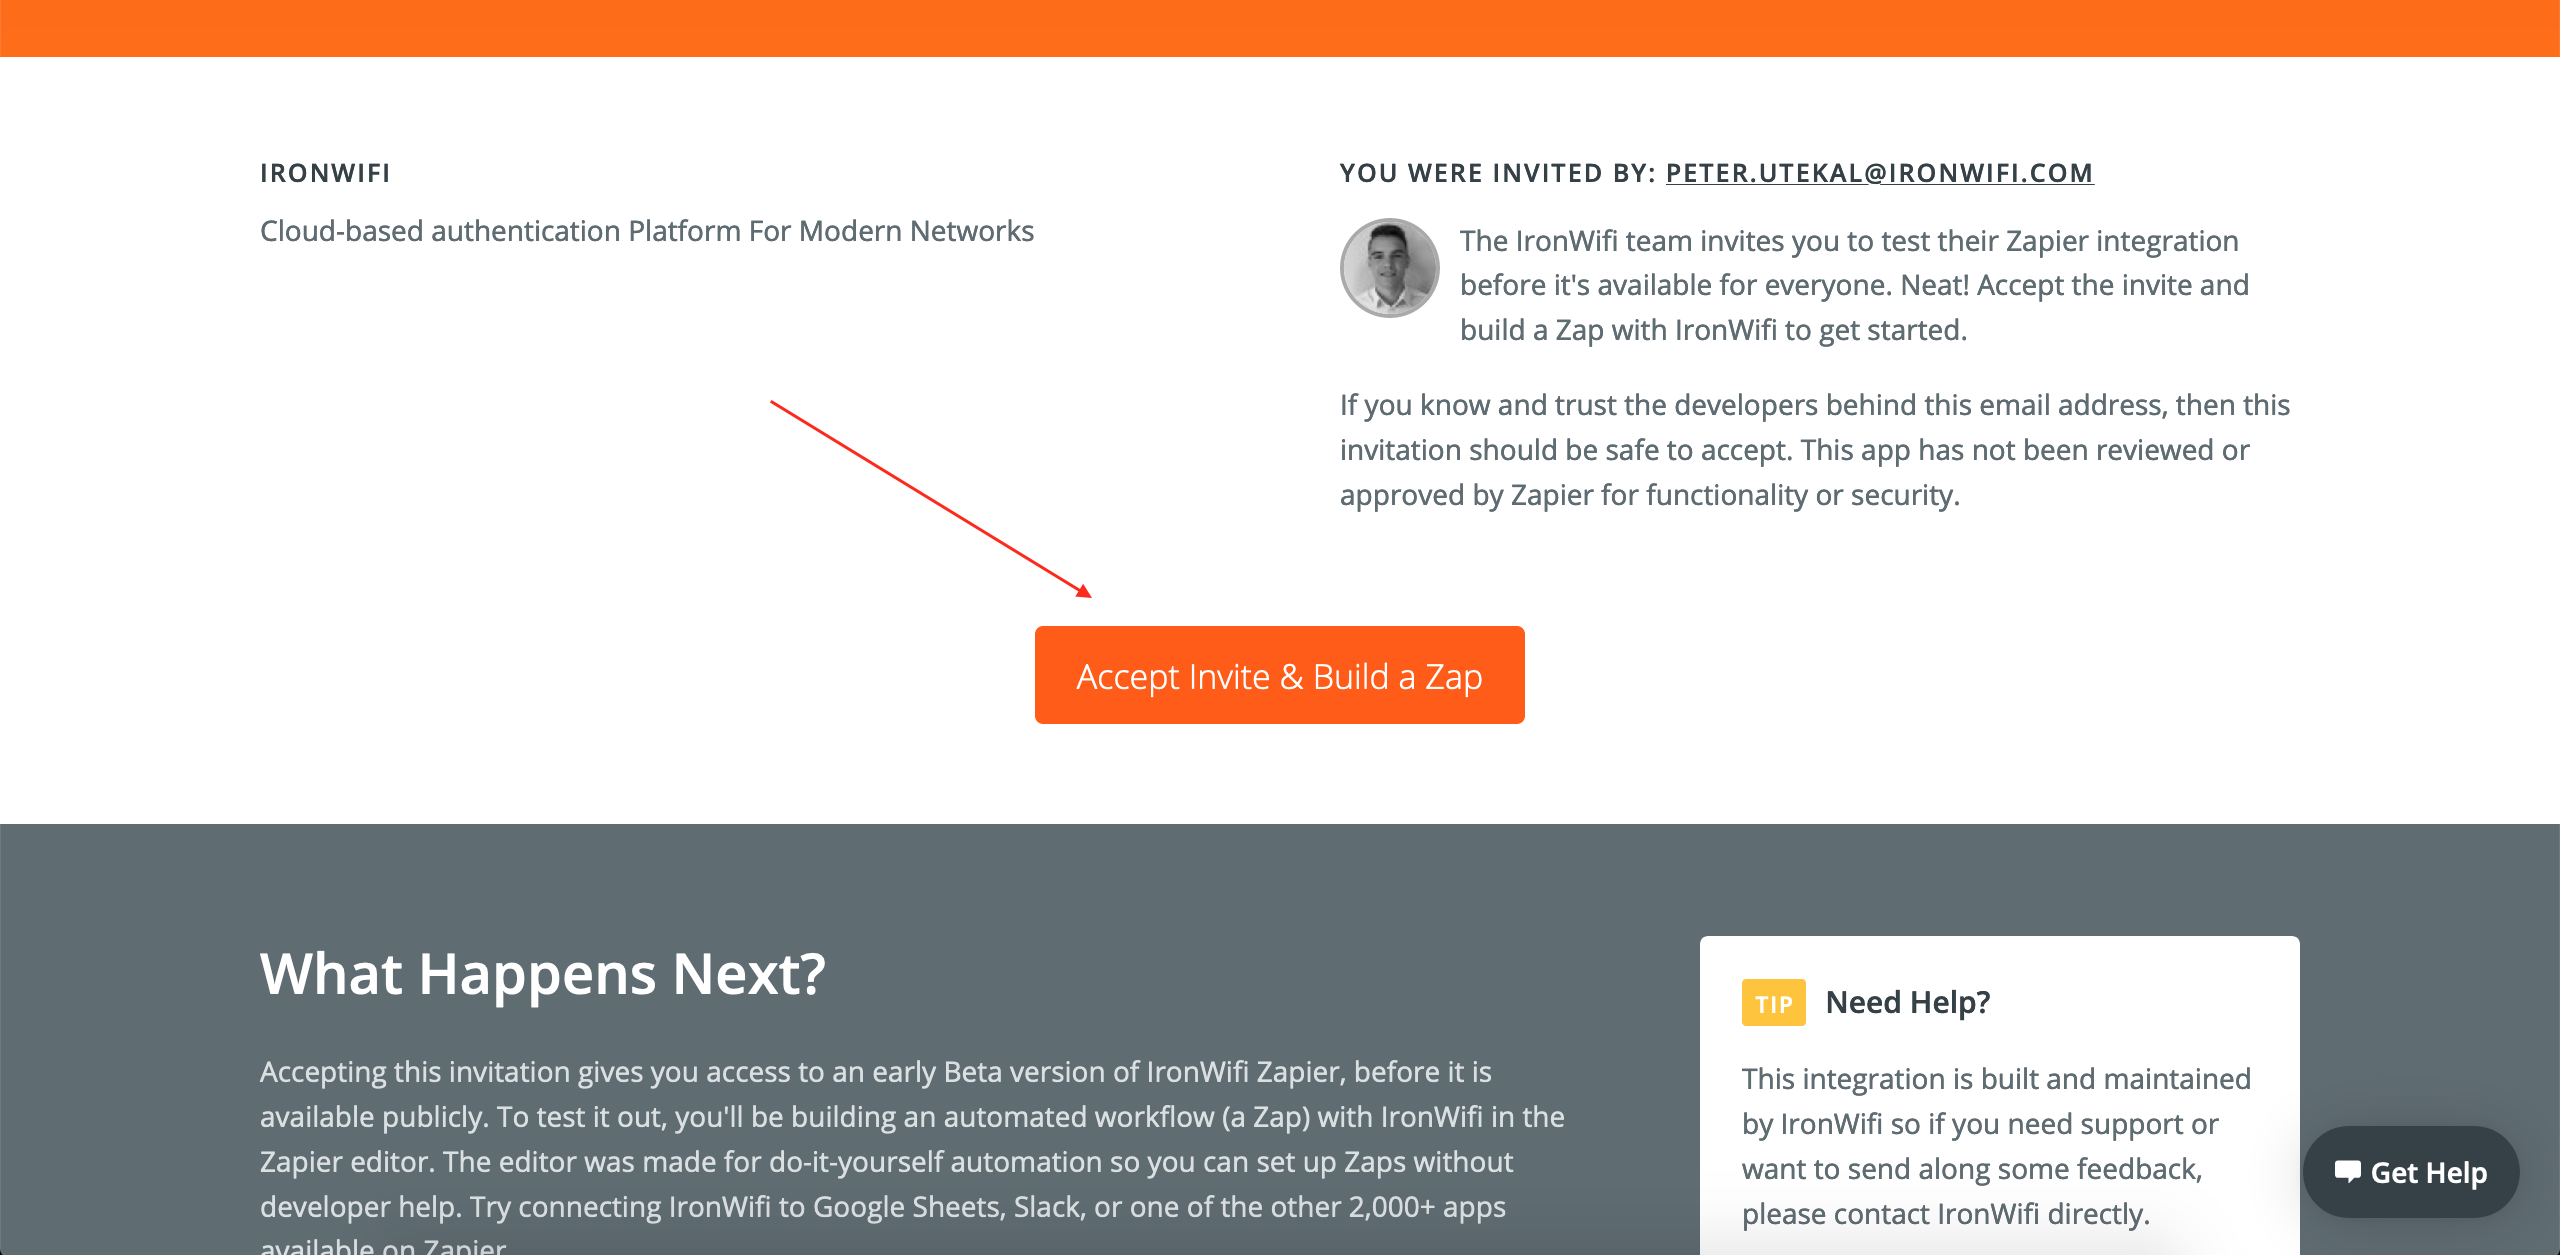
2. Scroll down and click "Accept Invite & Build a Zap"
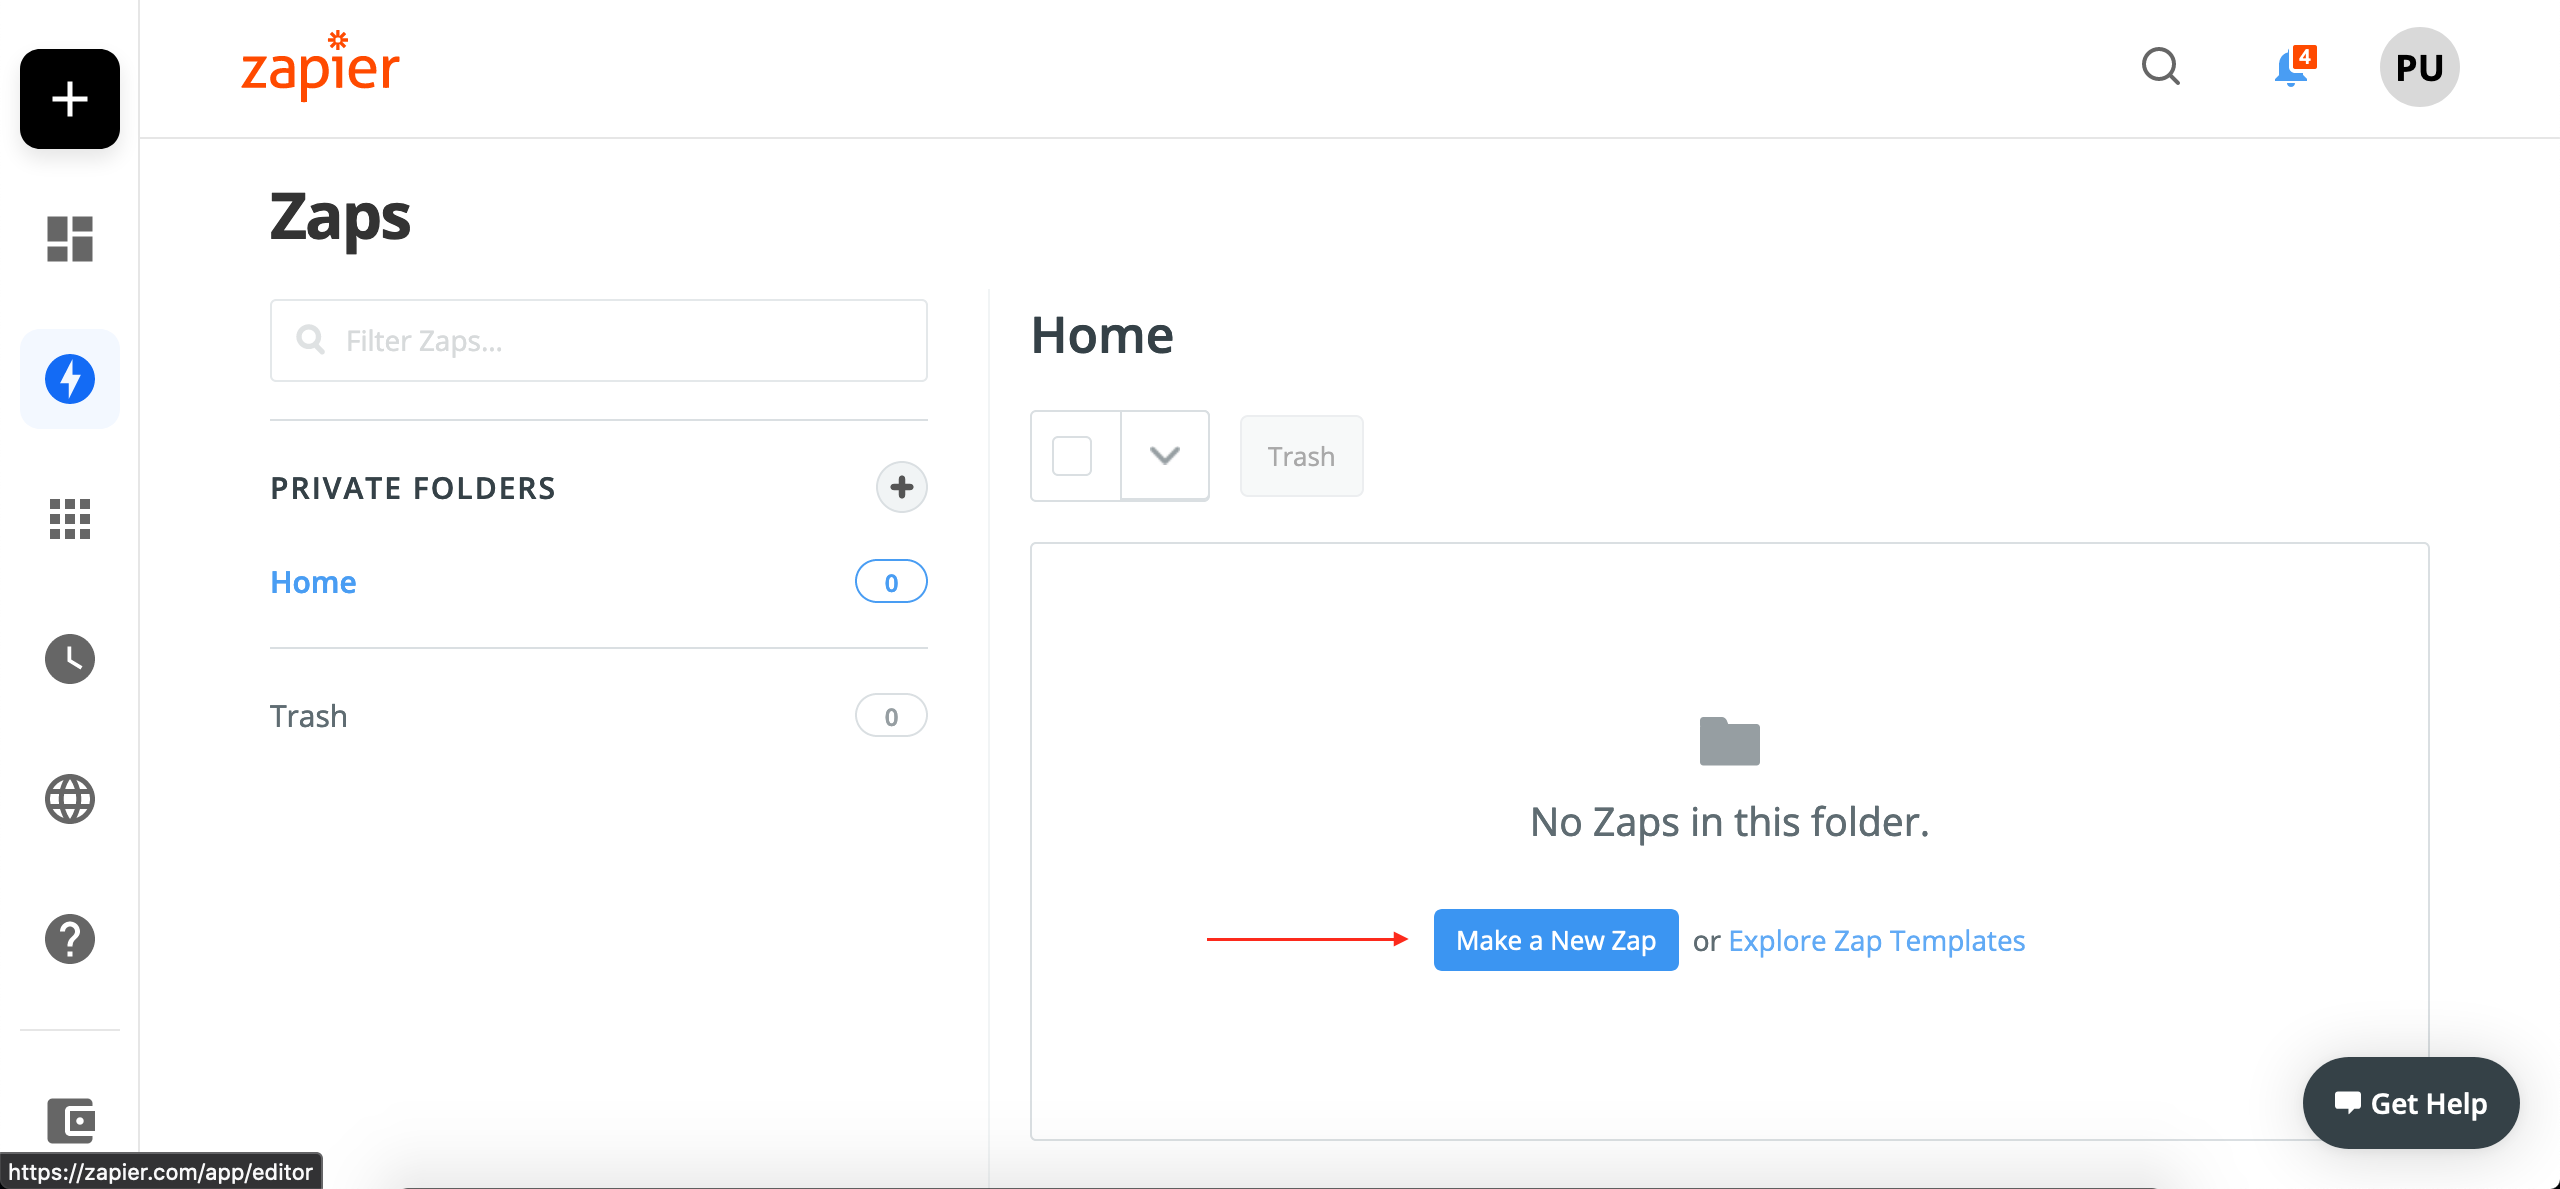
3. Now, you should see the zapier dashboard in front of you. Click on "Create a New Zap" as shown in the picture below.
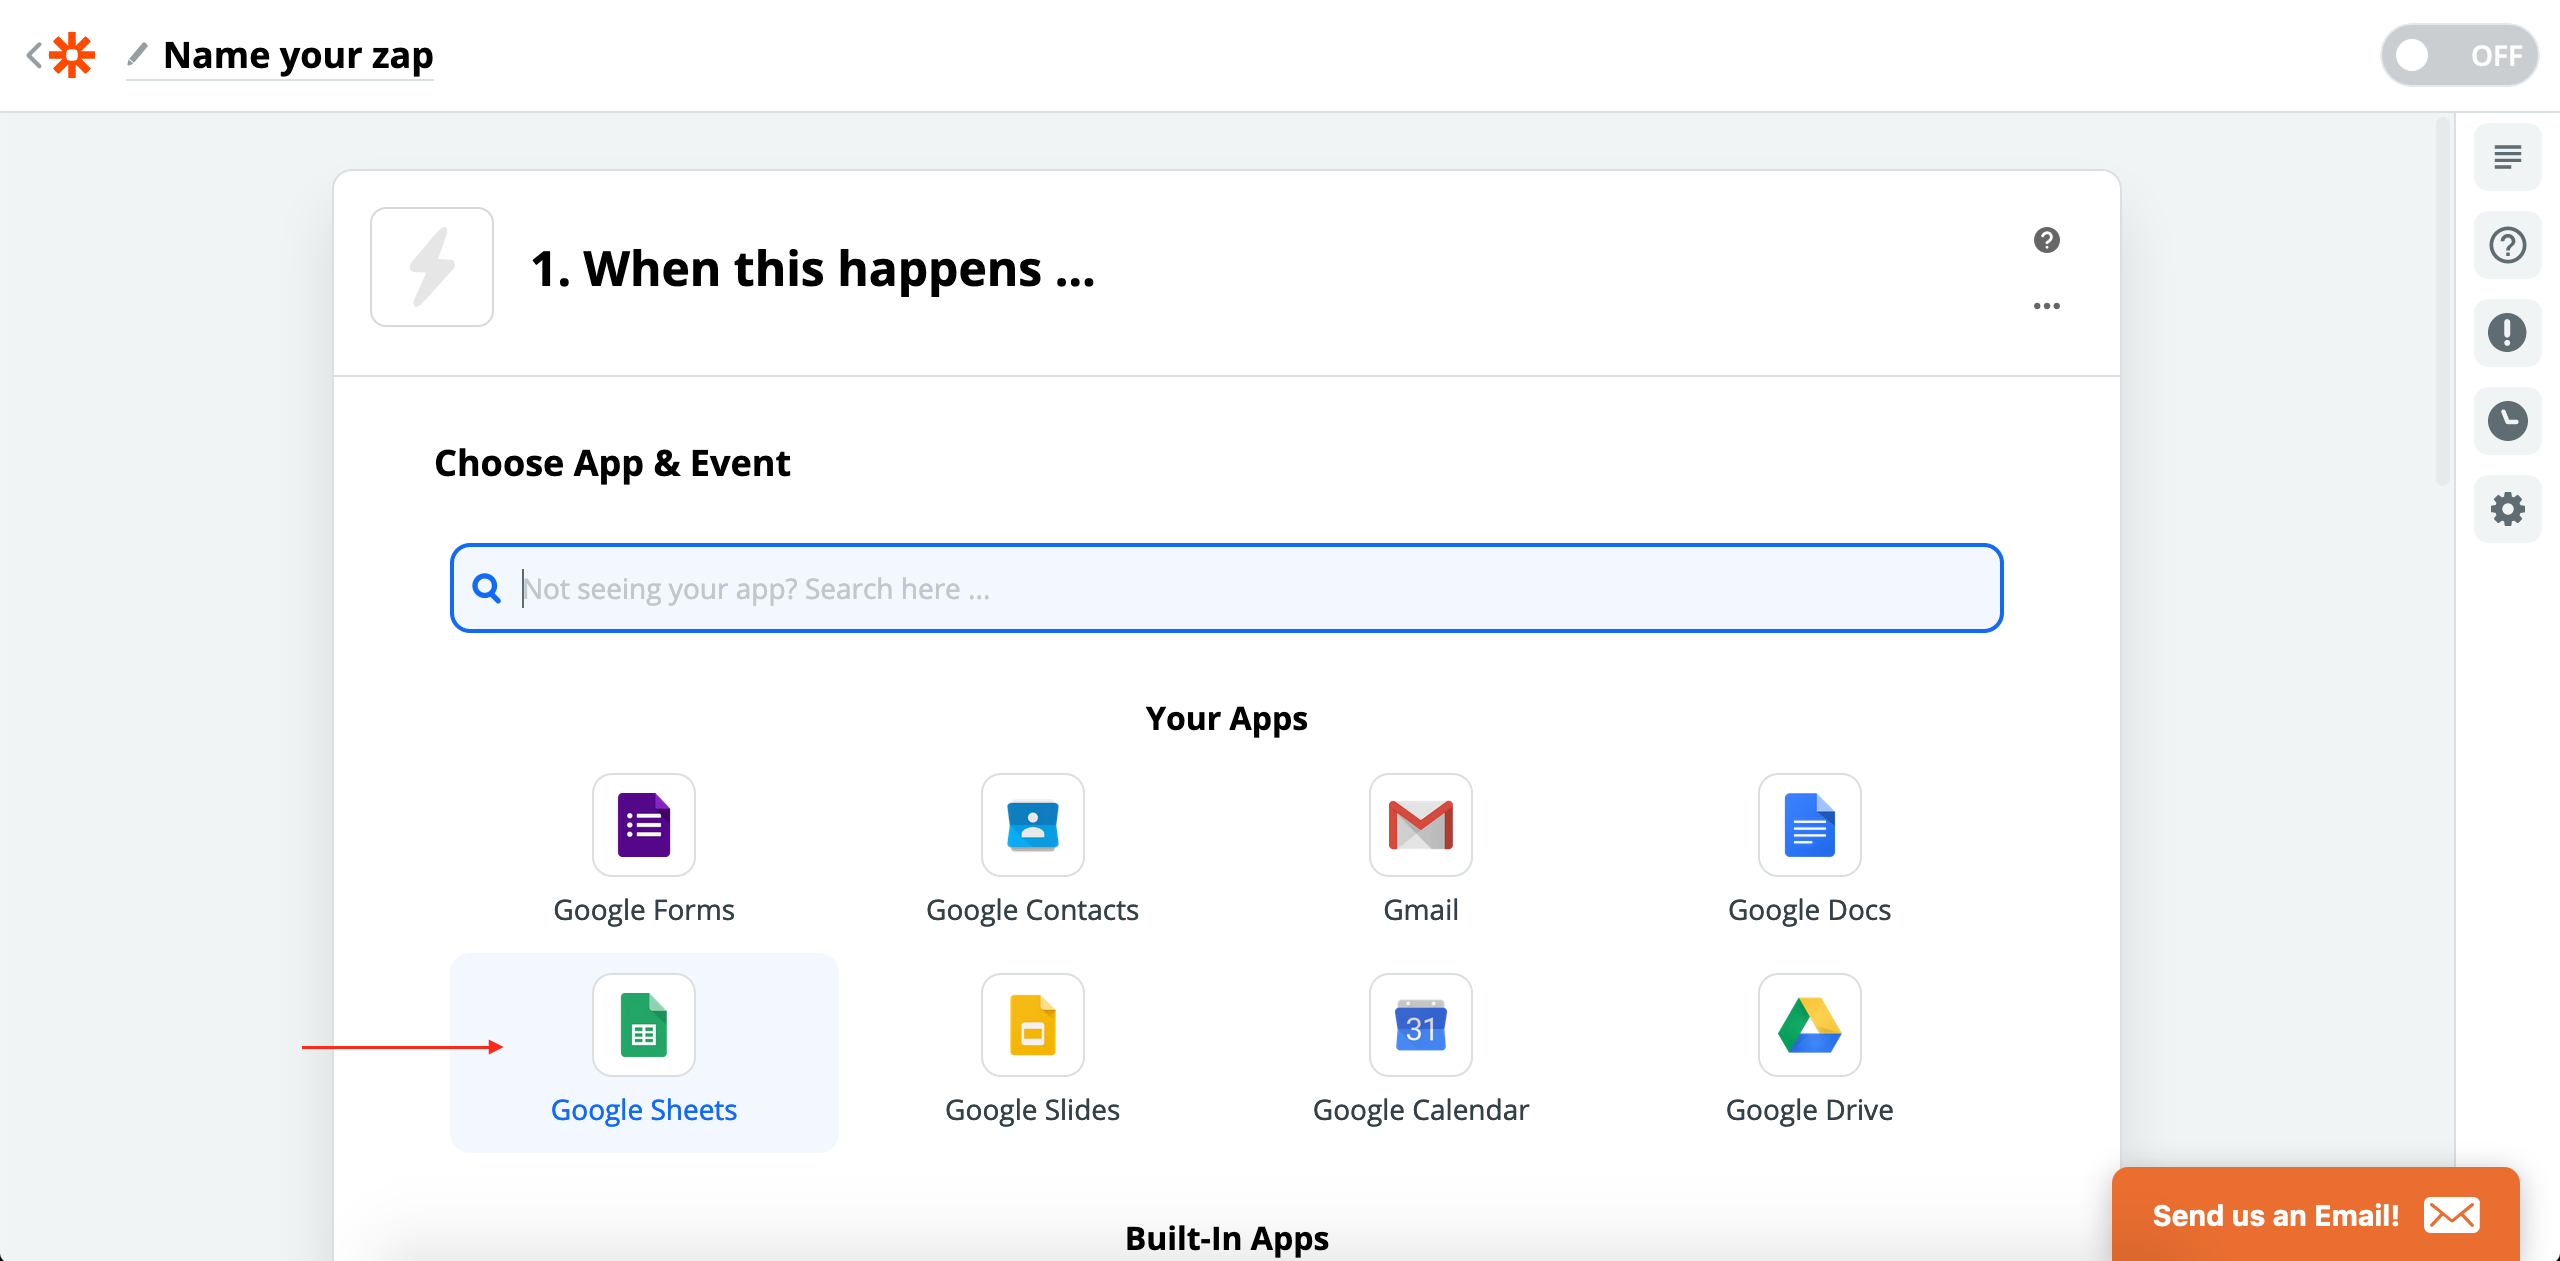
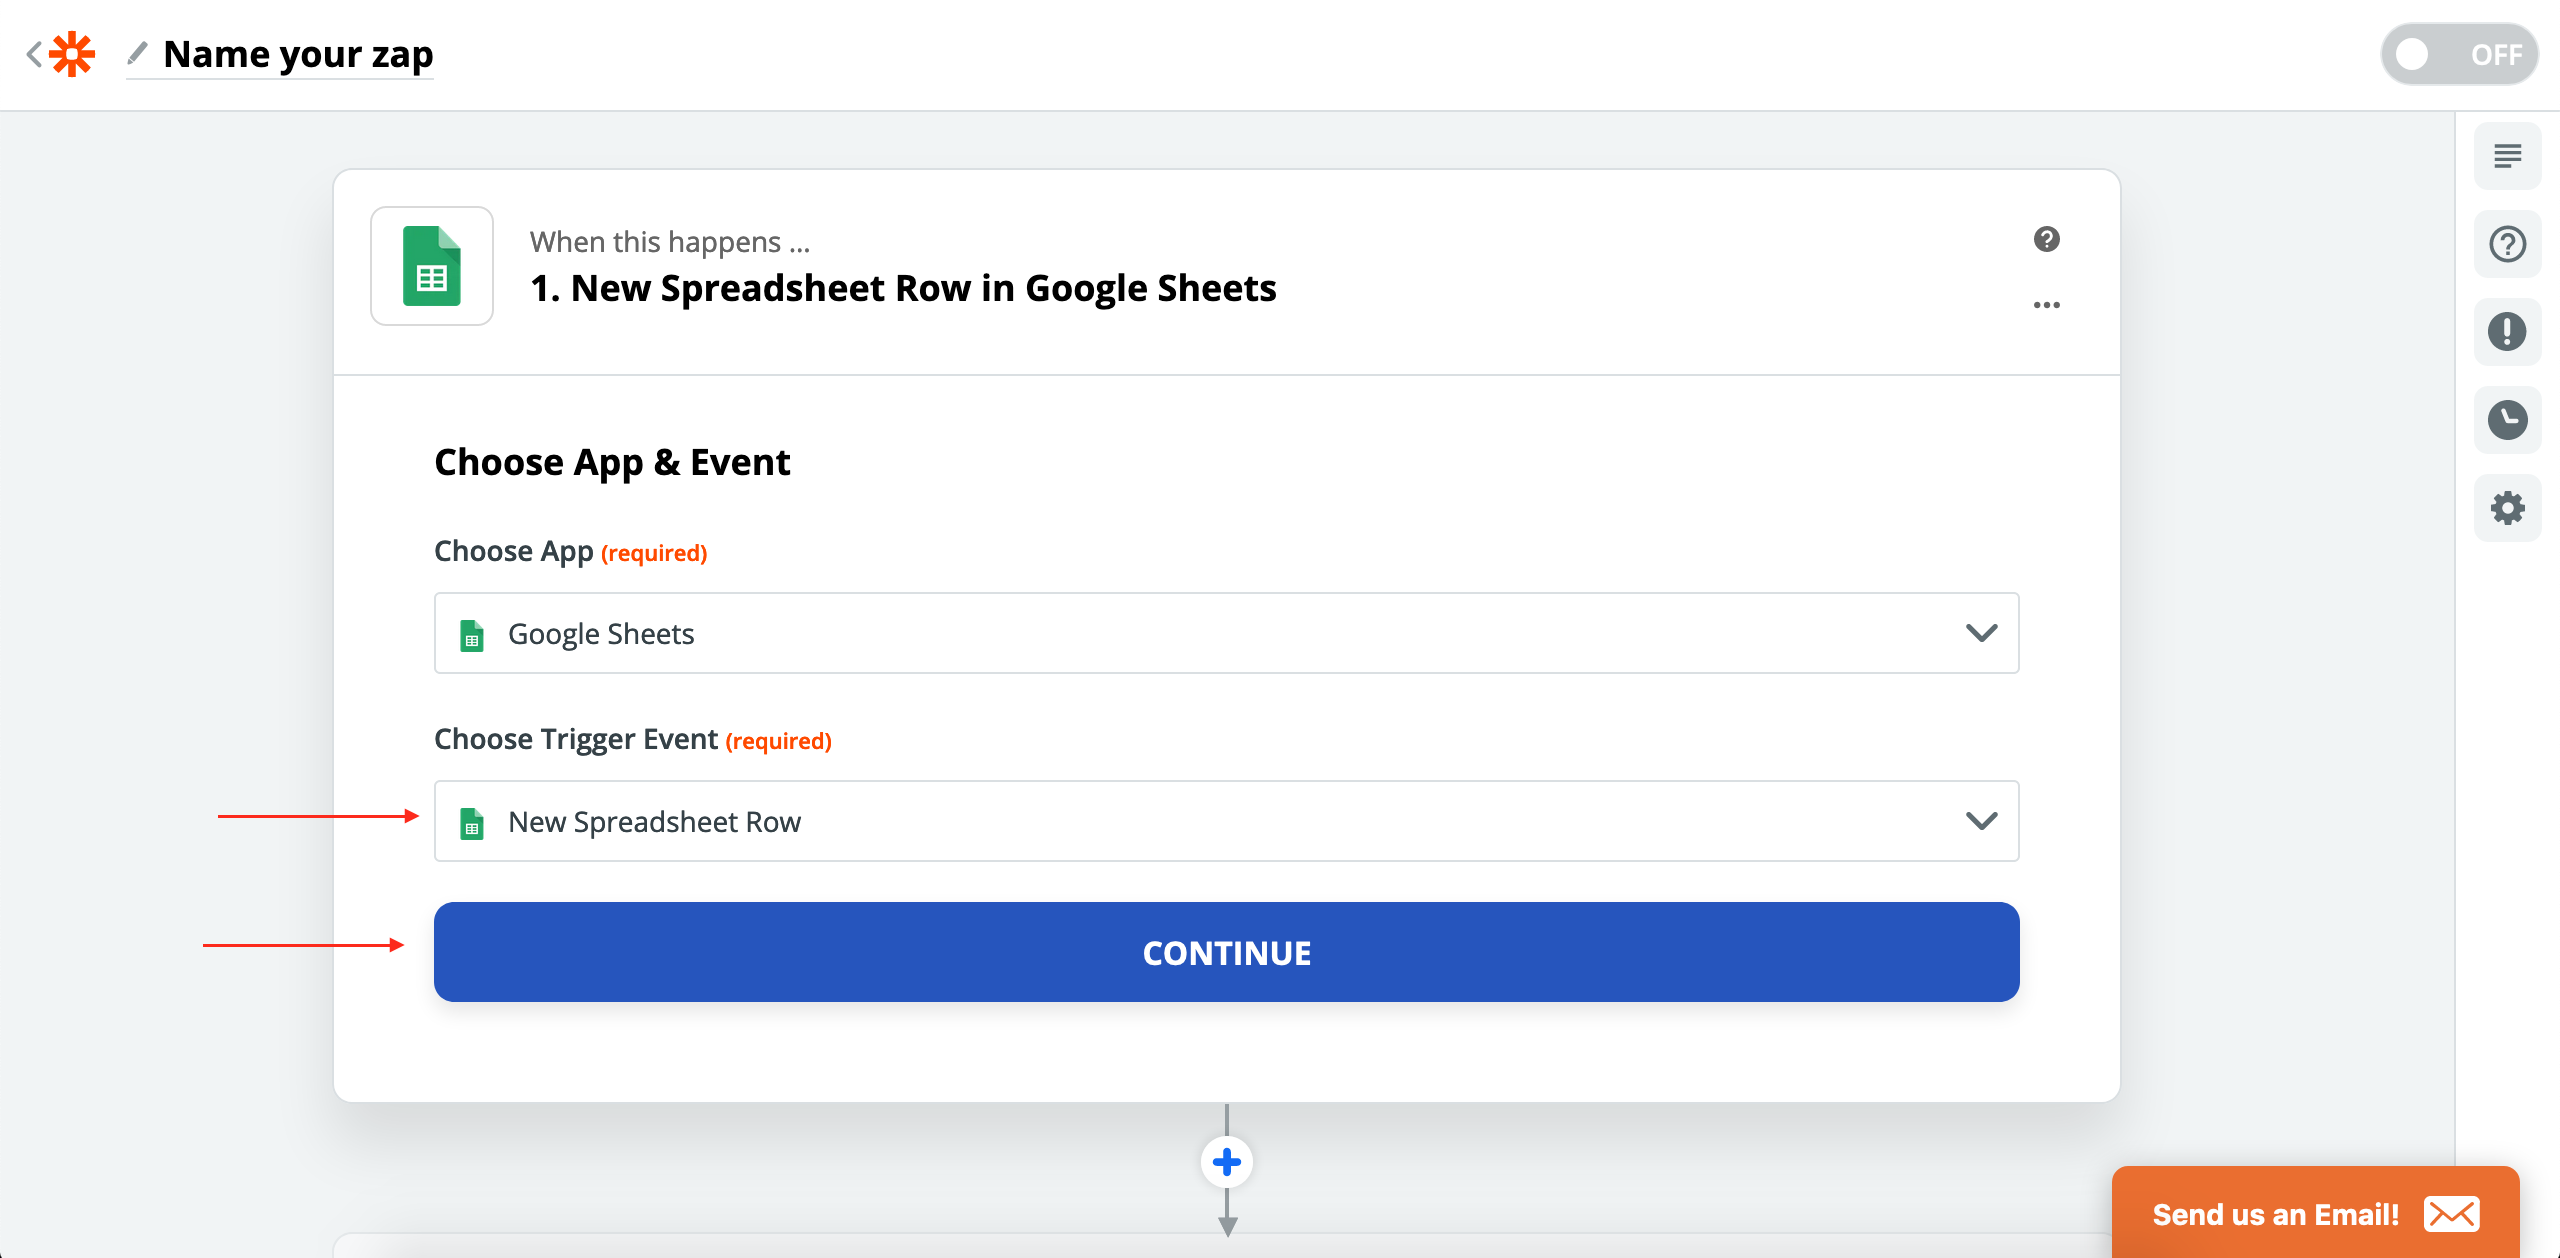
4. We will use google sheets for this example, but you can connect IronWiFi to any other application available on the Zapier platform. Choose "Google Sheets" from the selection
5. Now, choose trigger event "New Spreadsheet Row" and click Continue
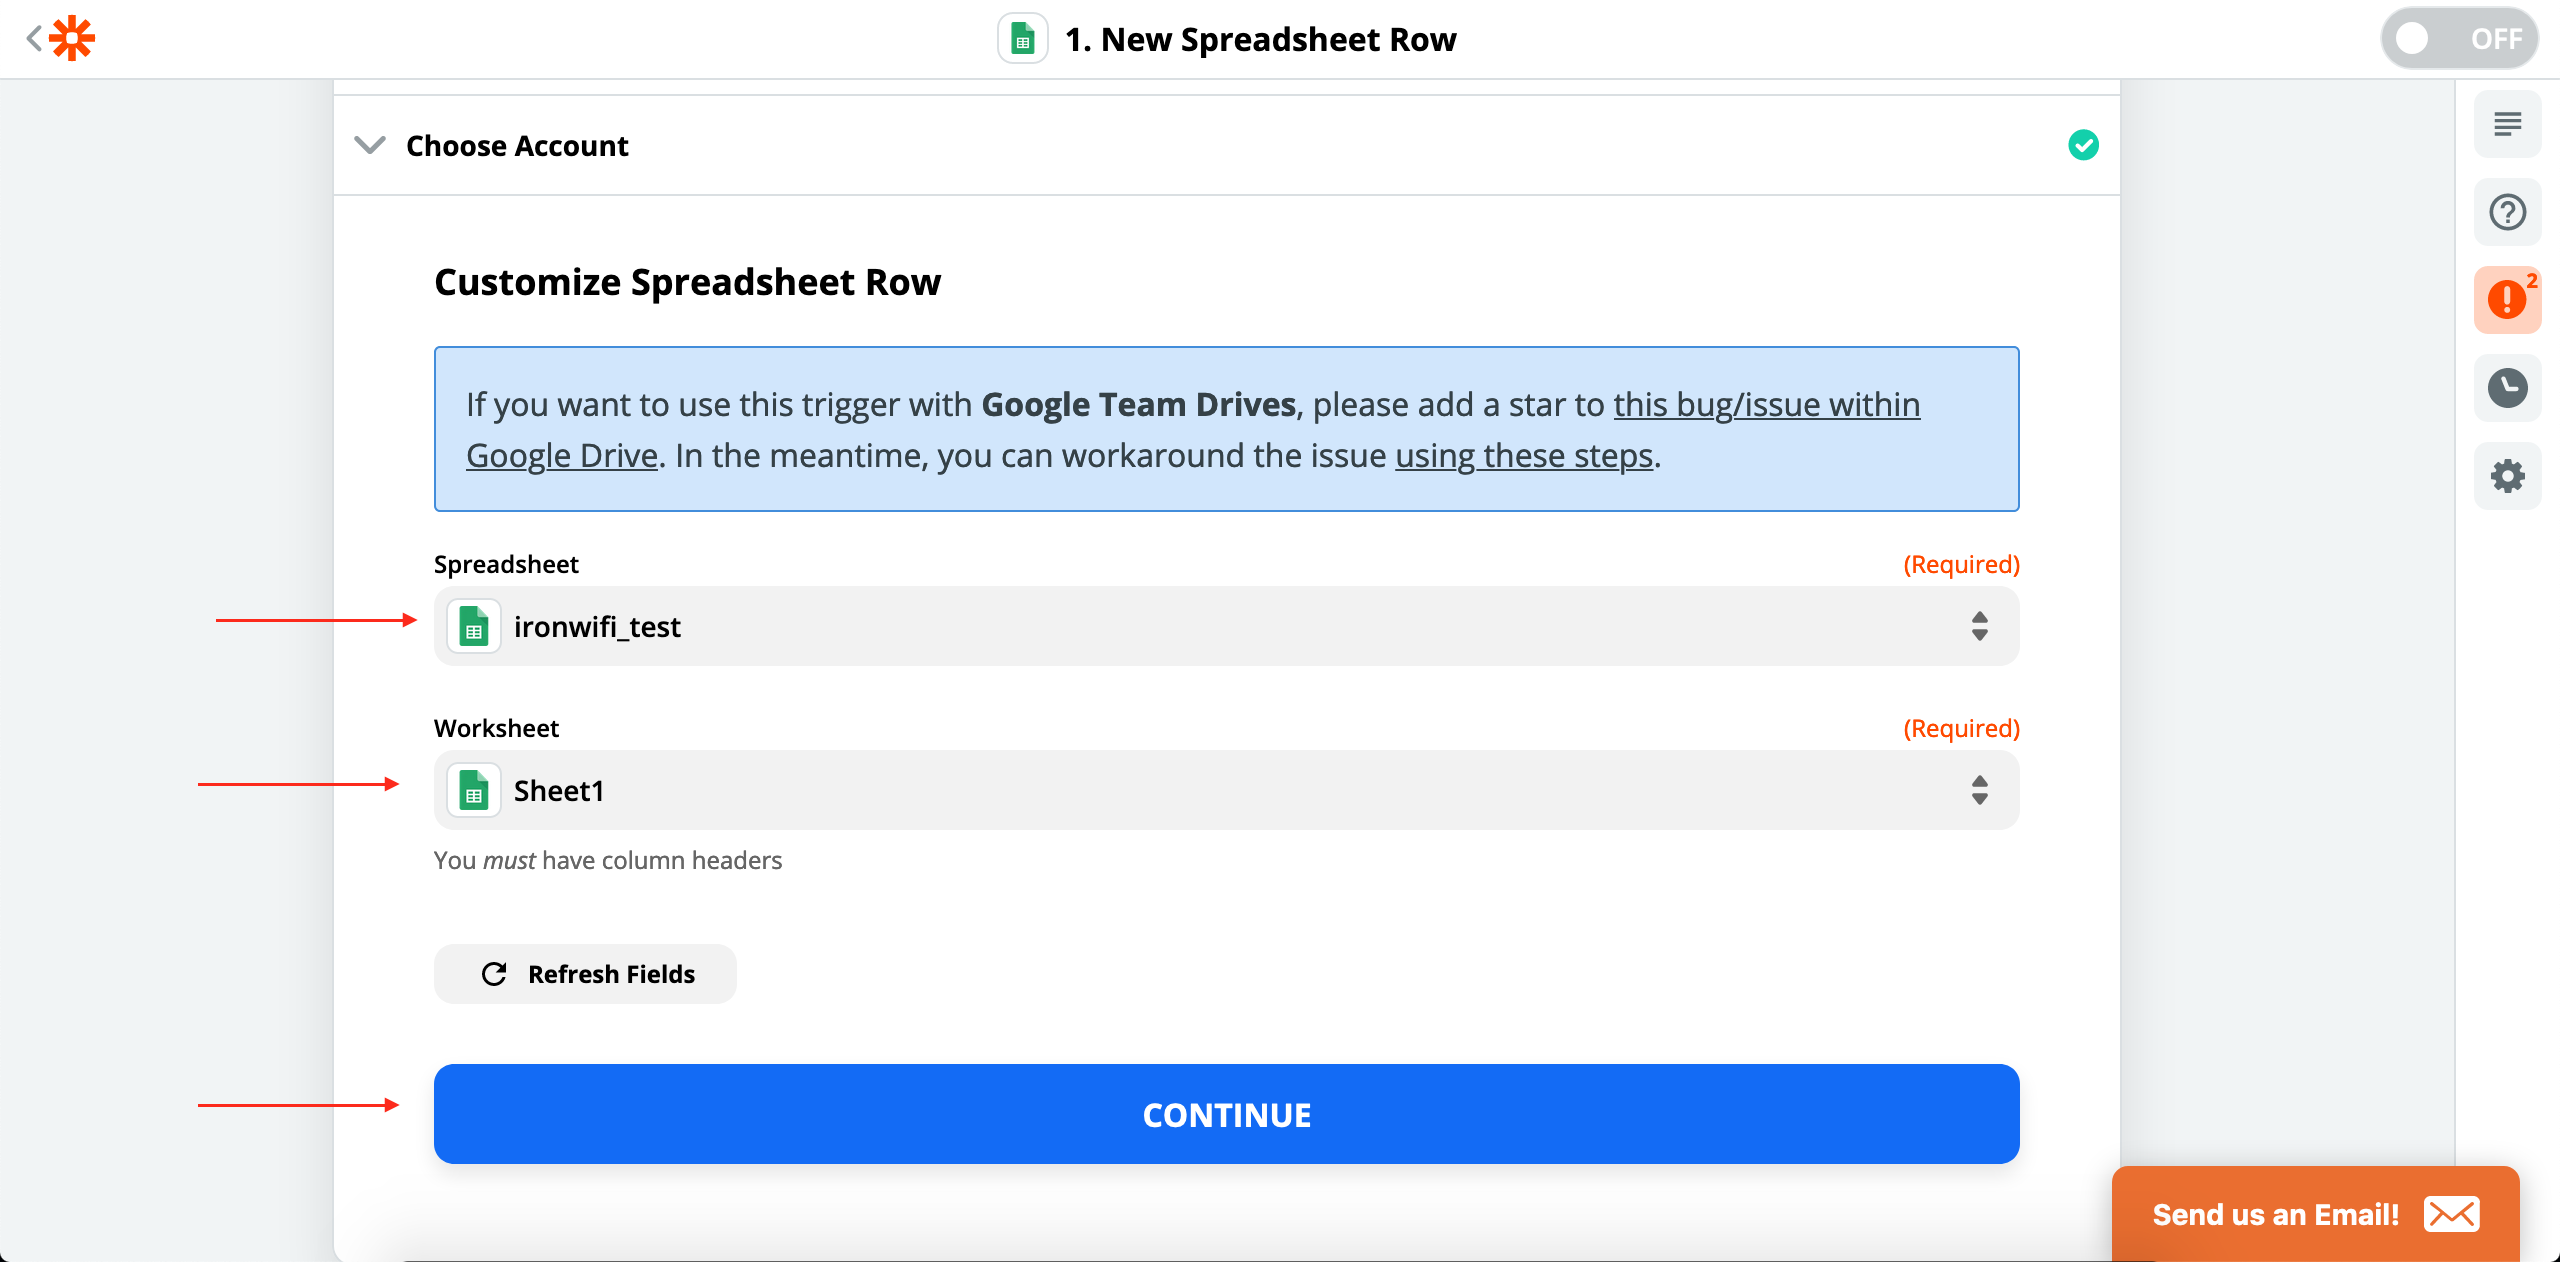
6. After that, you'll have to sign in to your google account to authorize google sheets. Do so with any account your want and click continue. Then, you'll be presented with the spreadsheet customization form, choose the spreadsheet and worksheet you prefer like below.
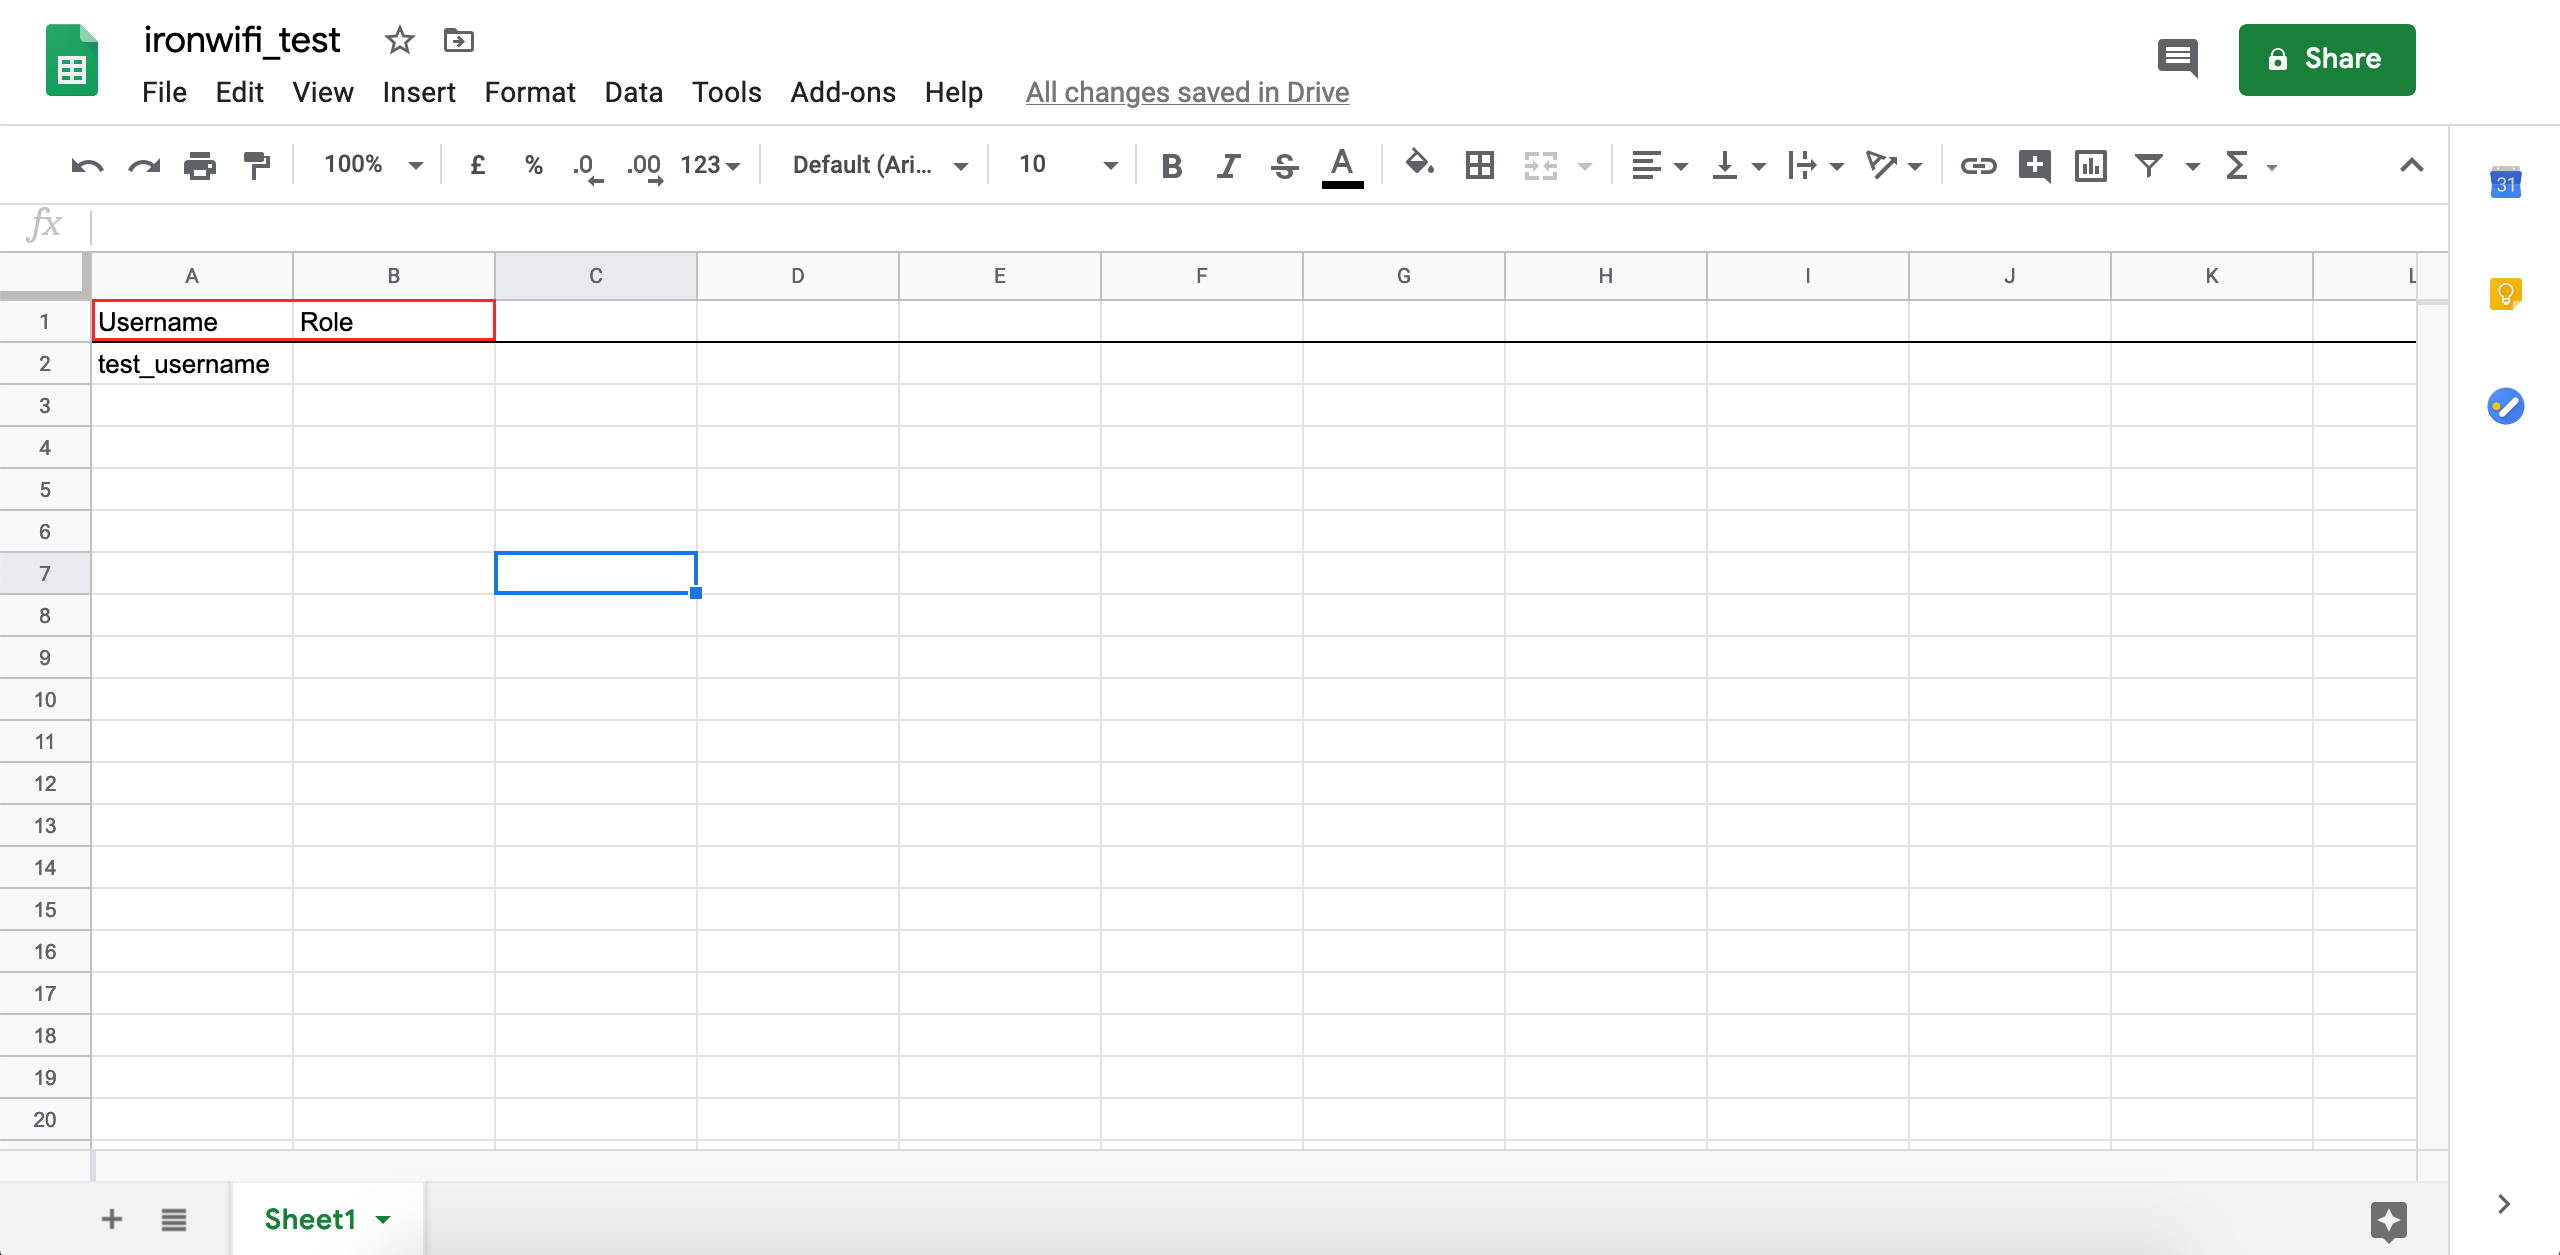
7. In your spreadsheet, you need to use the first row as column labels, these will be zapier variables that you will use later on. Your spreadsheet should look similar to the one below, please note that you can have any number of columns you desire. The highlighted cells will be used as column labels in Zapier.
8. Now, test the trigger in Zapier and check that correct information was obtained in response.
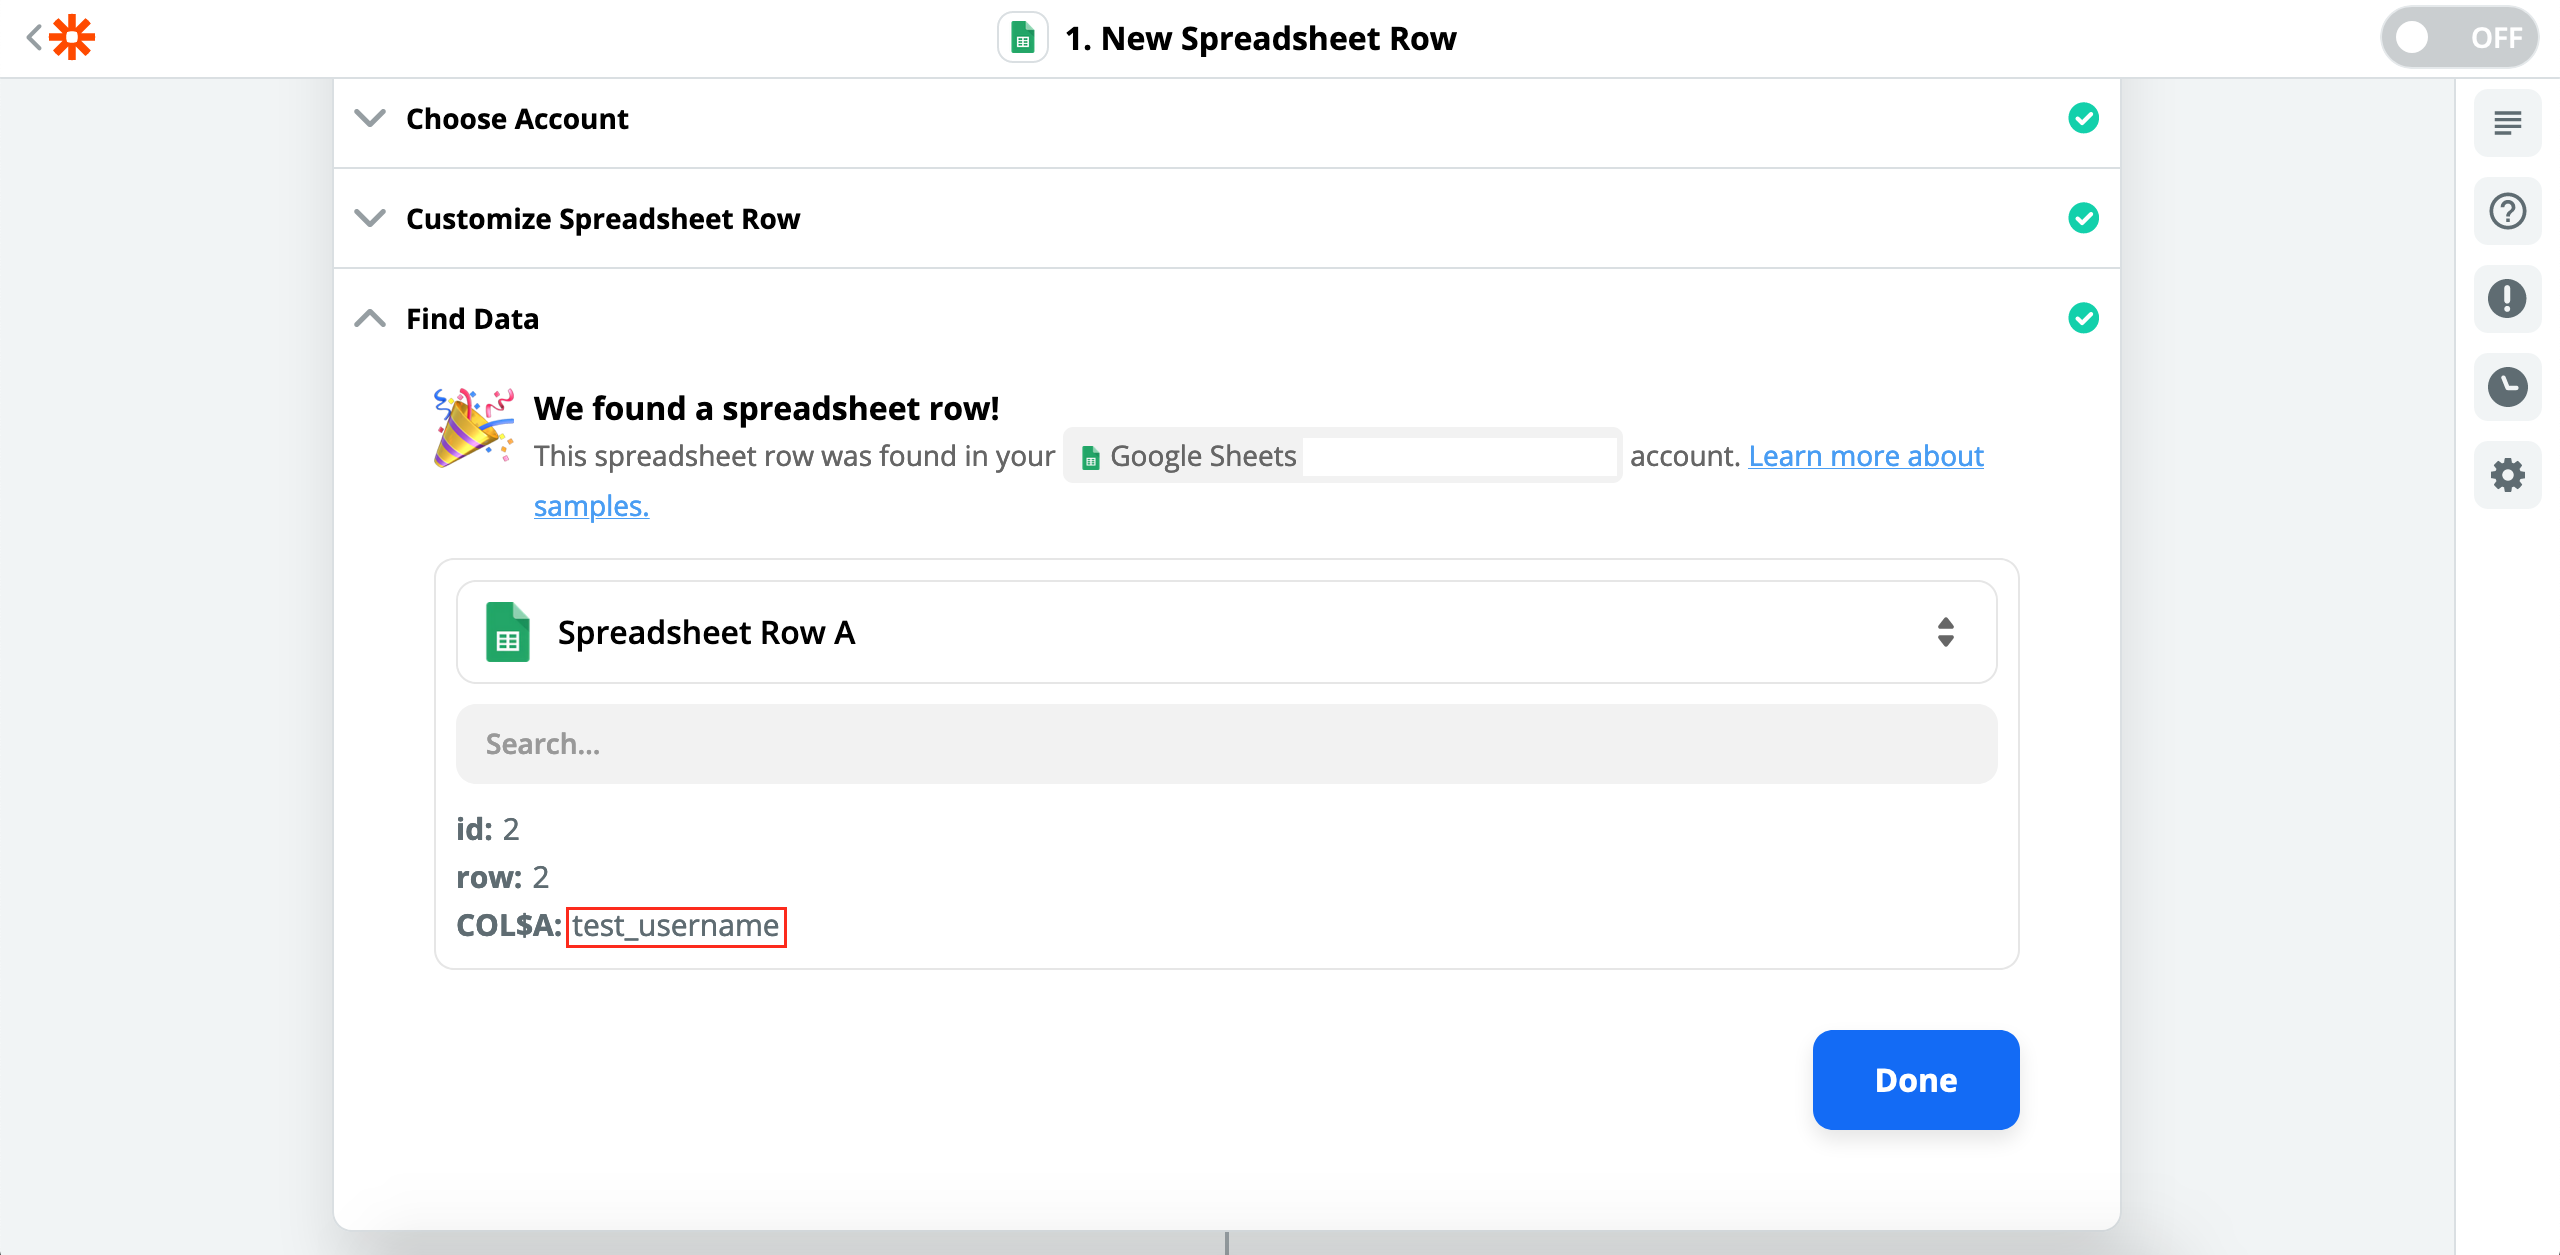
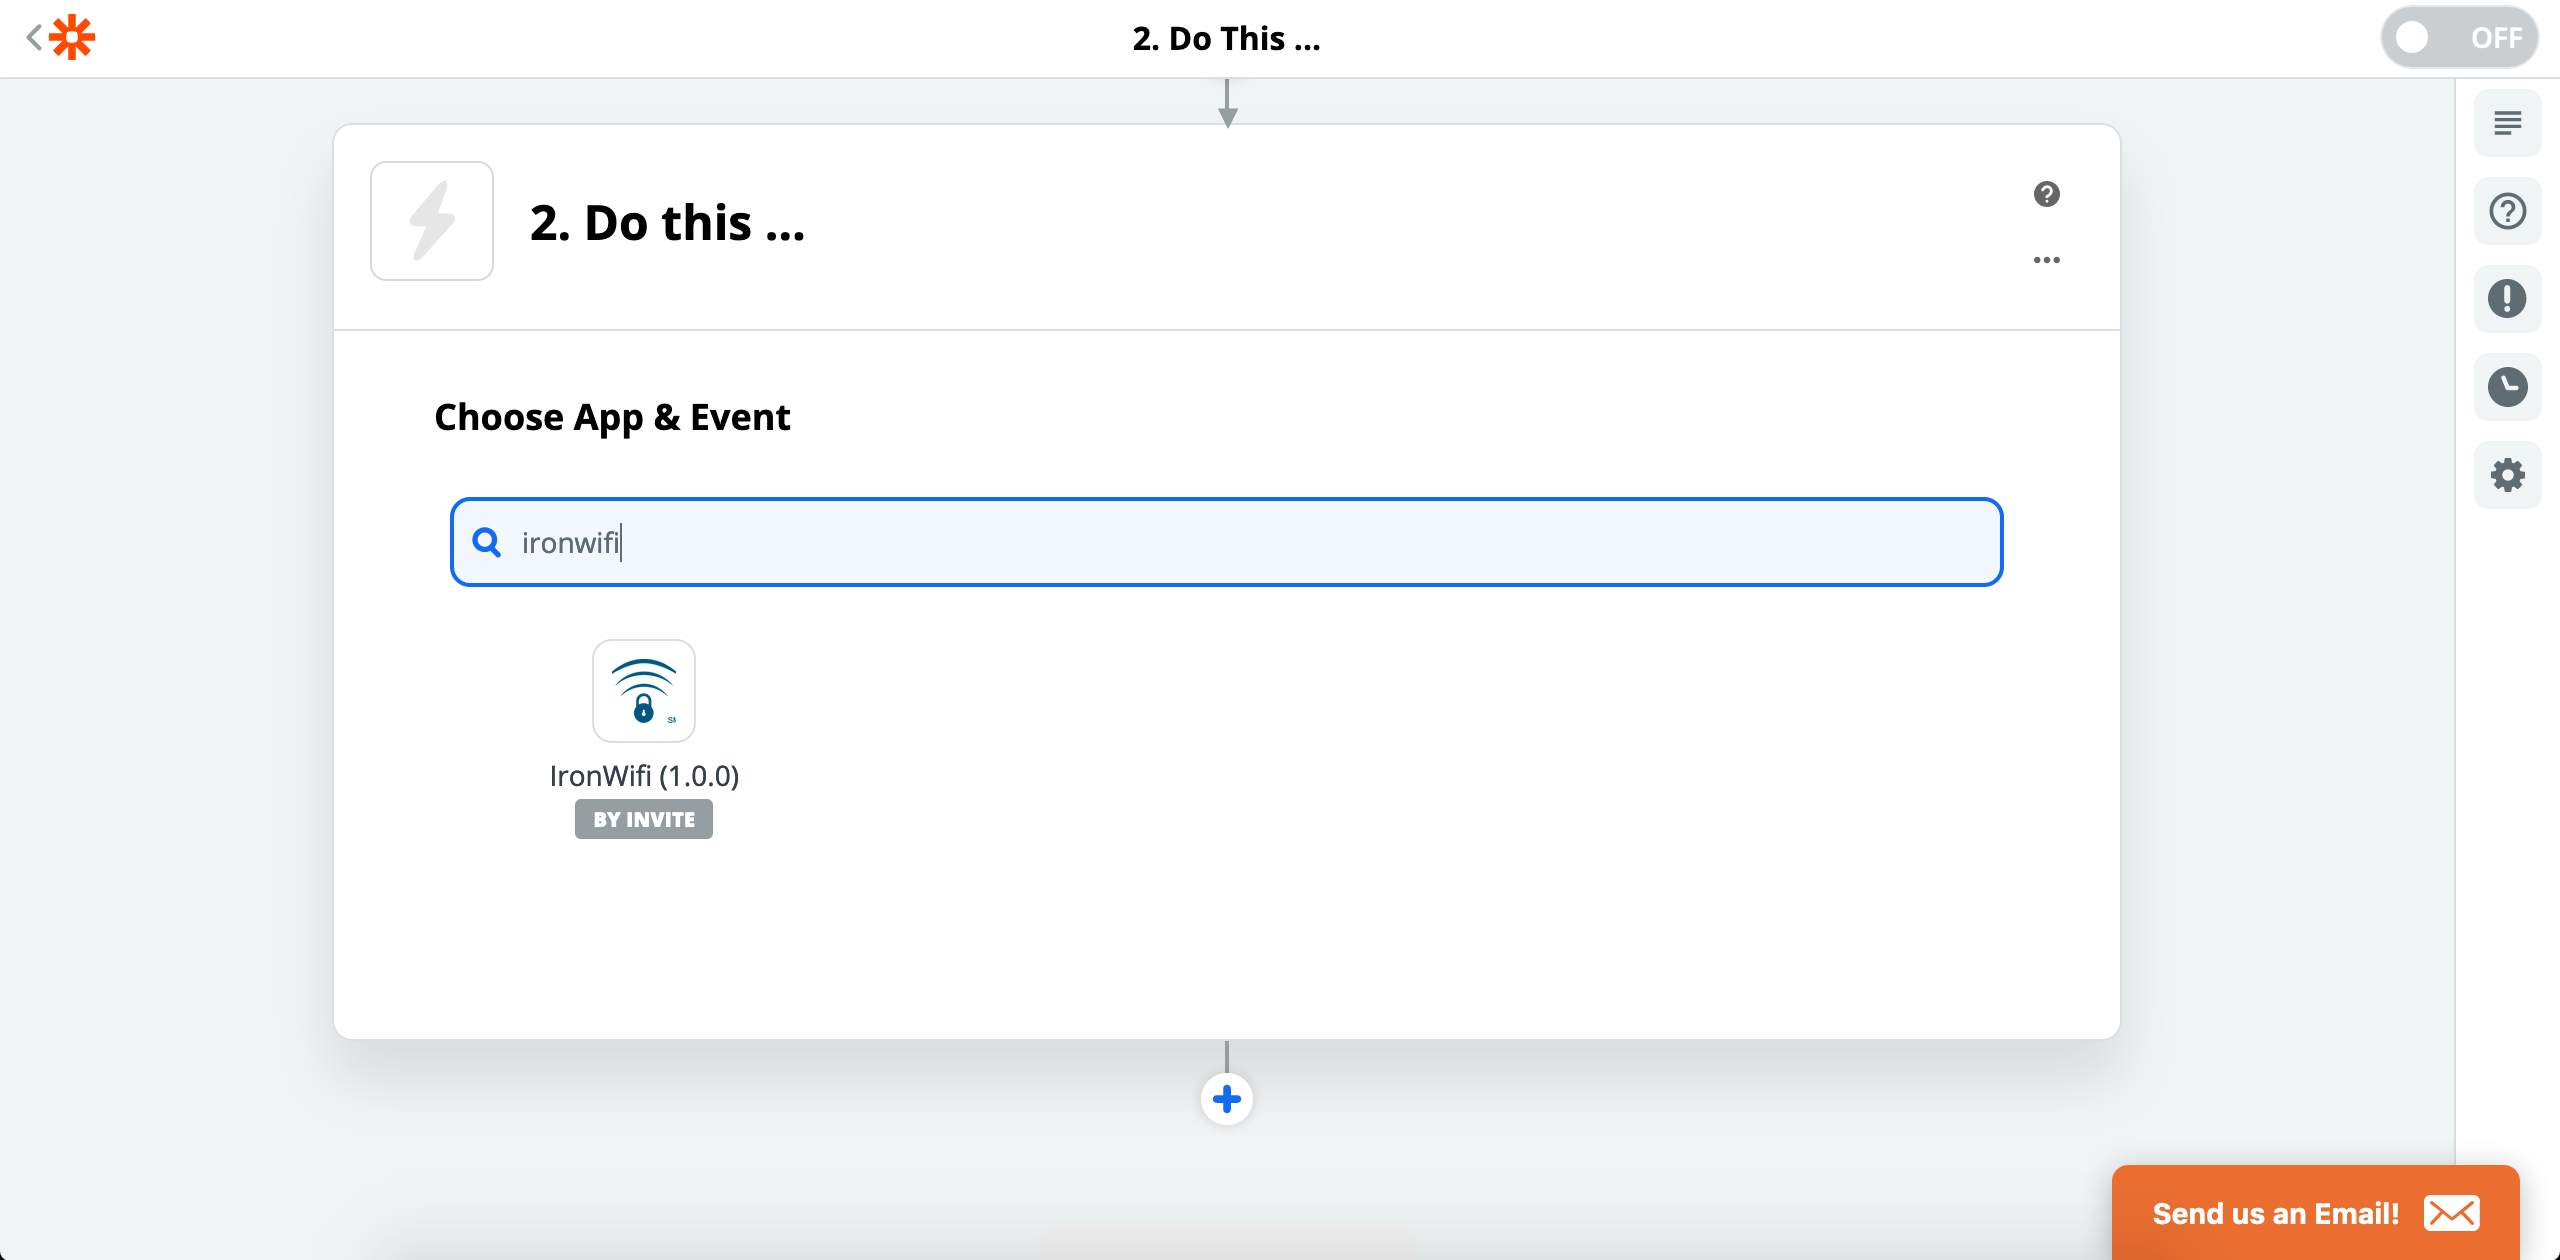
9. Now, let's set up the action. Click done and search "ironwifi", you should see it in the picture below.
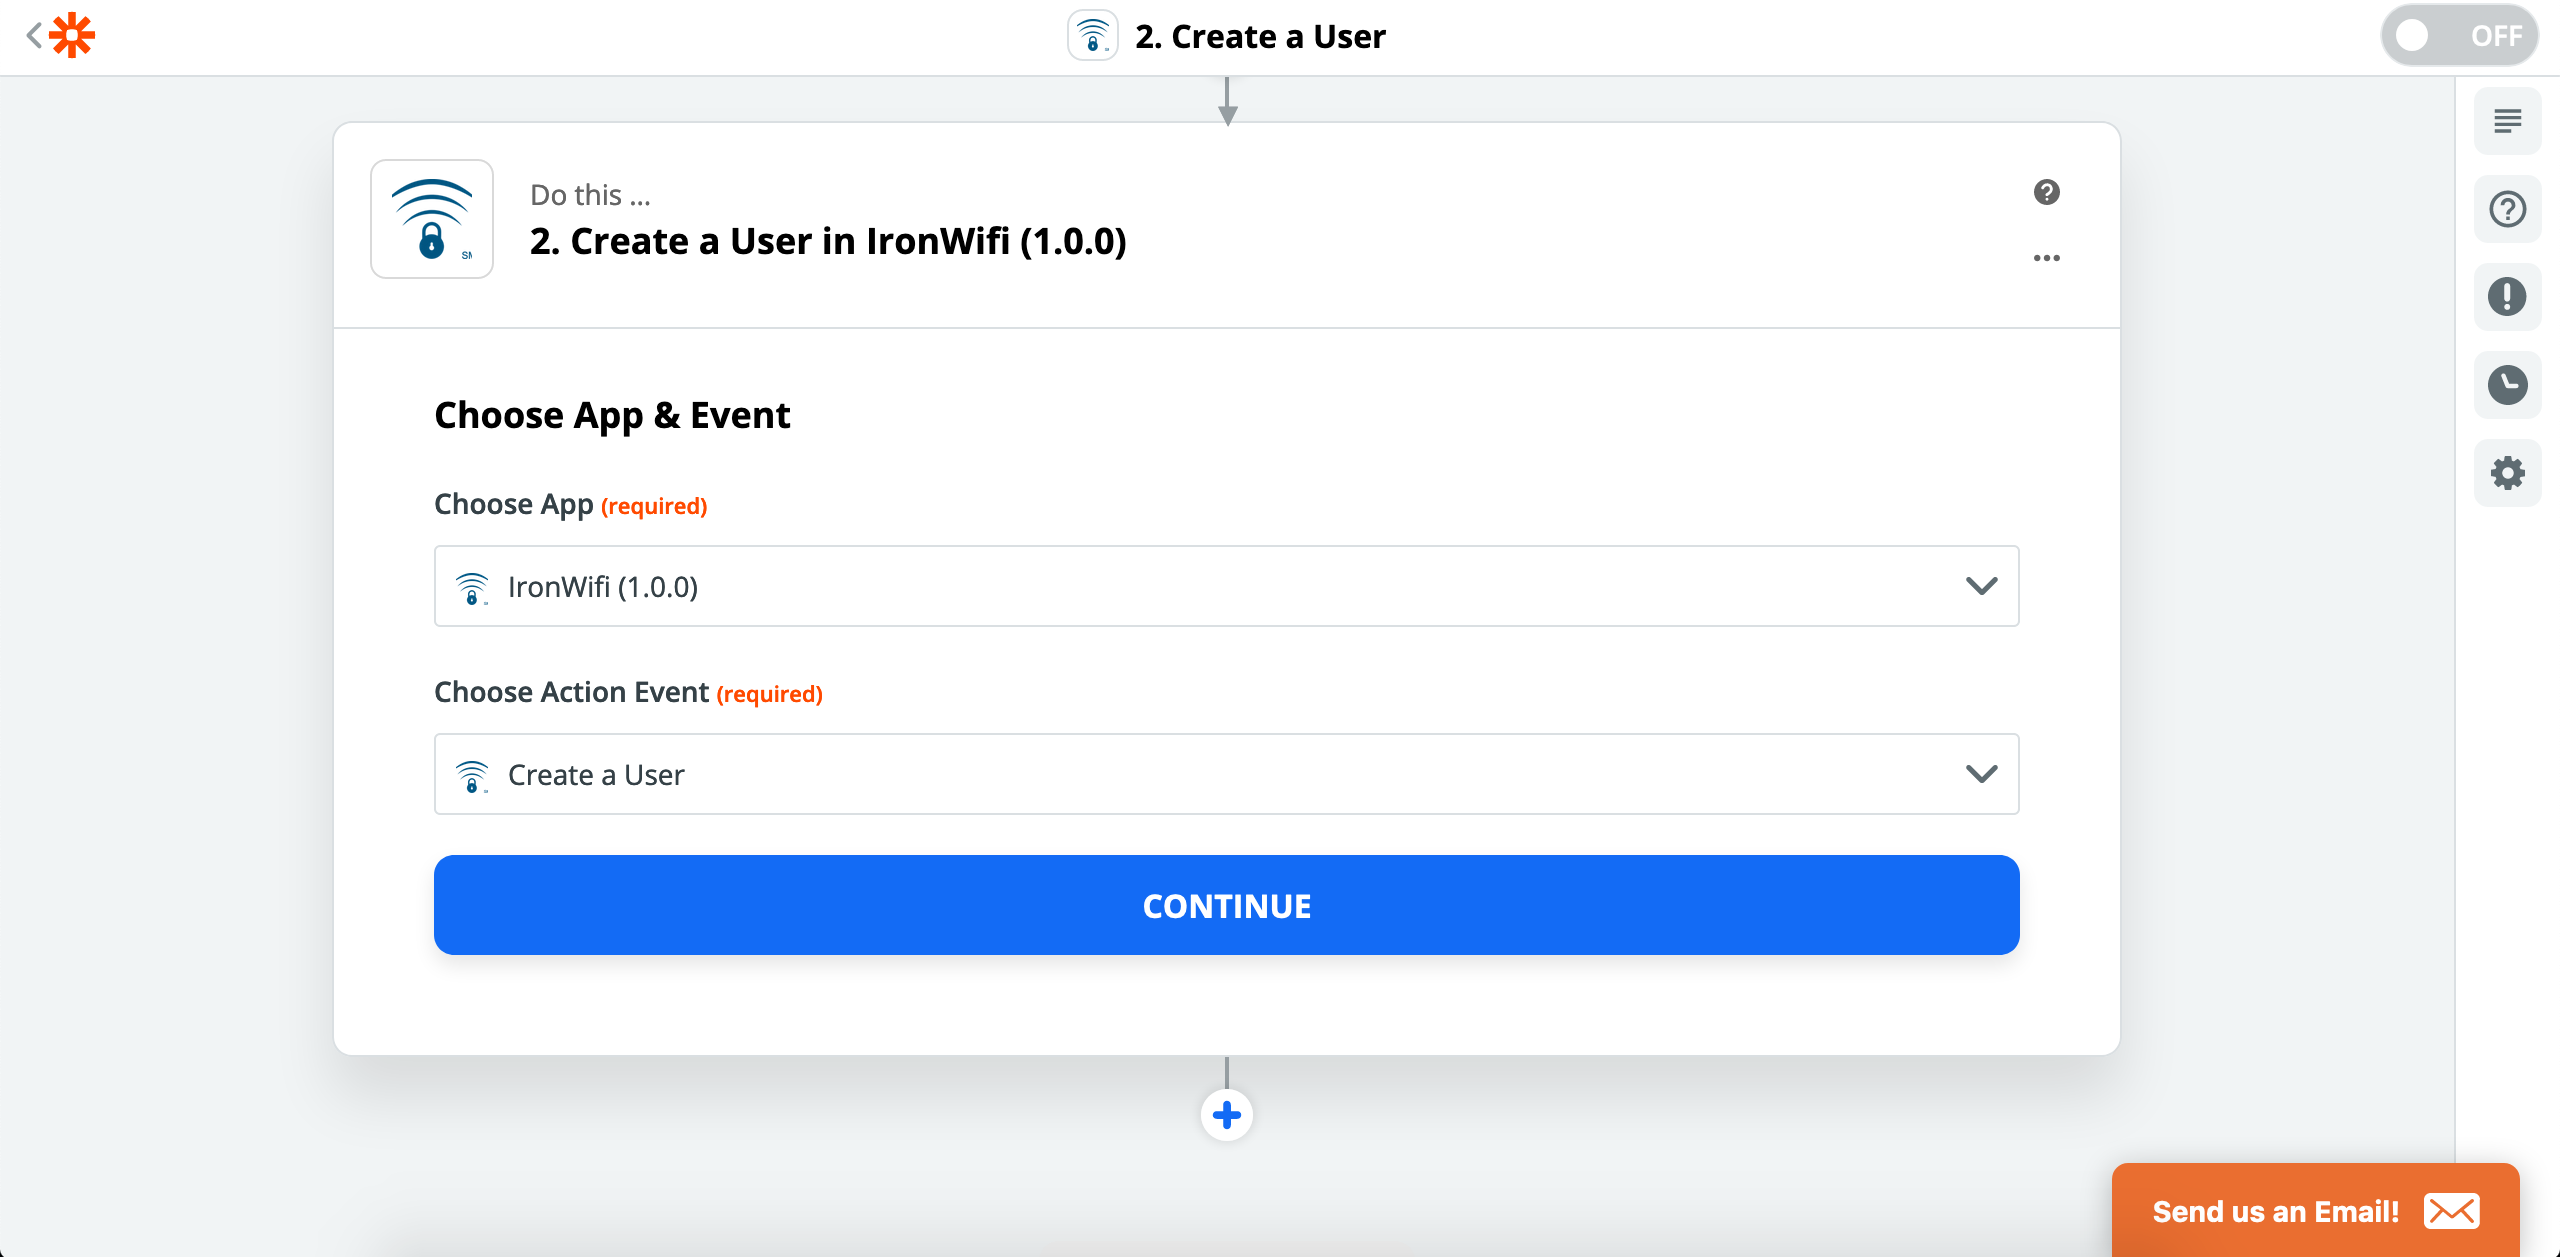
10. Choose the event "Create a User" and click continue.
11. After, that you'll need to authorize your IronWiFi account. A window like below should pop up.
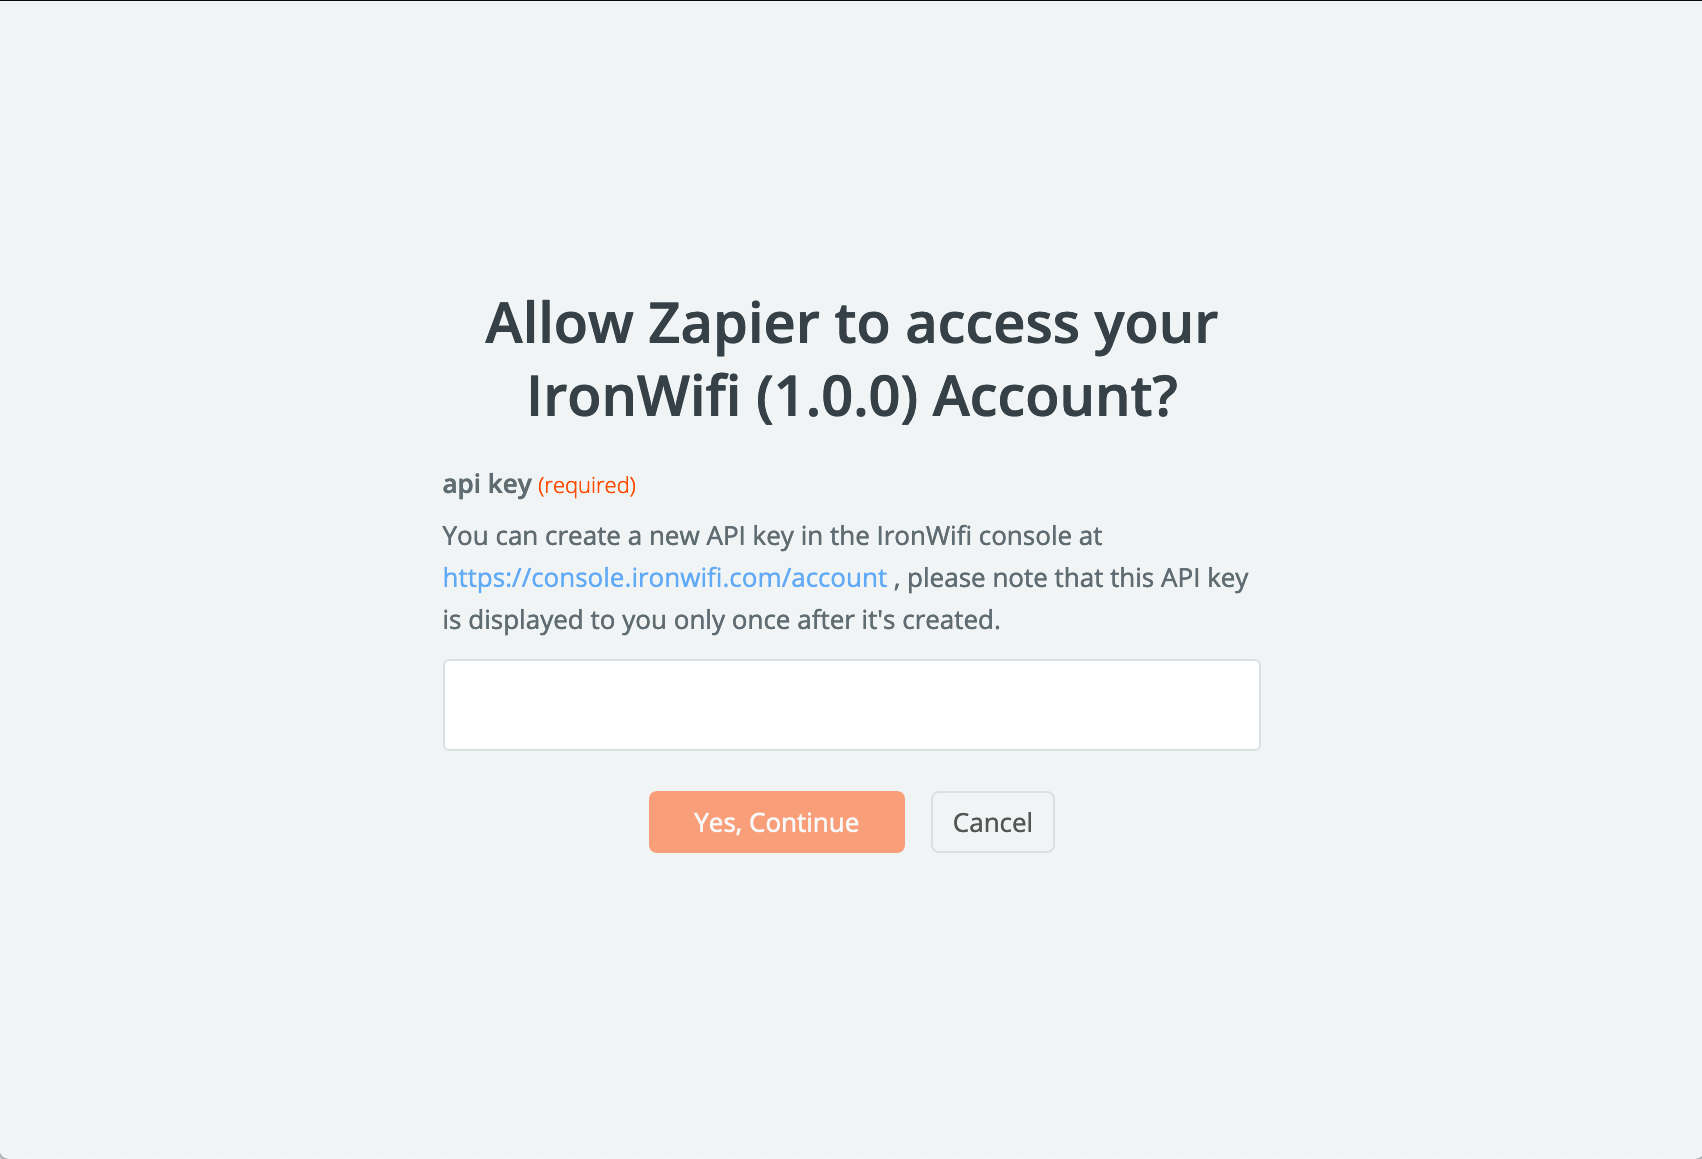
12. You need an API key to authorize Zapier to access to your account. Create one in the Account section of our console (https://console.ironwifi.com/account). If you're having trouble with this, email us at support@ironwifi.com and we will help you.
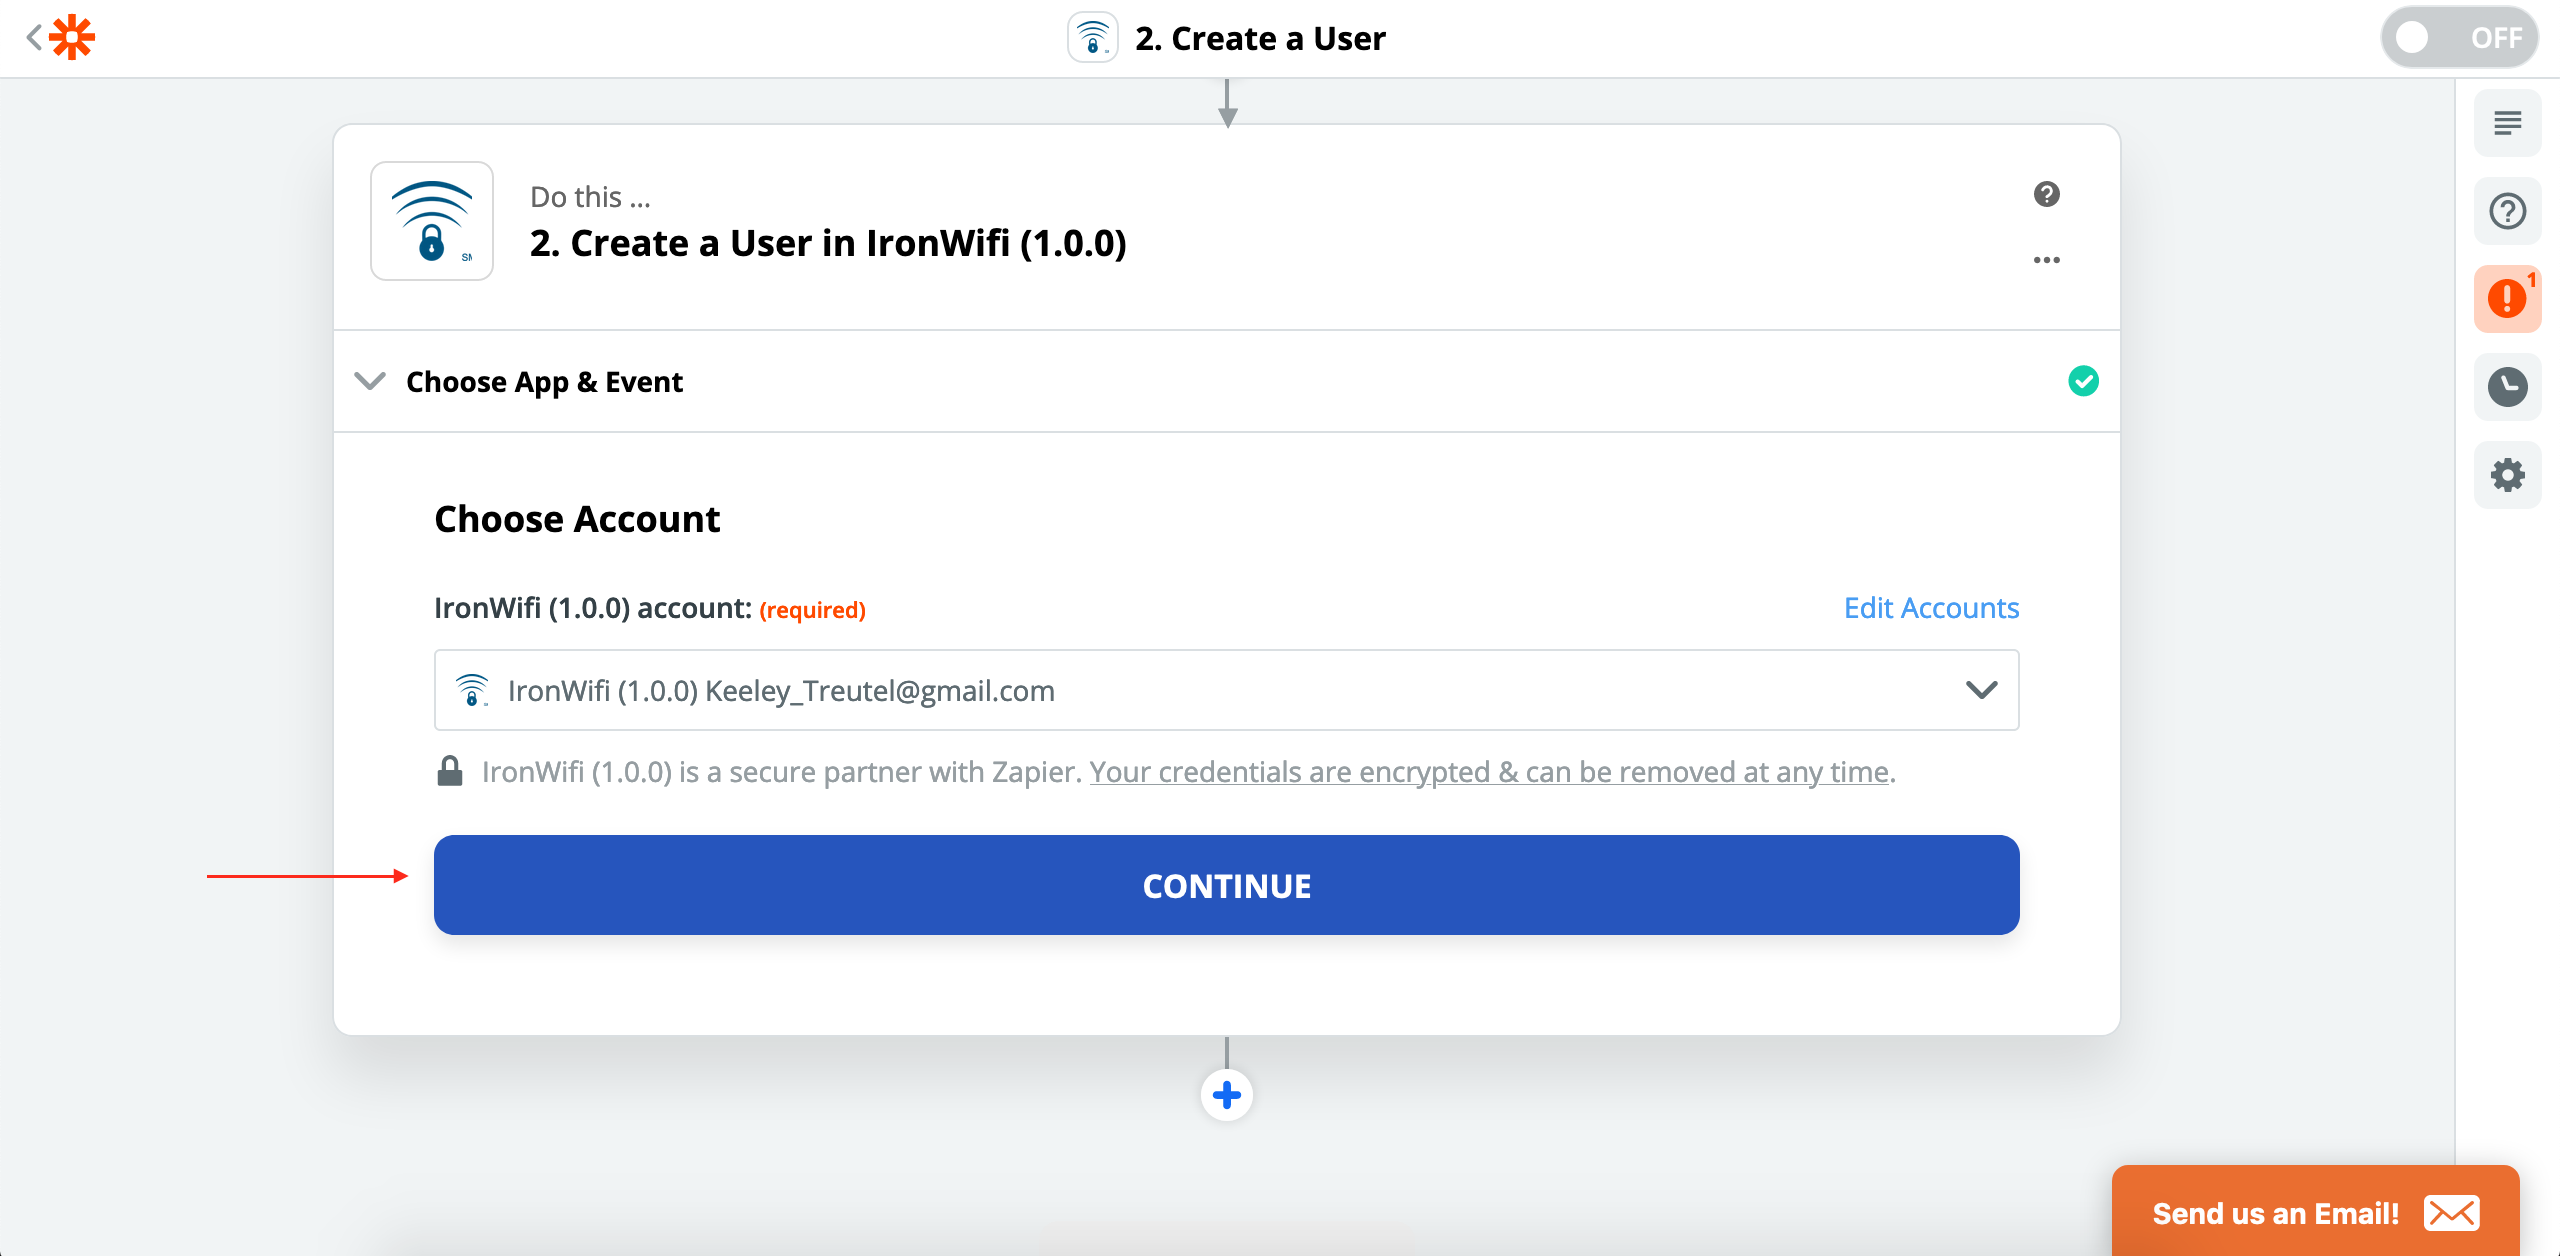
13. Once you have the API key, paste it into the input box and click "Yes, Continue". After you've set up the IronWiFi account, click "Continue" again as shown in the picture below.
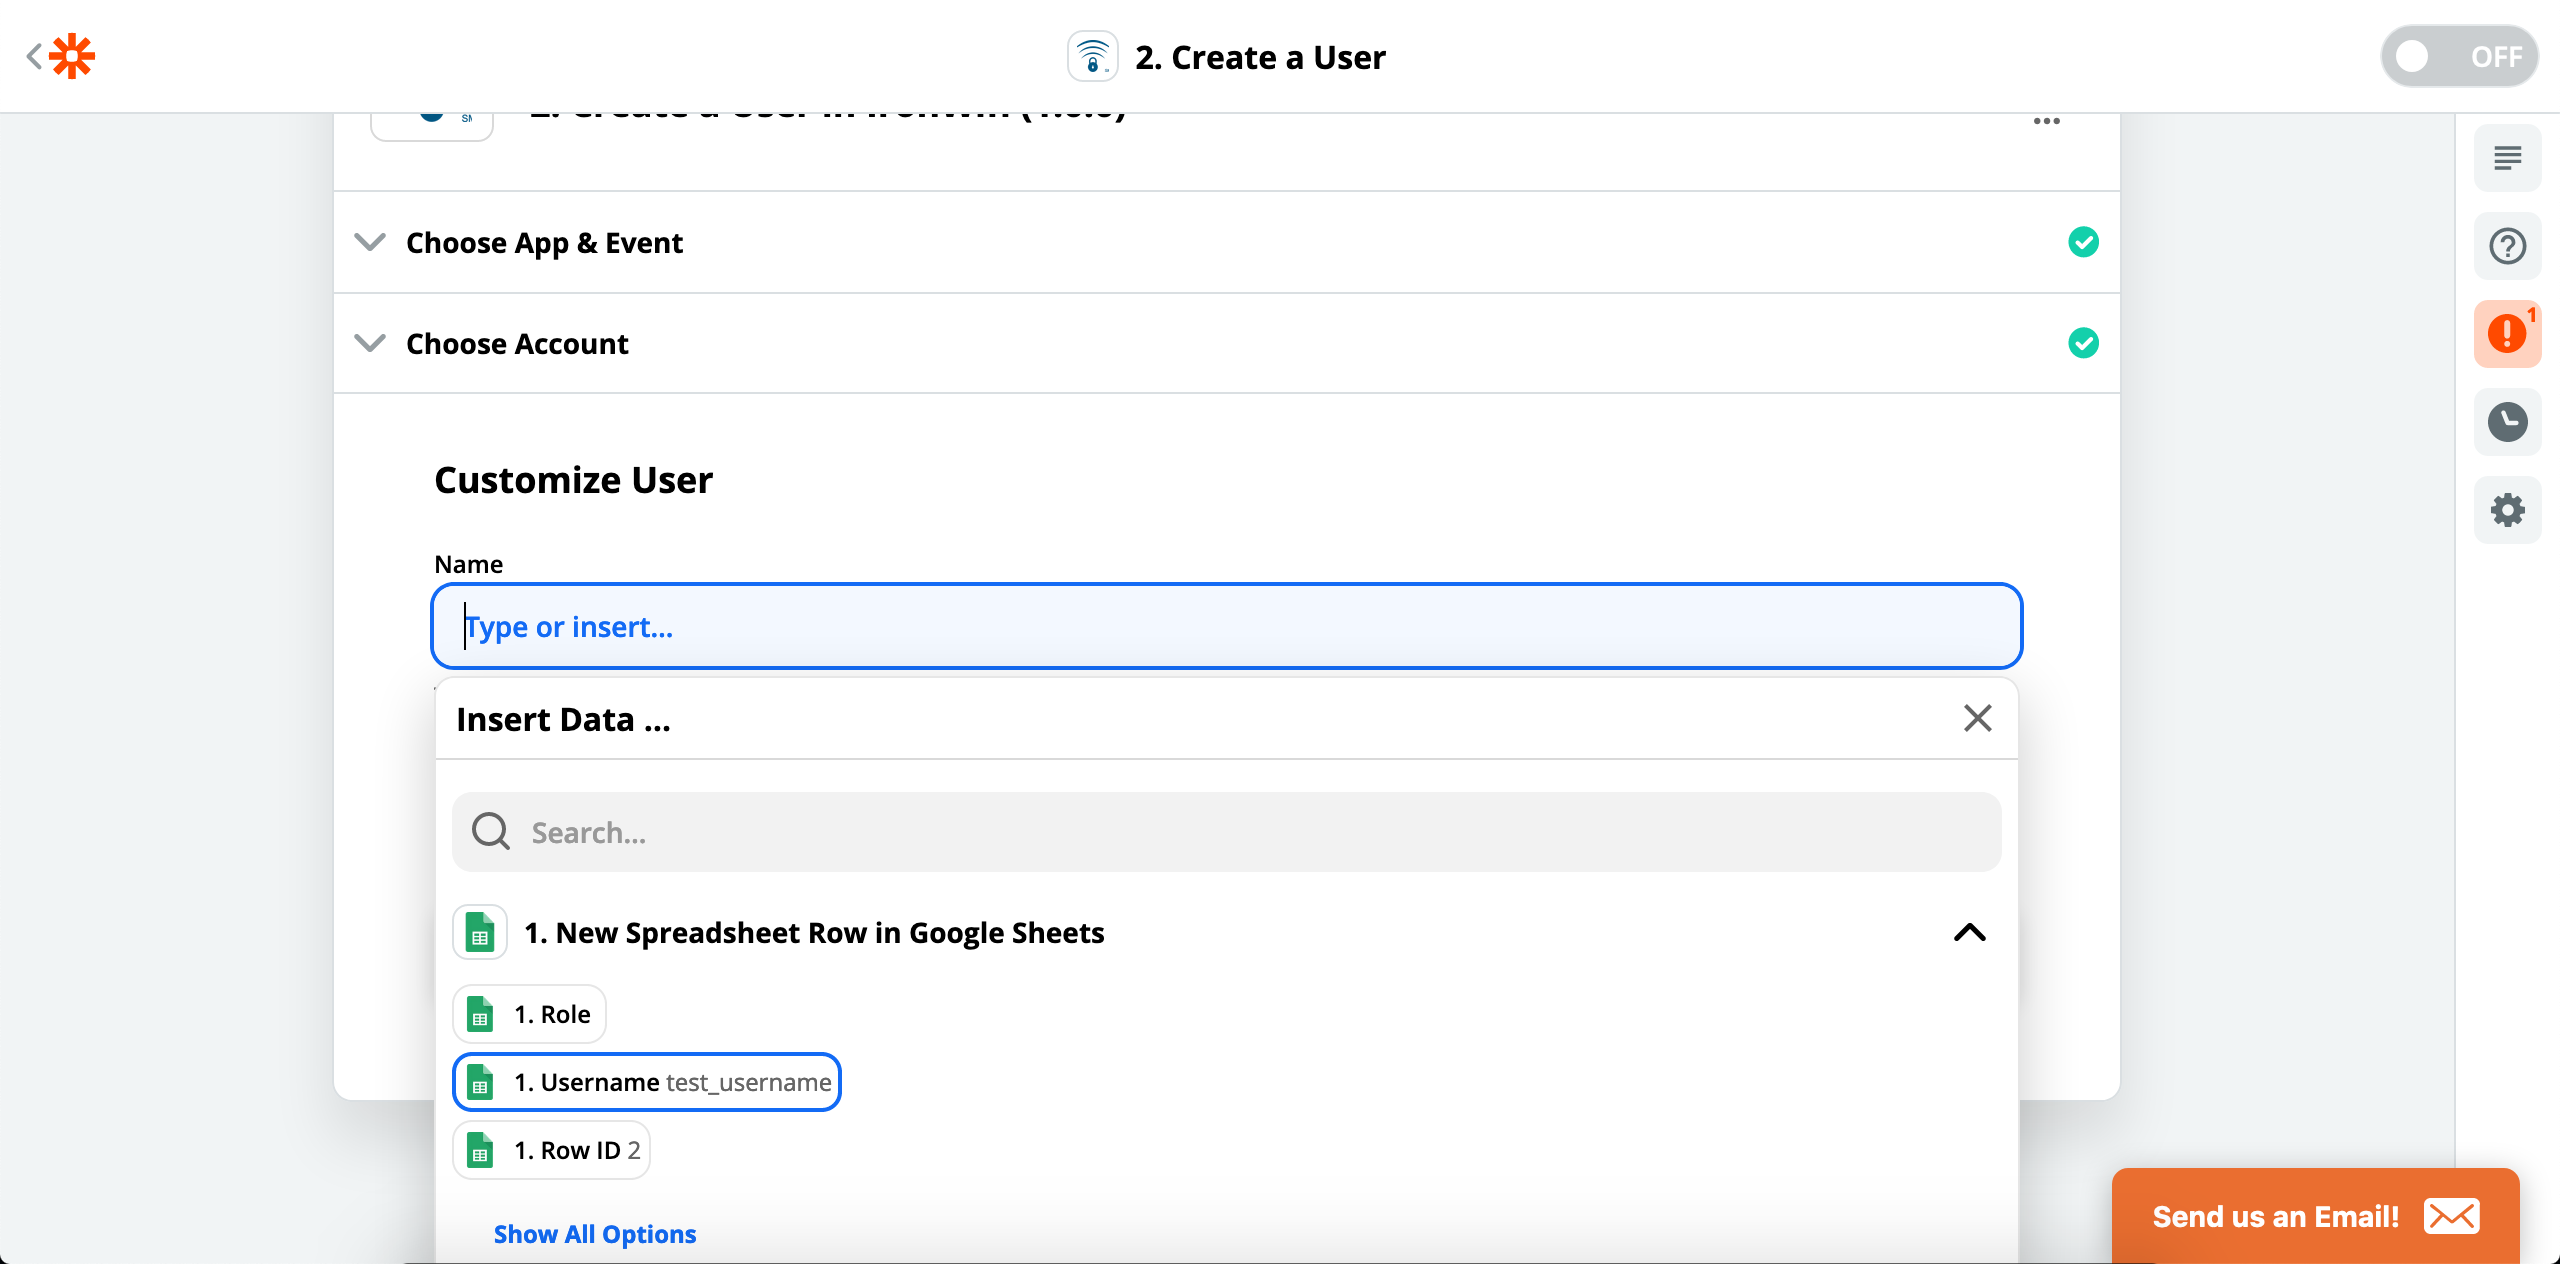
14. Now, customize the user creation by choosing the value from your spreadsheet like below.
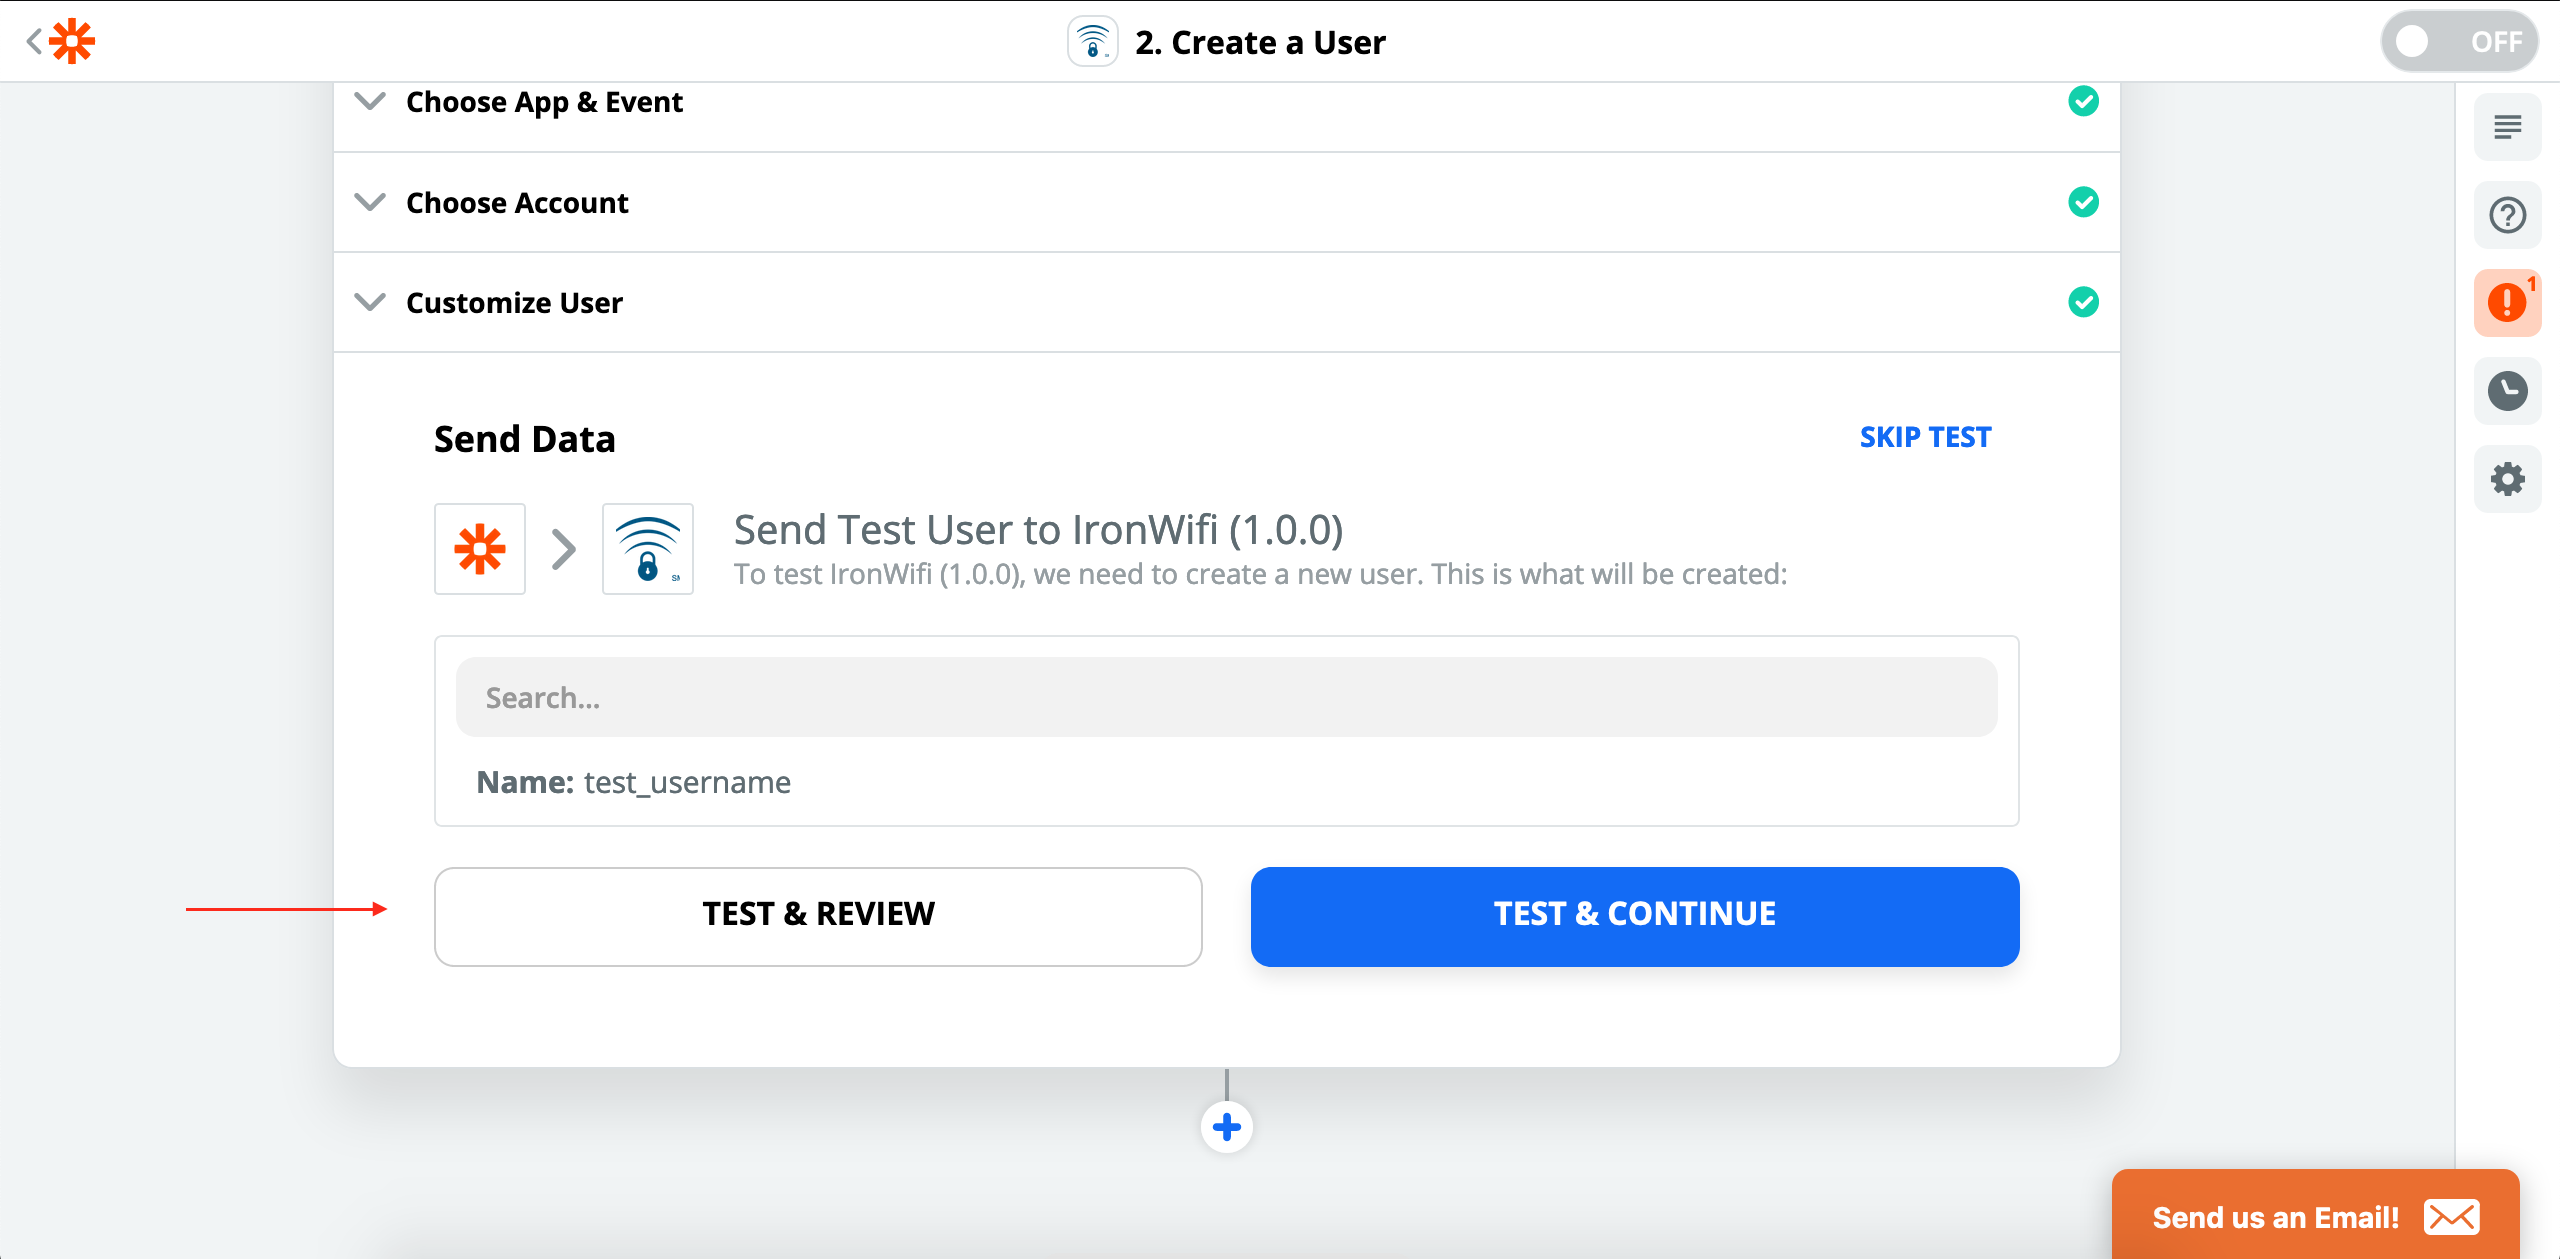
15. Then, click "Continue" and test the action!
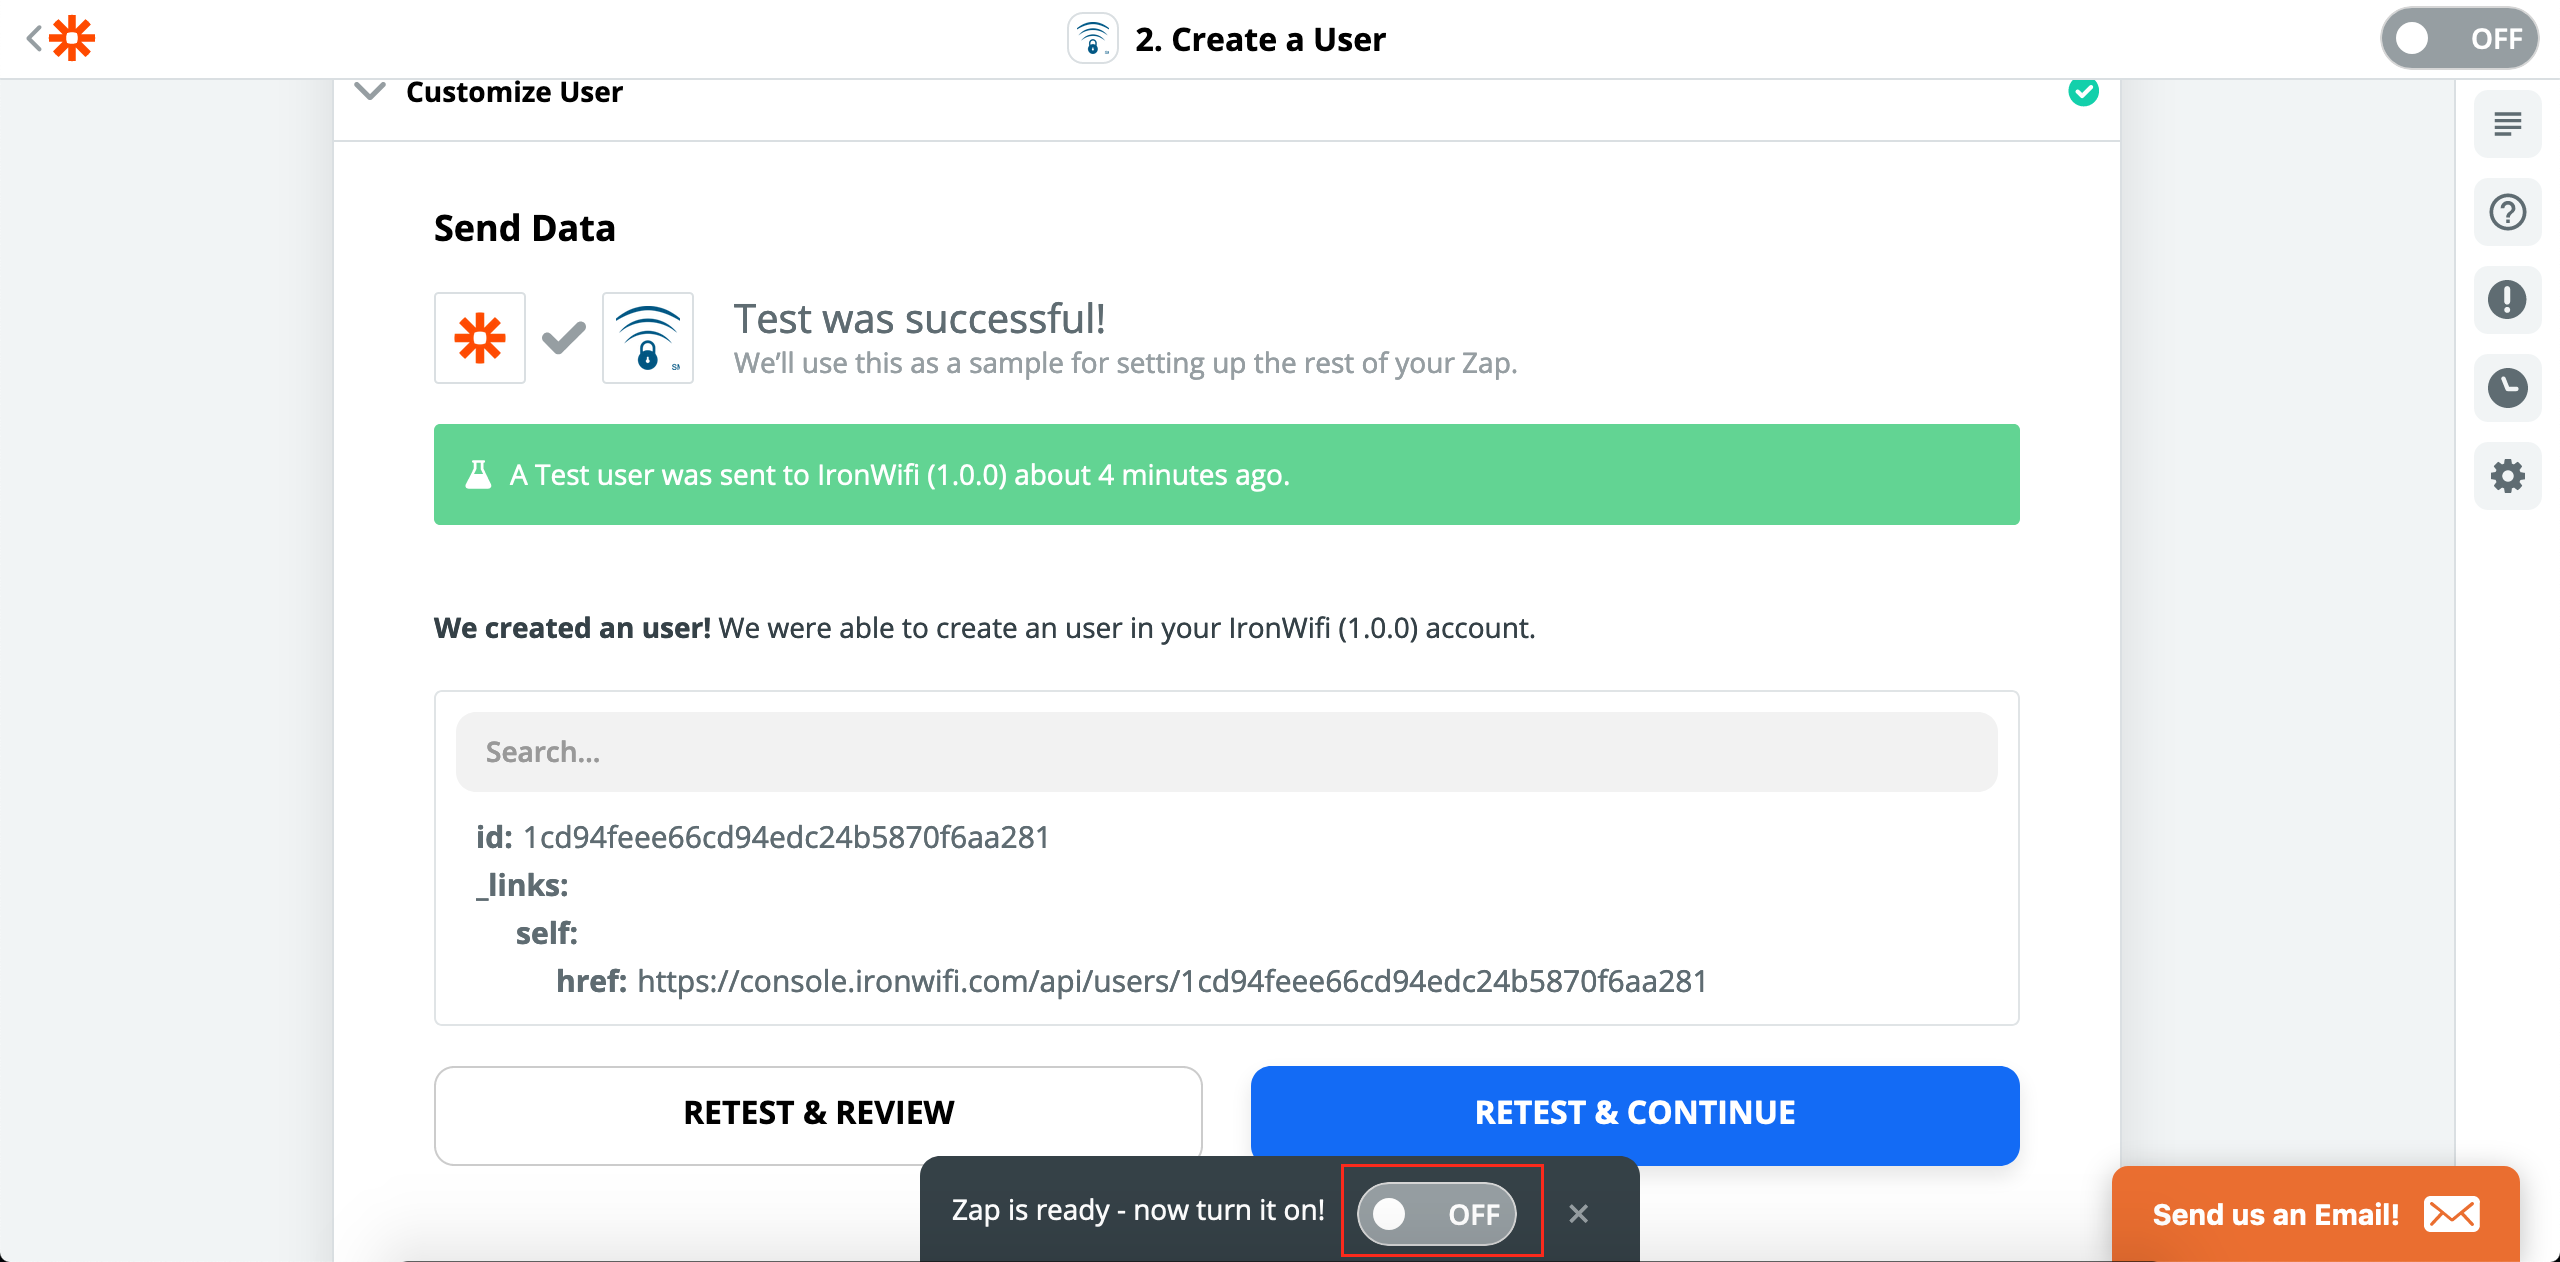
16. If everything went well, a user with the username of your value from the spreadsheet was created. You can turn on the zap and test it in action if you'd like, or chain more actions to the zap you've already created!
If you're having trouble with creating your own zaps, or have any other questions do not hesitate to let us know at support@ironwifi.com