To configure Windows device to connect to an 802.1x secured network using user credentials
IronWiFi and Windows device Configuration:
- Create an IronWiFi account the first >>> Open an account
- Follow the provided instructions to set up your AP configuration >>> AP configuration instructions
- Follow the instructions on how to configure your secured network connection on Windows⬇
EAP-TTLS / PAP requires the use of an 802.1X supplicant.
The following Operating Systems all include 802.1X supplicants and support EAP-TTLS and PAP:
- Microsoft Windows v7+ (note: Windows Mobile does not support EAP-TTLS)
- Microsoft Windows v8+ supports the default installation
- Microsoft Windows before version 7, only with extra software/drivers
You can use our Profile Generator to automate user supplicant configuration. If the profile created with our generator doesn't work, you can configure your wireless profile manually.
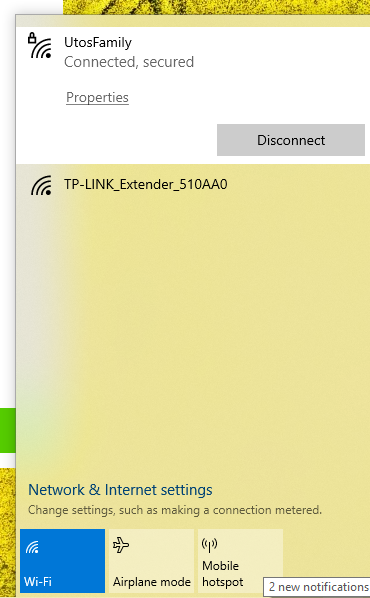
1. Right-click on the Wlan Symbol >> Open Network&Internet Settings
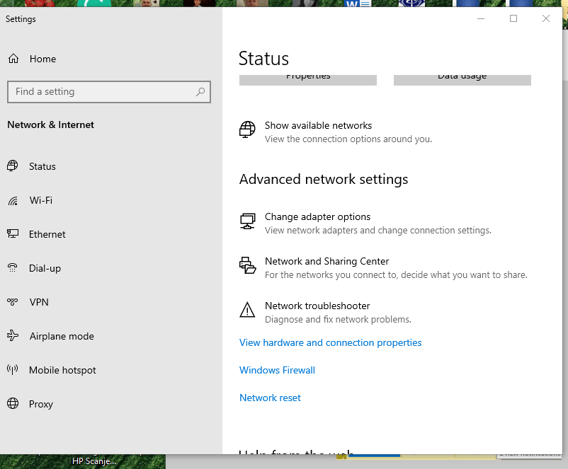
2. Go to the Network and Sharing Center
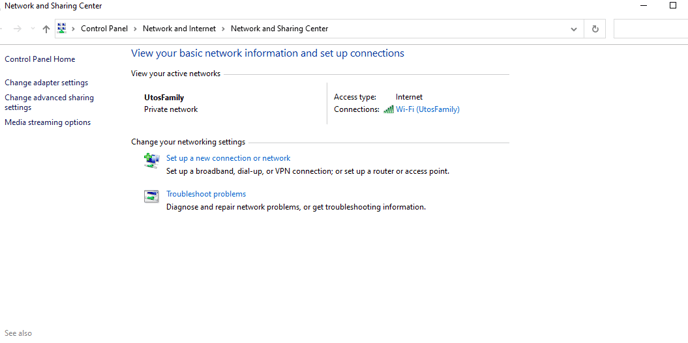
3. Click on Set up a new connection or network
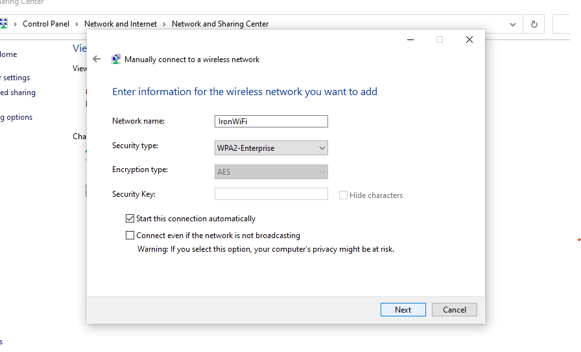
4. Click on Manually connect to a wireless network

5. Enter your Network name, select WPA2-Enterprise Security Type and AES as Encryption type and click Next.
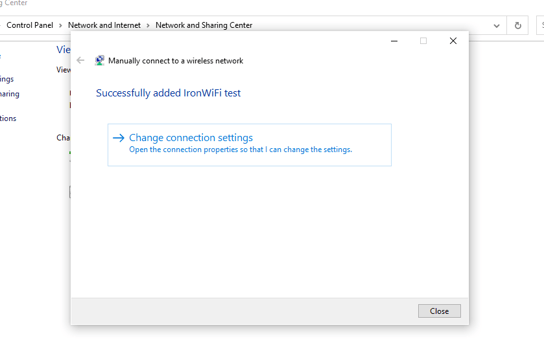
6. Click on Change connection settings
7. Review the settings and click on the Security tab

8. In tab Security, make sure to have Security type WPA2-Enterprise, Encryption type AES, Network authentication protocol Microsoft: EAP-TTLS, then click on Settings
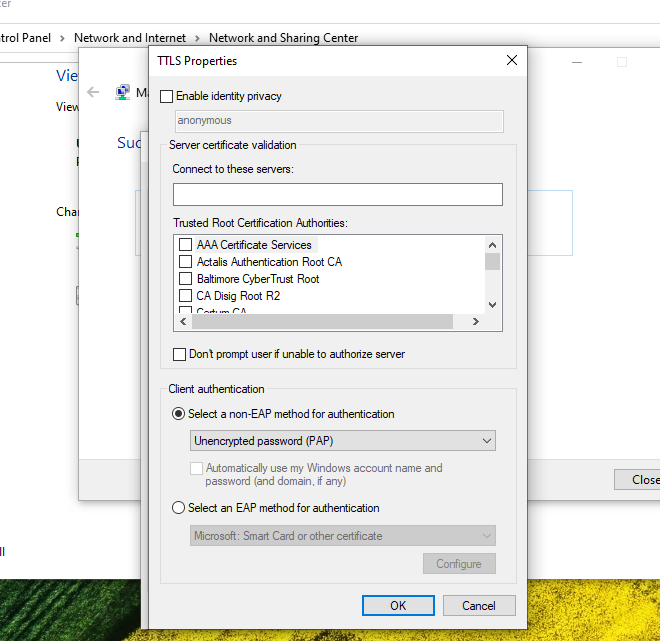
9. Unselect check-box Enable identity privacy and make sure to have Unencrypted password (PAP) selected as Client authentication. Click OK to close the window.
10. Click on Advanced settings and select Specify authentication mode check-box. Select User authentication.
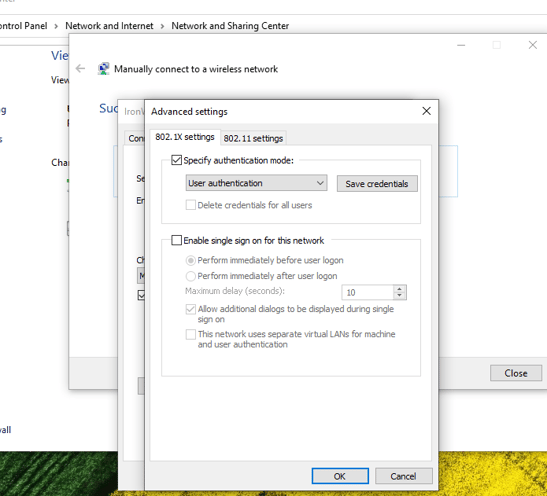
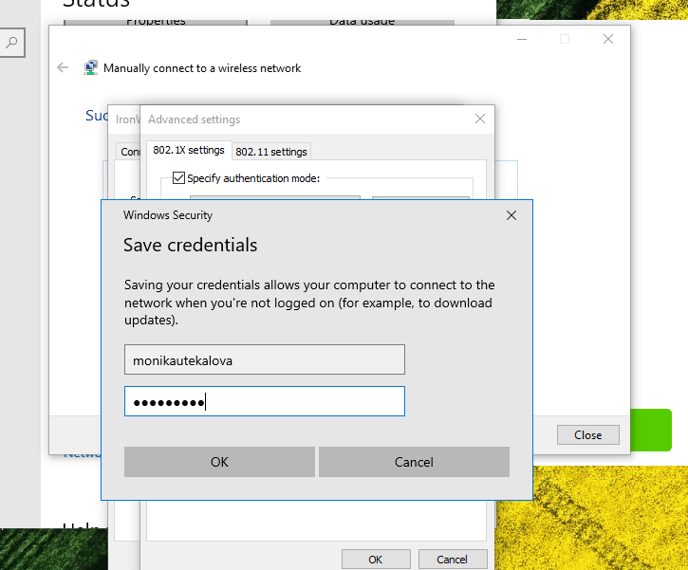
IMPORANT: If you are using Windows 10, click on Save credentials, enter valid credentials and click OK.
11. Select your new connection and click Connect.

Sometimes occurs problems with trying while having domain/server/certifikate verification enabled. If you cannot connect, try with disabled these security features.
12. If successful, you will see the Connected status below your network name.
13. If you want to export the profile and re-use it, you can create the profile without saving the credentials, and then export the profile. Run CMD to get to Windows terminal and then type:
netsh wlan show profile
to list all the profiles.

You can then export the profile with the following command:
netsh wlan export profile name="Your_profile_name" folder="dst_folder"

After the profile has been exported, you can move it to any other computers, and import them using command:
netsh wlan add profile filename="Your_exported_file" user=all
![]()
Go to Network & internet > WiFi > Manage known networks to confirm that the profile has been succesfuly installed.
