How to setup Twilio to enable SMS sending?
This page provides instructions on how to set up a new Twilio account for SMS authentication and use it with IronWiFi Captive Portal.
Sign Up for Twilio Account
1. Visit https://www.twilio.com and click on the Sign-Up button.

2. Enter your registration details and click Get Started button.
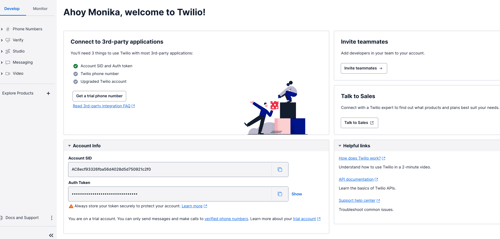
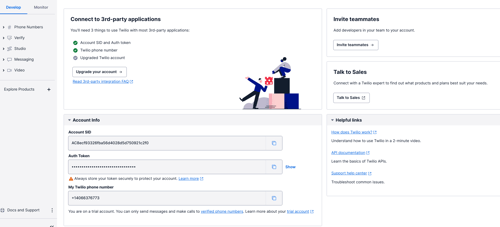
3. Copy the ACCOUNT SID and AUTH Token
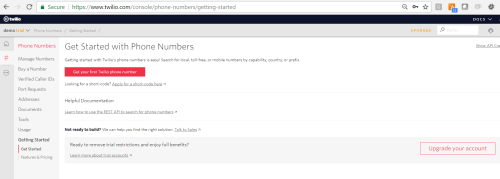
4. Next request a new Phone Number that will be used for outgoing SMS messages. In the Phone Numbers Dashboard, click on the Get Started button.
5. Click on the Get your first Twillio phone number button.
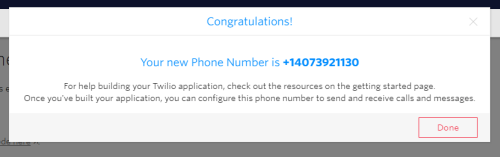
6. Click on the Choose this Number button.
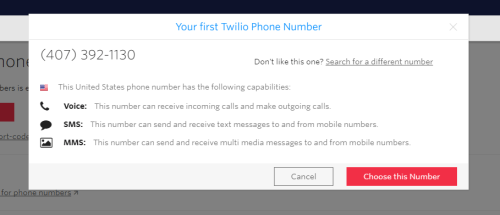
7. Copy the new Phone Number and paste it to the Authentication Providers settings.
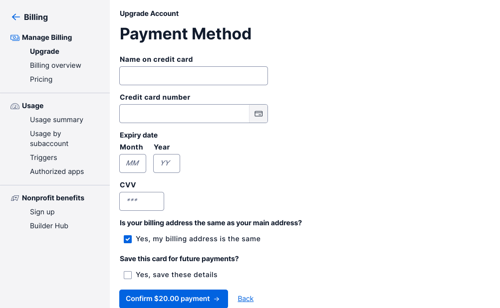
8. Upgrade your account and add your billing details to pay the provider for the service.
If you expect to see visitors with international phone numbers, read about Global SMS and enable Geographic permissions.
IronWiFi Console
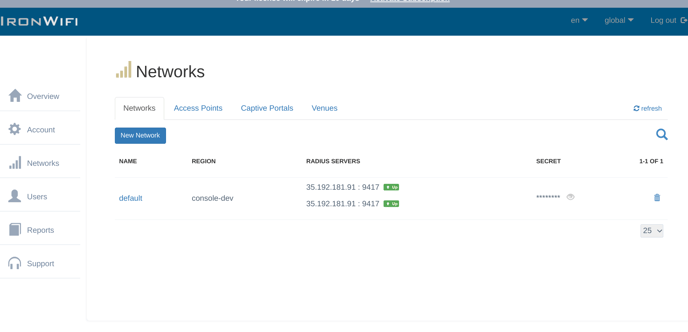
1. Sign In to the IronWiFi Management Console
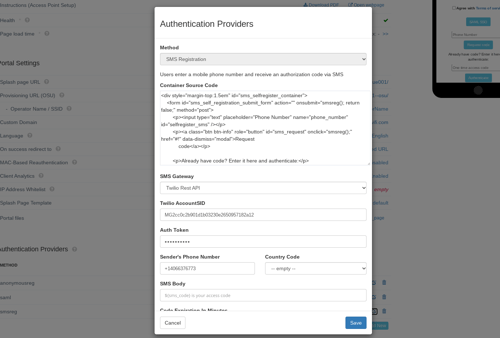
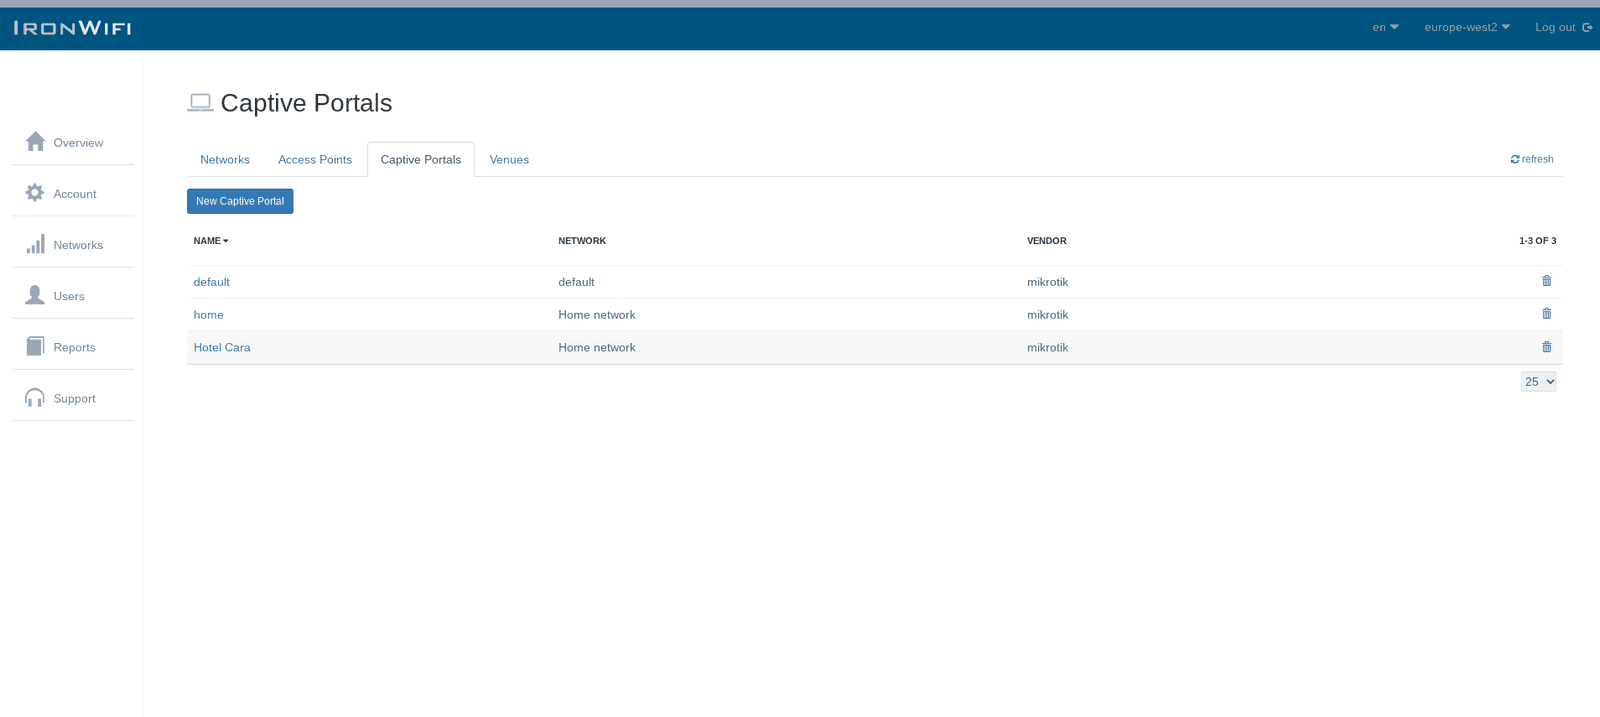
2. Click on Networks -> Captive Portals -> New Captive Portal -> Authentication Providers -> Add New.
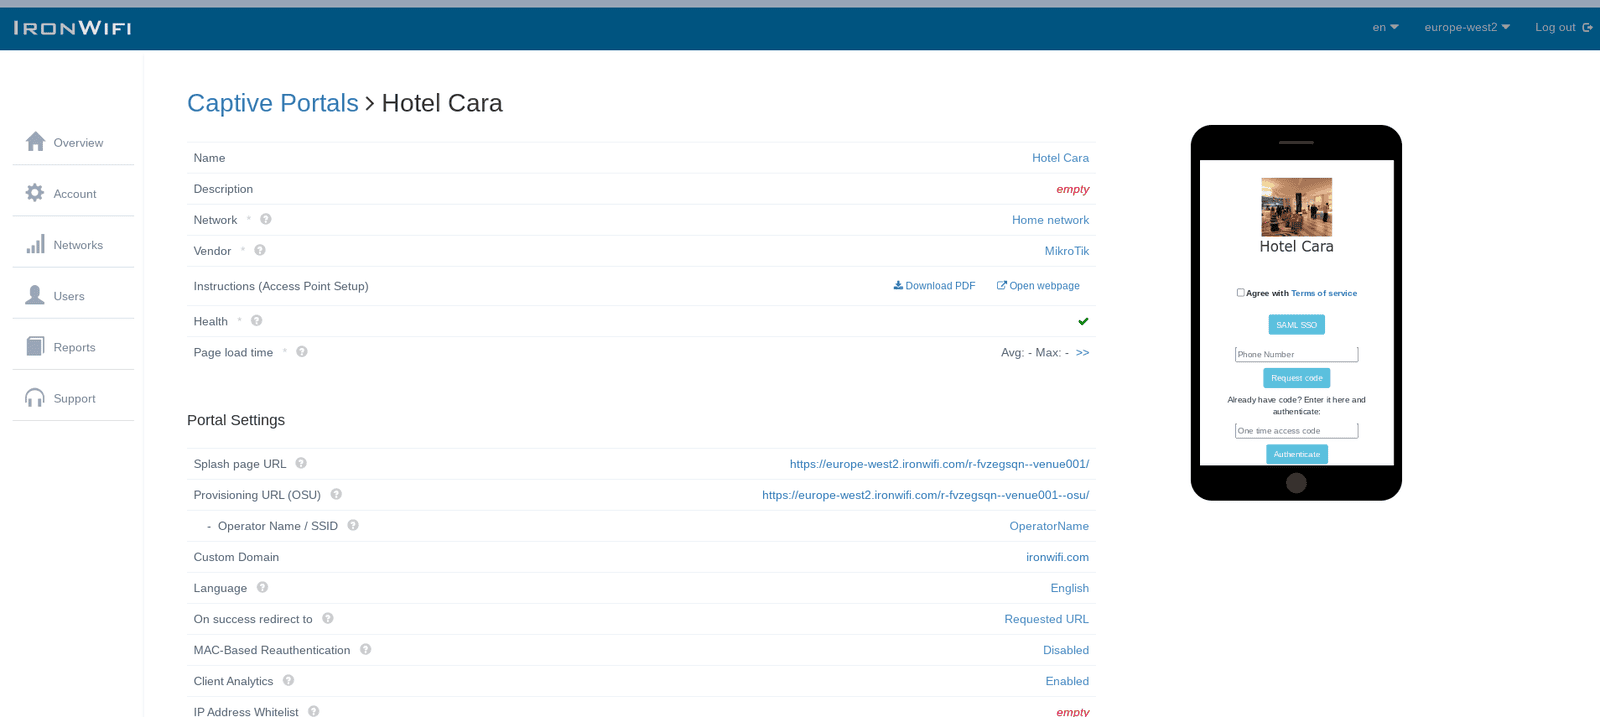
3. Scroll down to Authentication Providers section > Click Add New > Select SMS Registration Method and Twilio SMS Gateway. Next, enter your Twilio account details and click Create.