In this guide we describe how to configure your Teltonika devices to work with Passpoint profiles and OpenRoaming.
Prerequisites
-
Access to the Teltonika GUI as a user with administrative privileges.
-
Supported Teltonika device - this solution works with all devices that can run firmware v7.
-
Information about the assigned RADIUS servers (Server IP address, port numbers, shared secrets):
-
Email or document that contains this information OR
-
Access to the IronWiFi Management Console - Sign in or Open Account
-
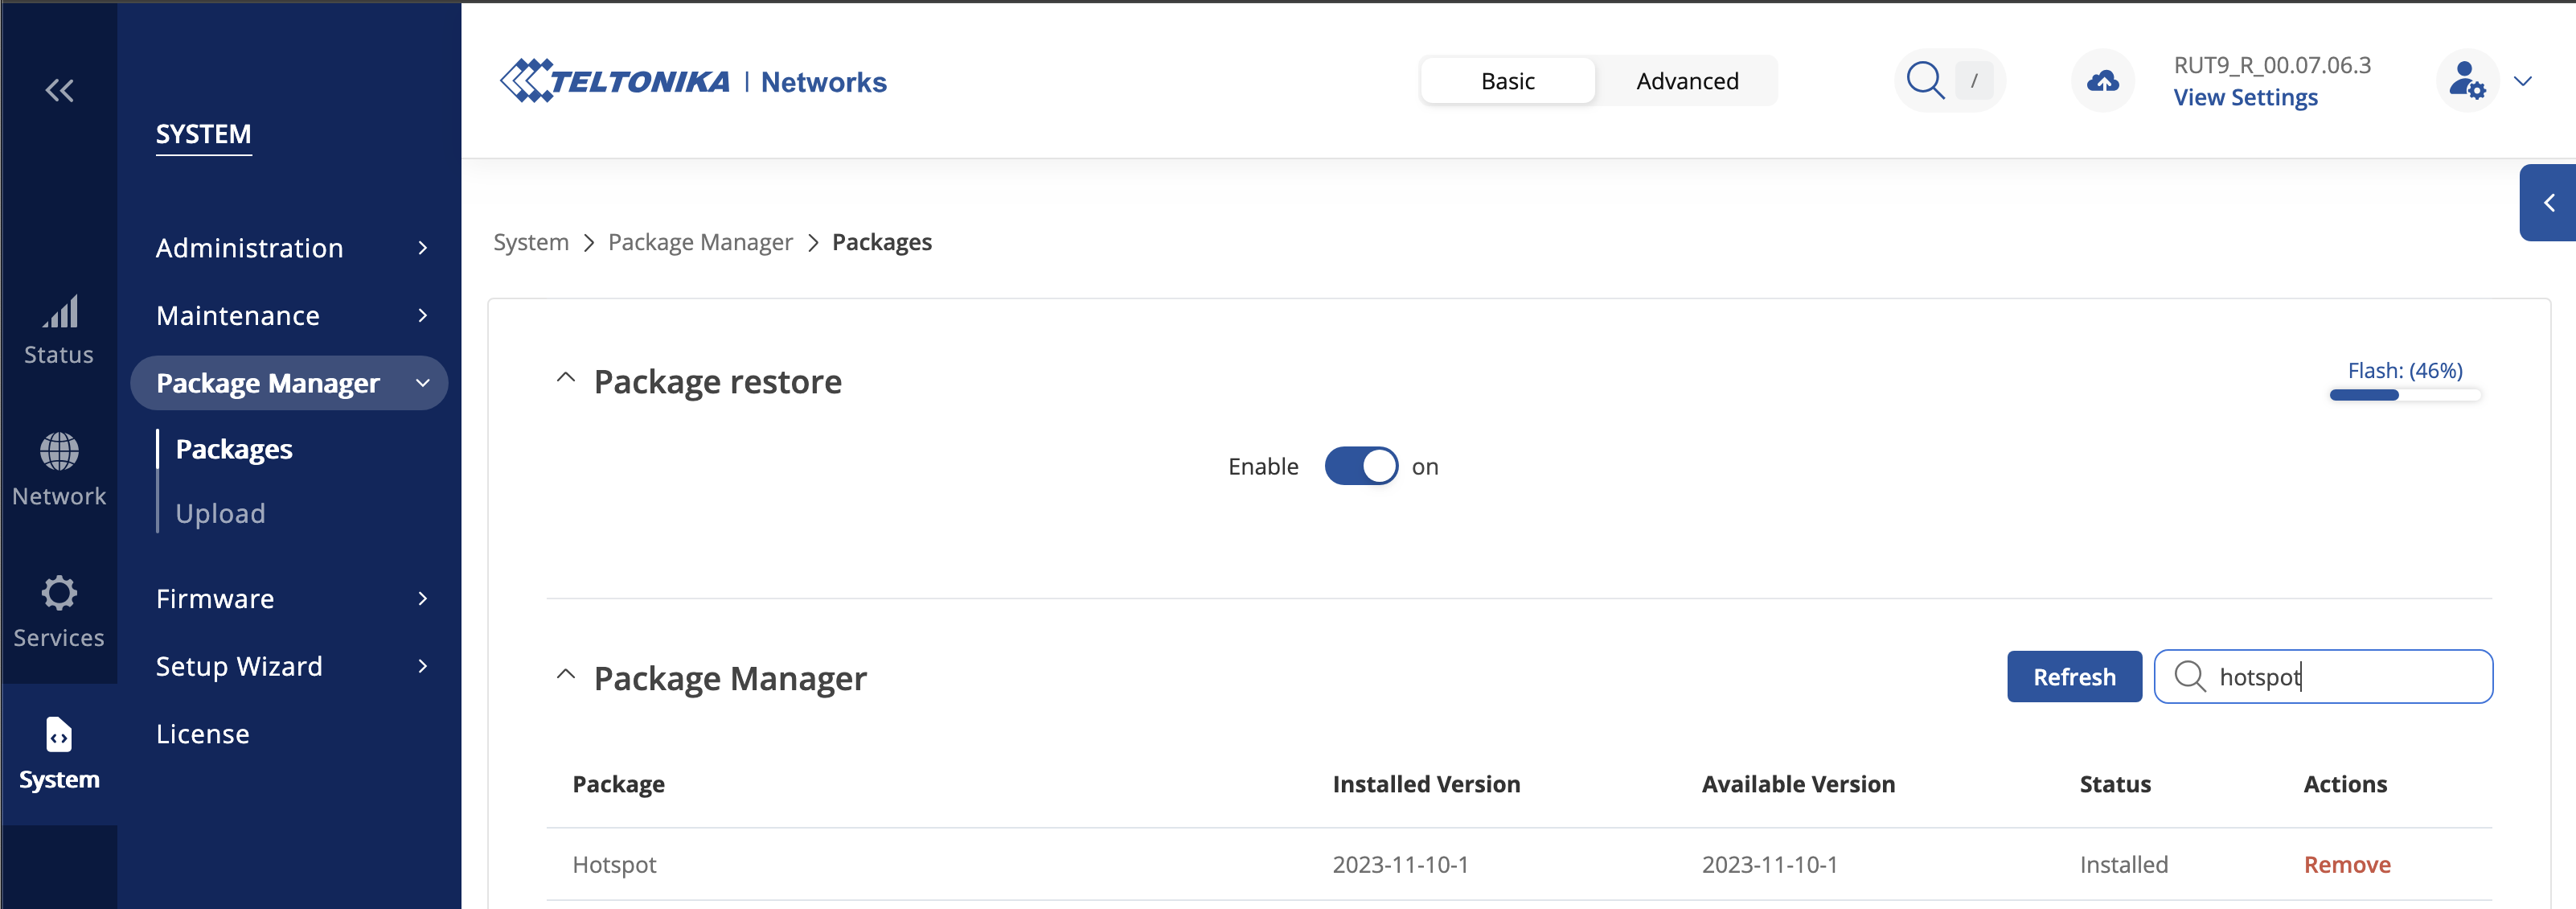
You need to install the Hotspot package using the Package Manager.
Navigate to System / Package Manager and search for hotspot. Click Install in Actions.
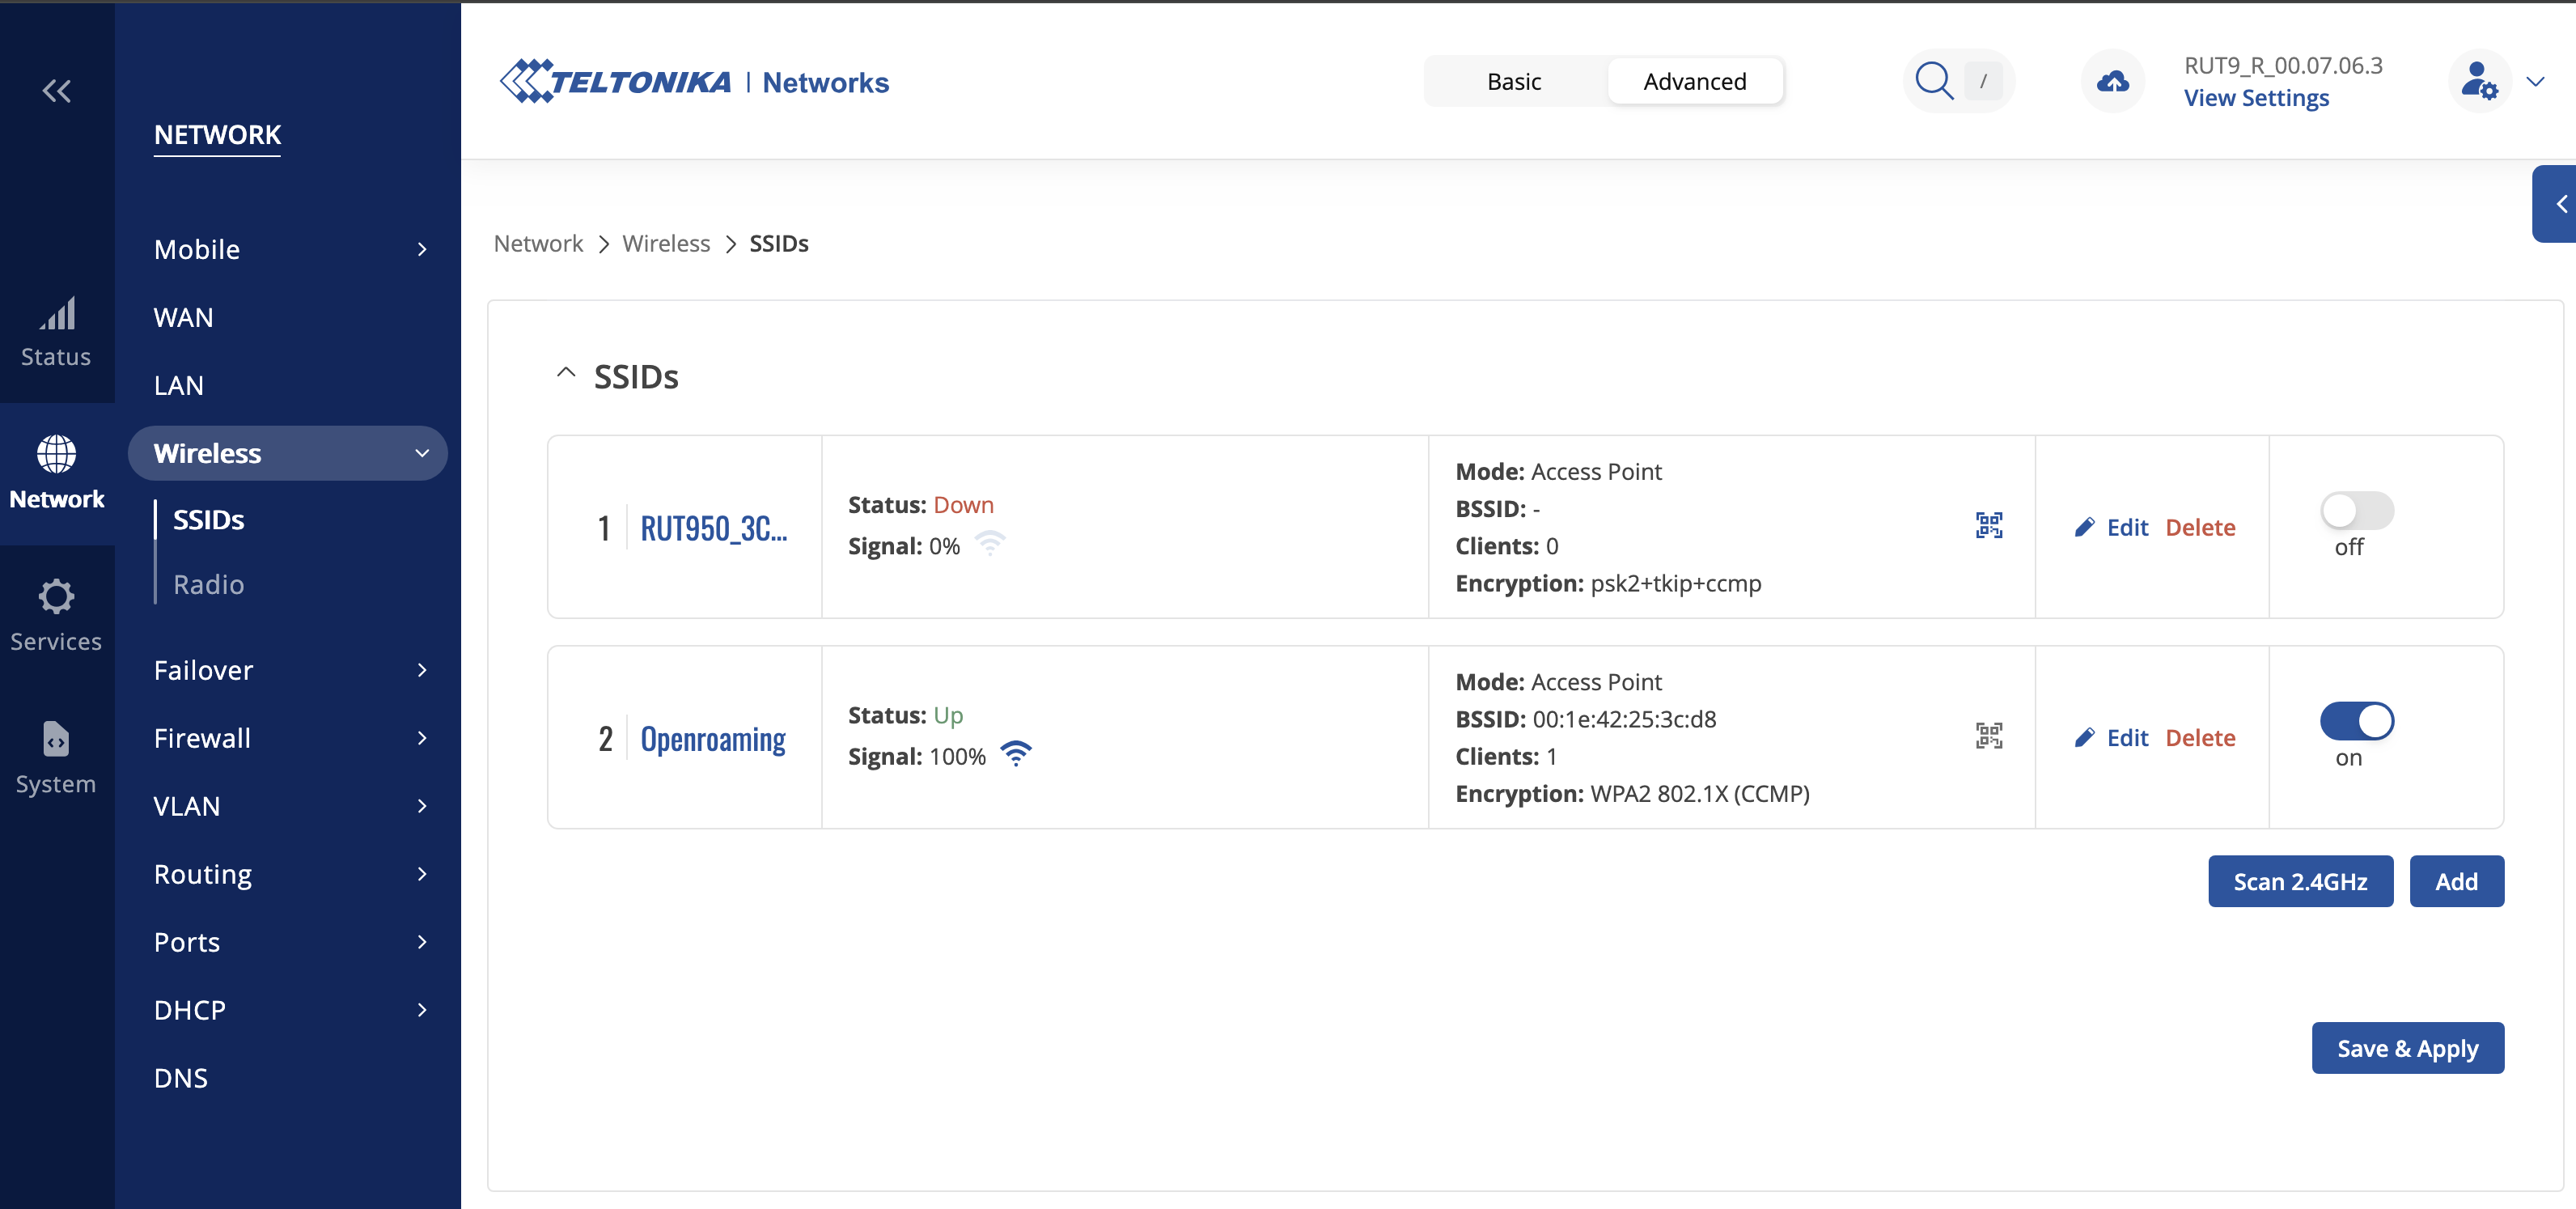
Next step is to configure your SSID to support the WPA2 Enterprise authentication.
Go to Network / Wireless / SSIDs and create a new SSID or modify the existing one.
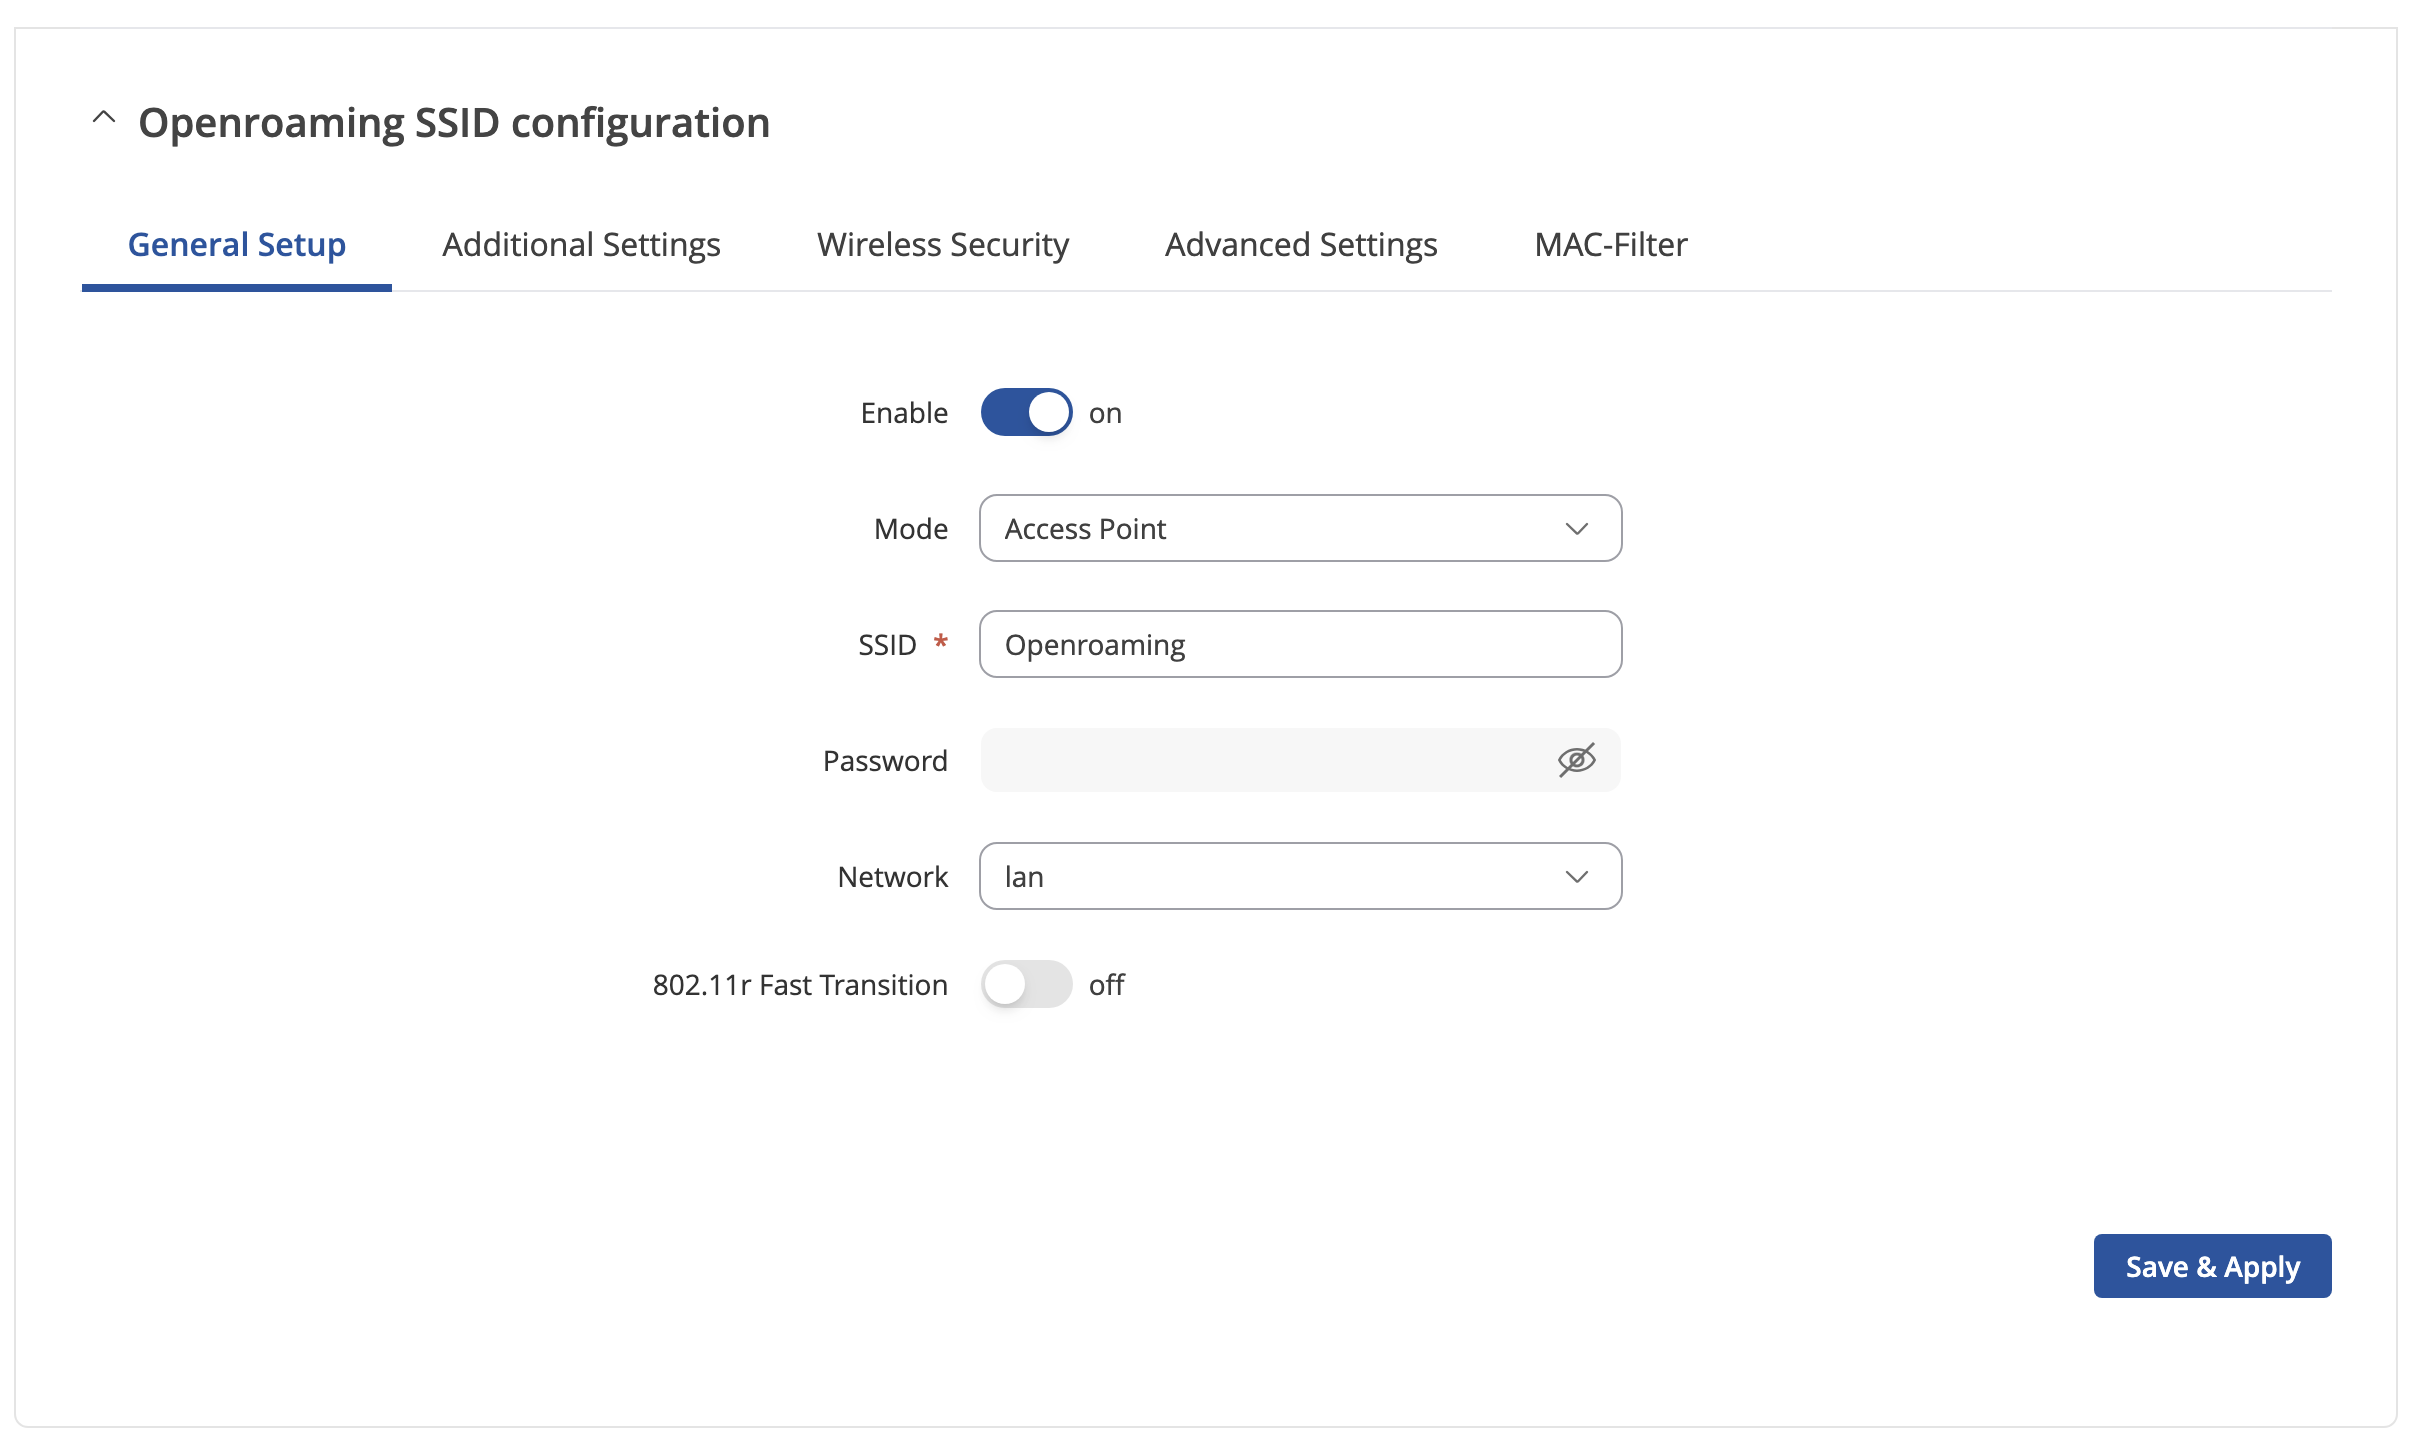
In General Setup type your chosen SSID.
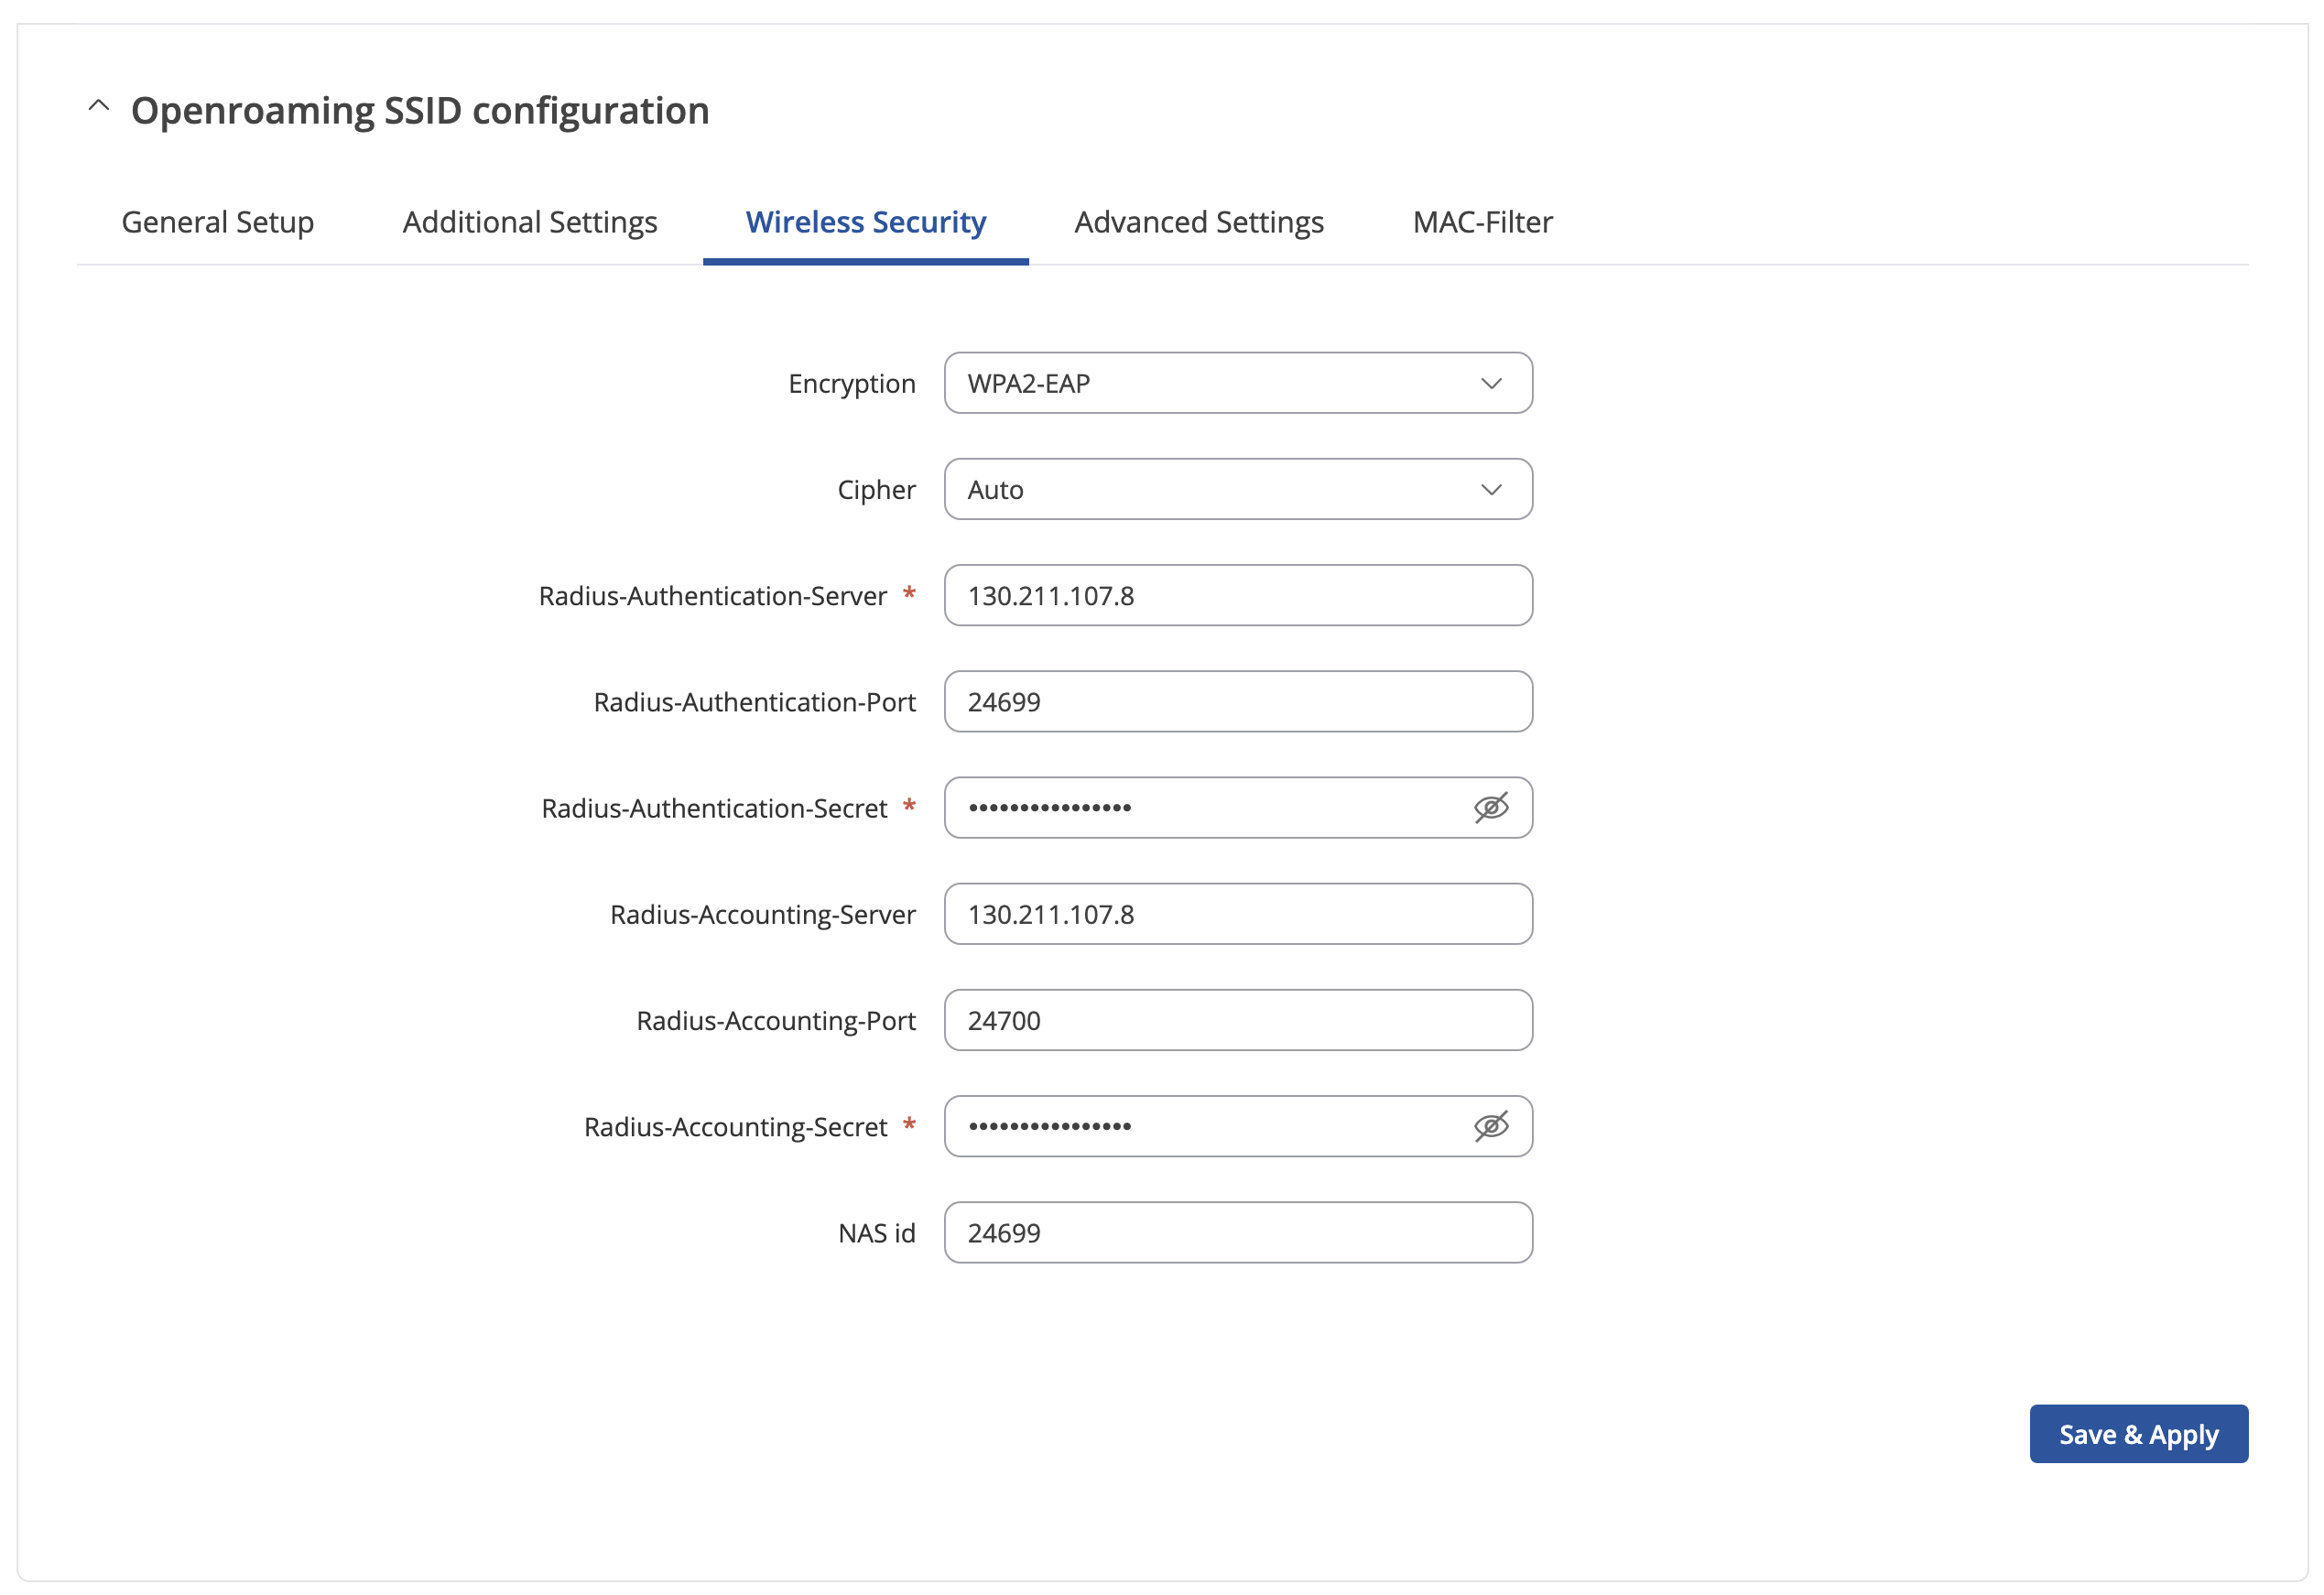
In Wireless Security tab change encryption to WPA2-EAP and add IP address, ports and secrets for your IronWiFi Radius Server. Change NAS id to the same value as Radius-Authentication-Port.
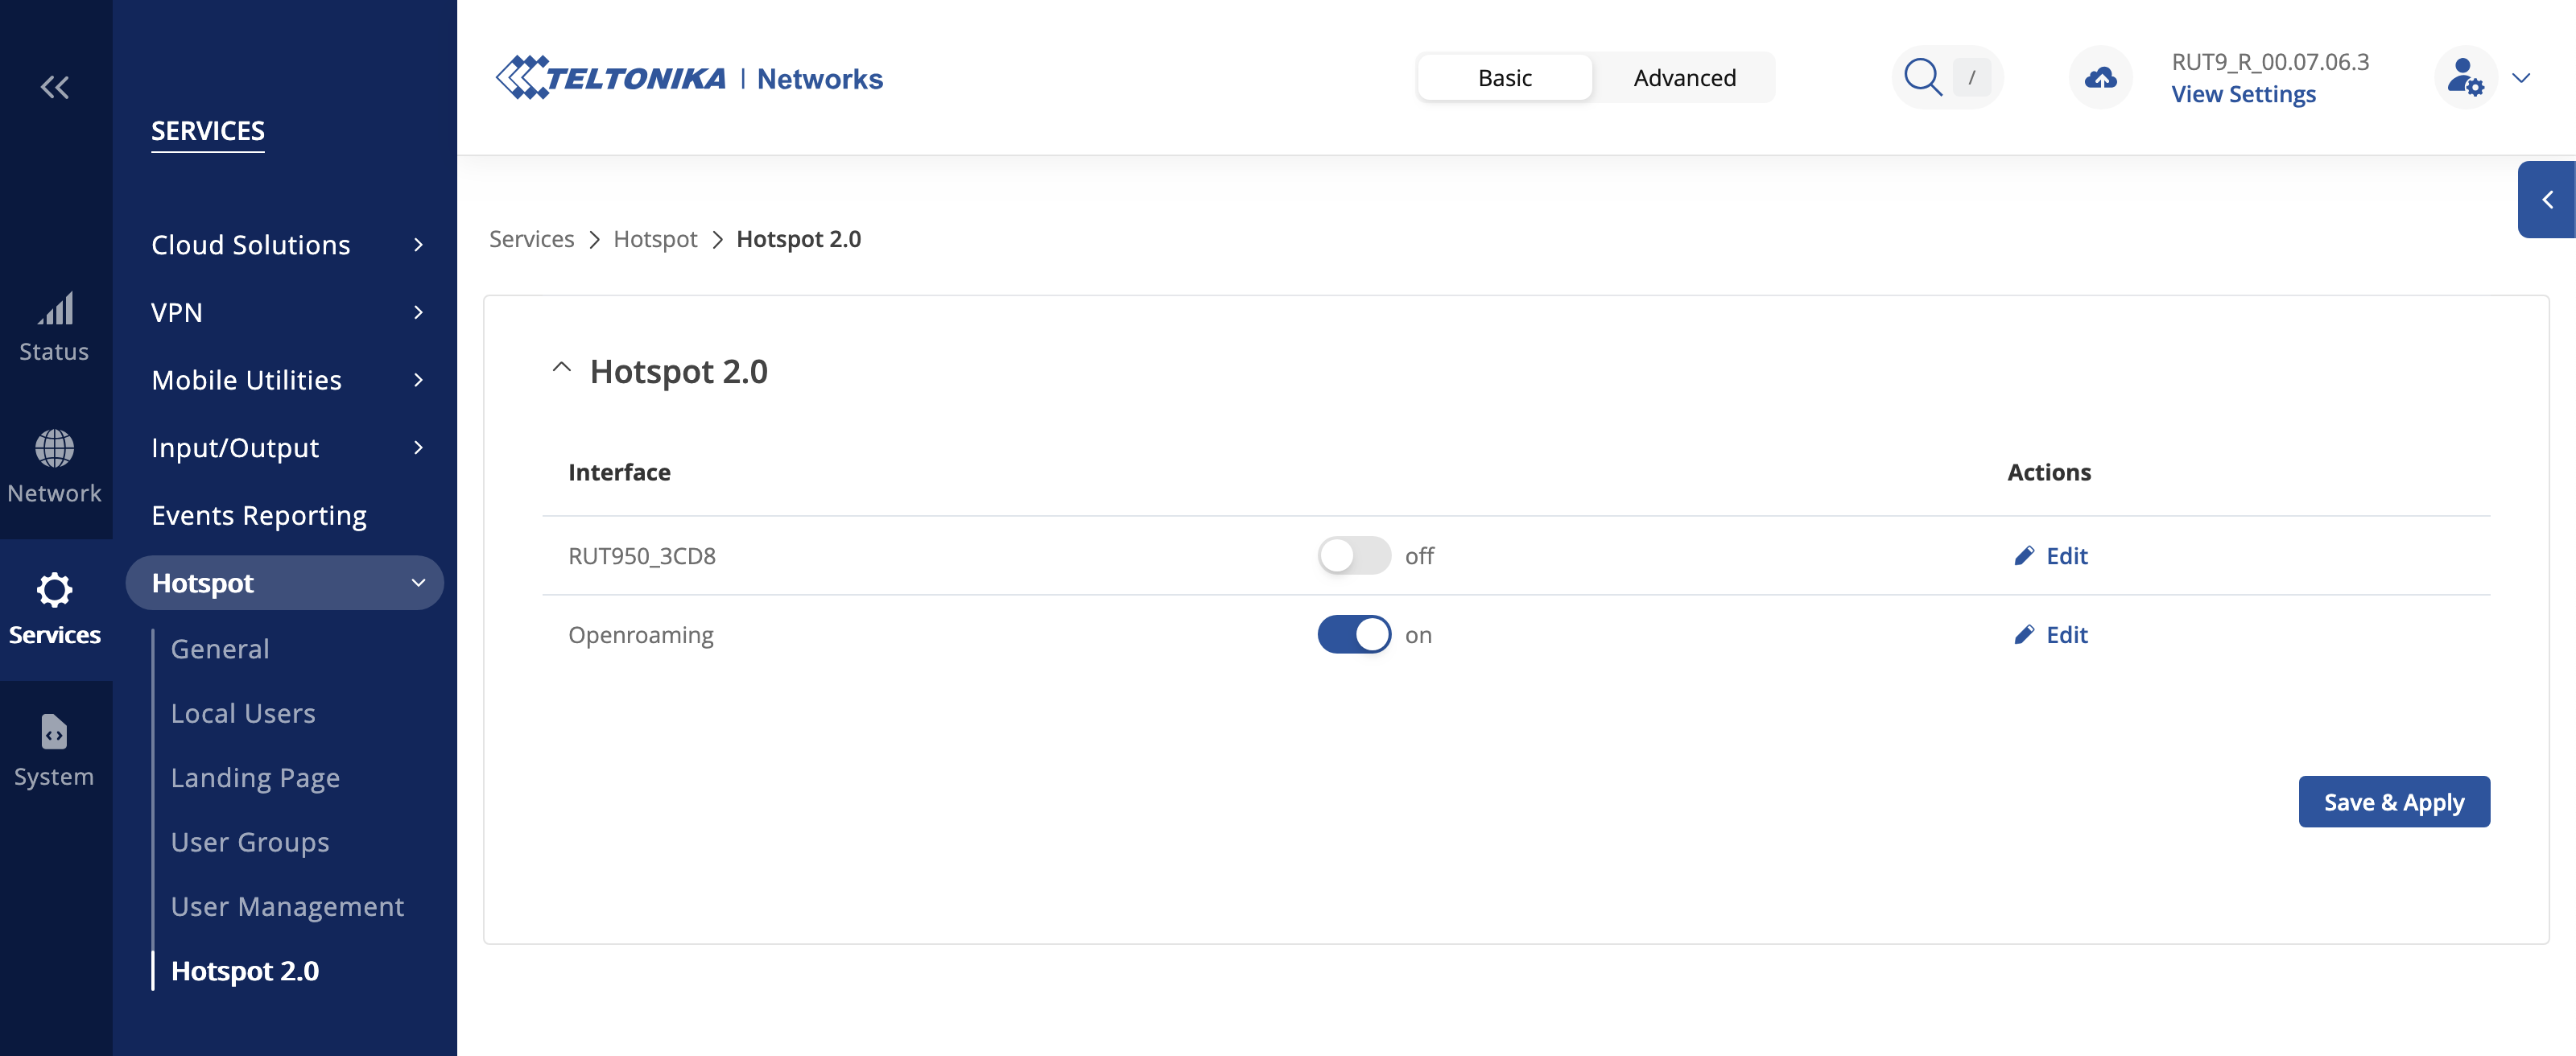
Navigate to Services / Hotspot / Hotspot 2.0. Click Edit under Actions for the SSID you will be using.
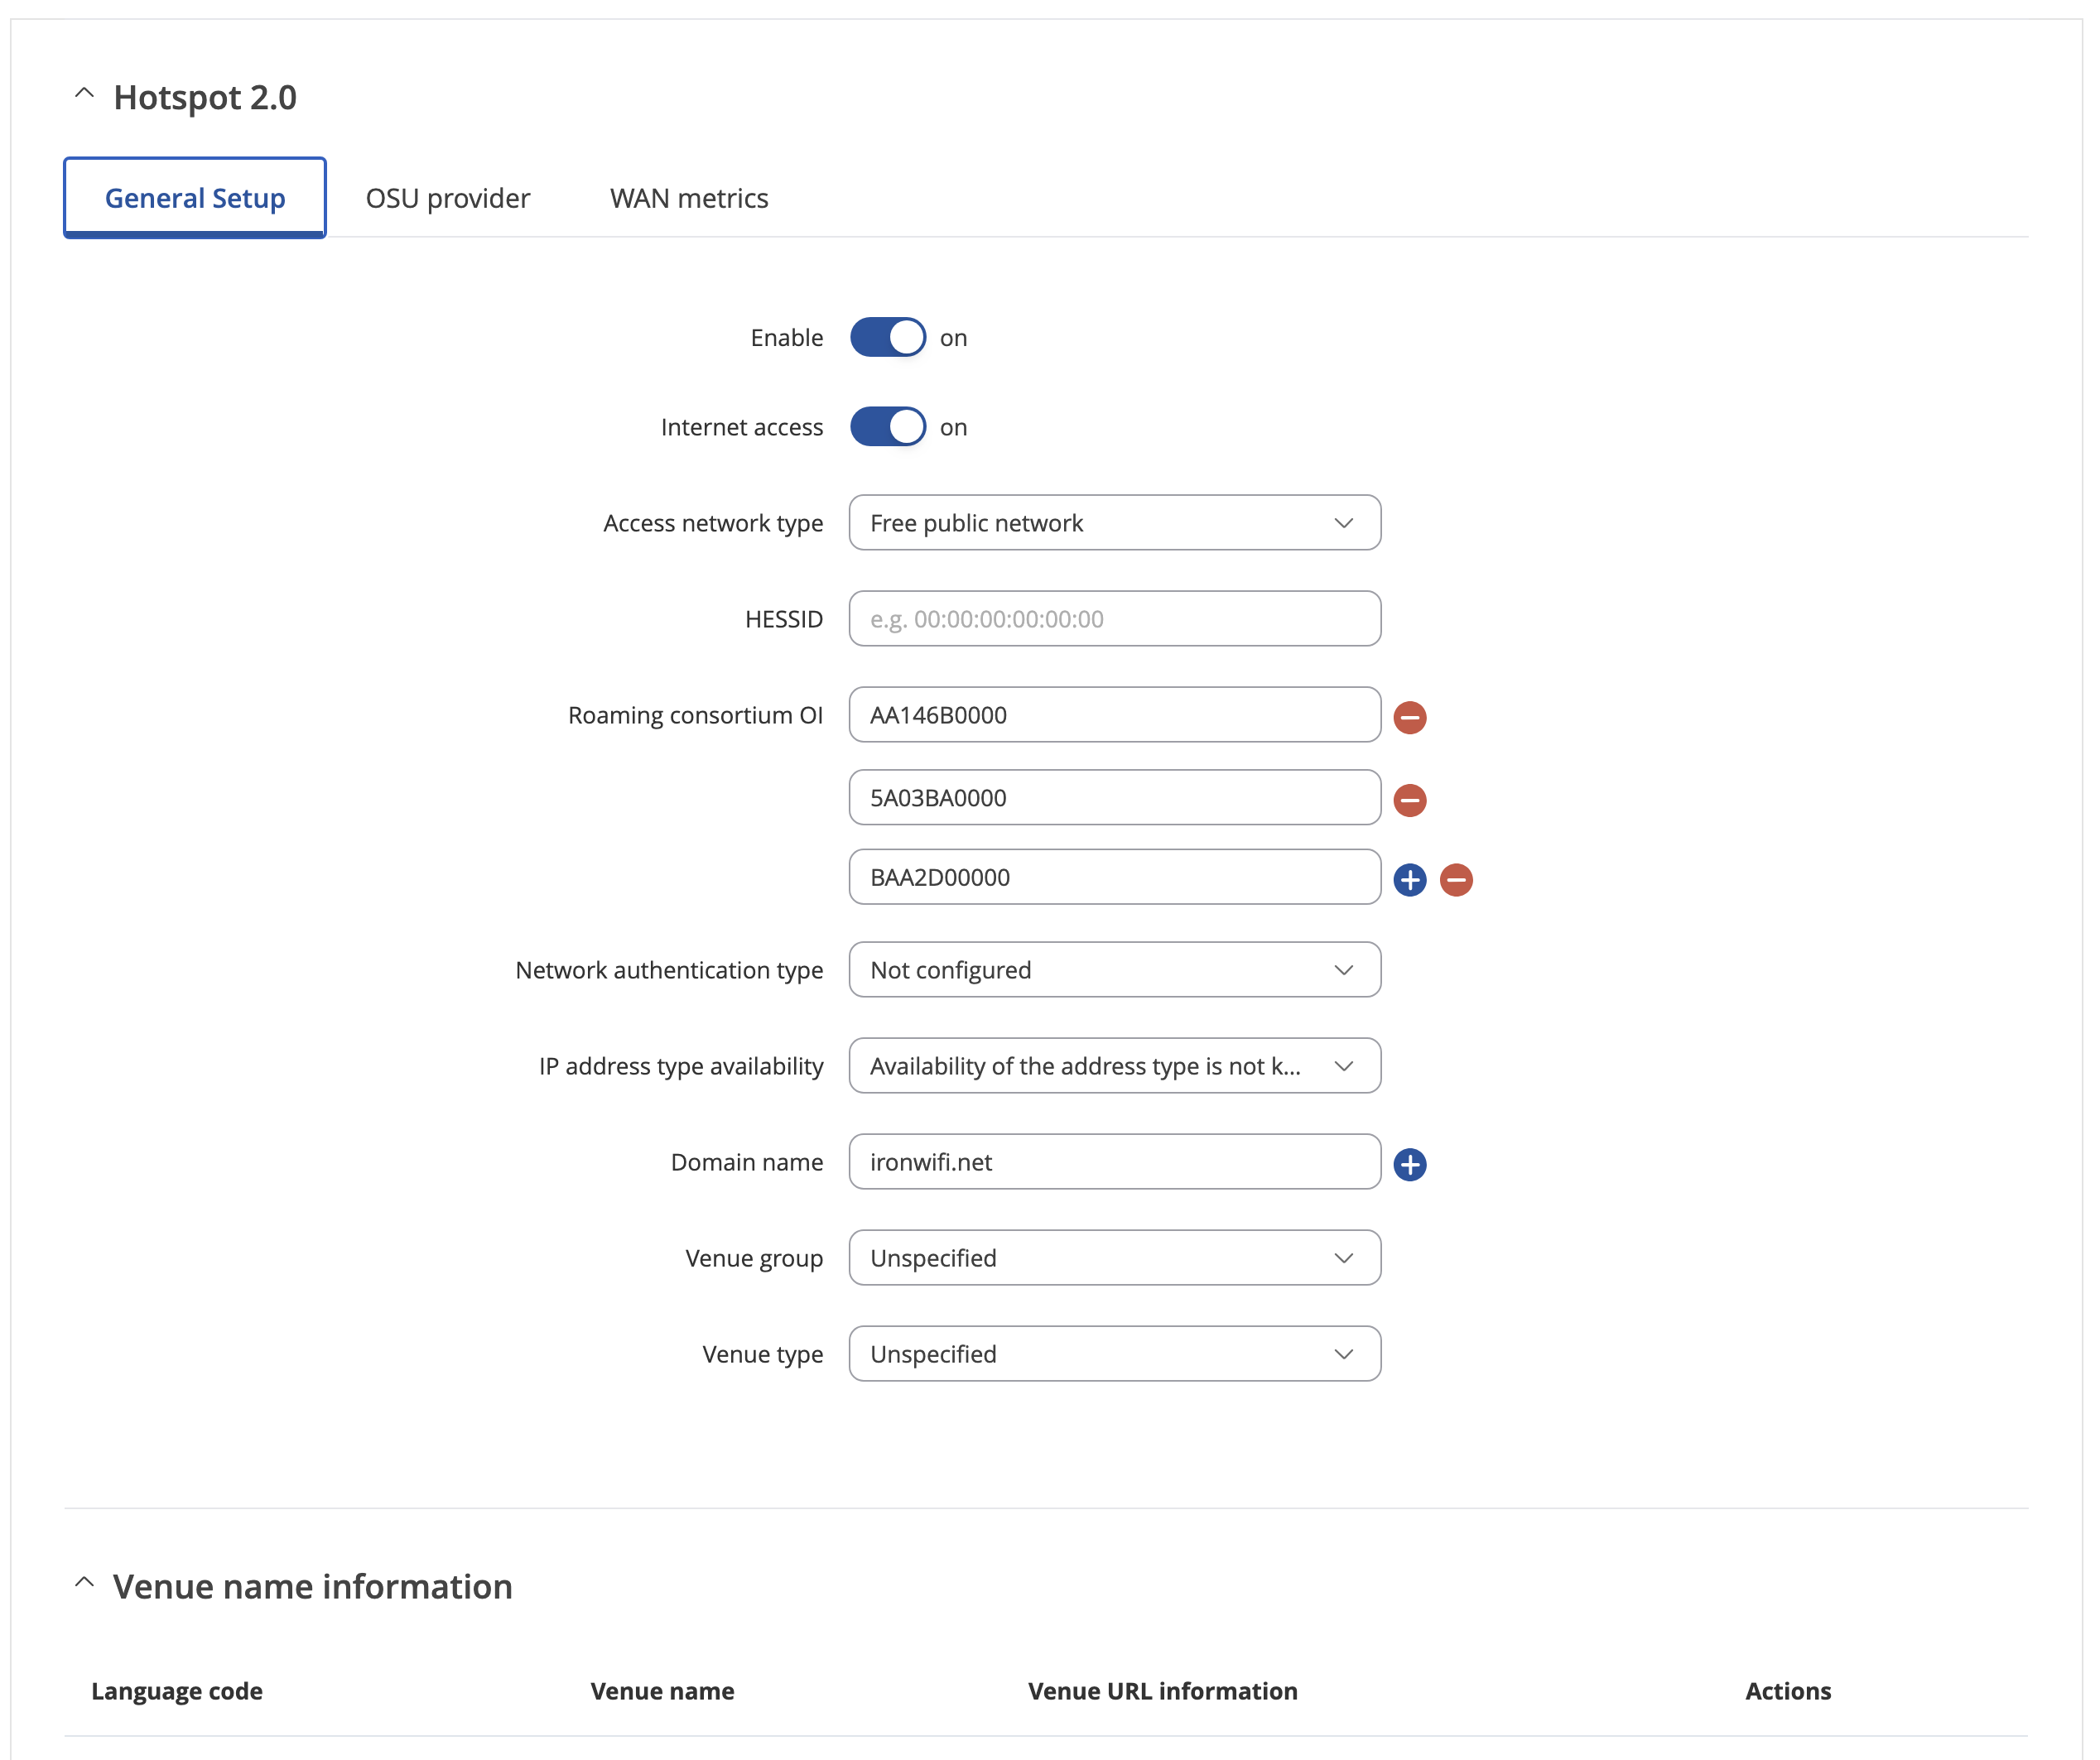
In General Setup tab make sure that Enable and Internet access are on.
Add Roaming consortium OIs and Domain name as demonstrated below.
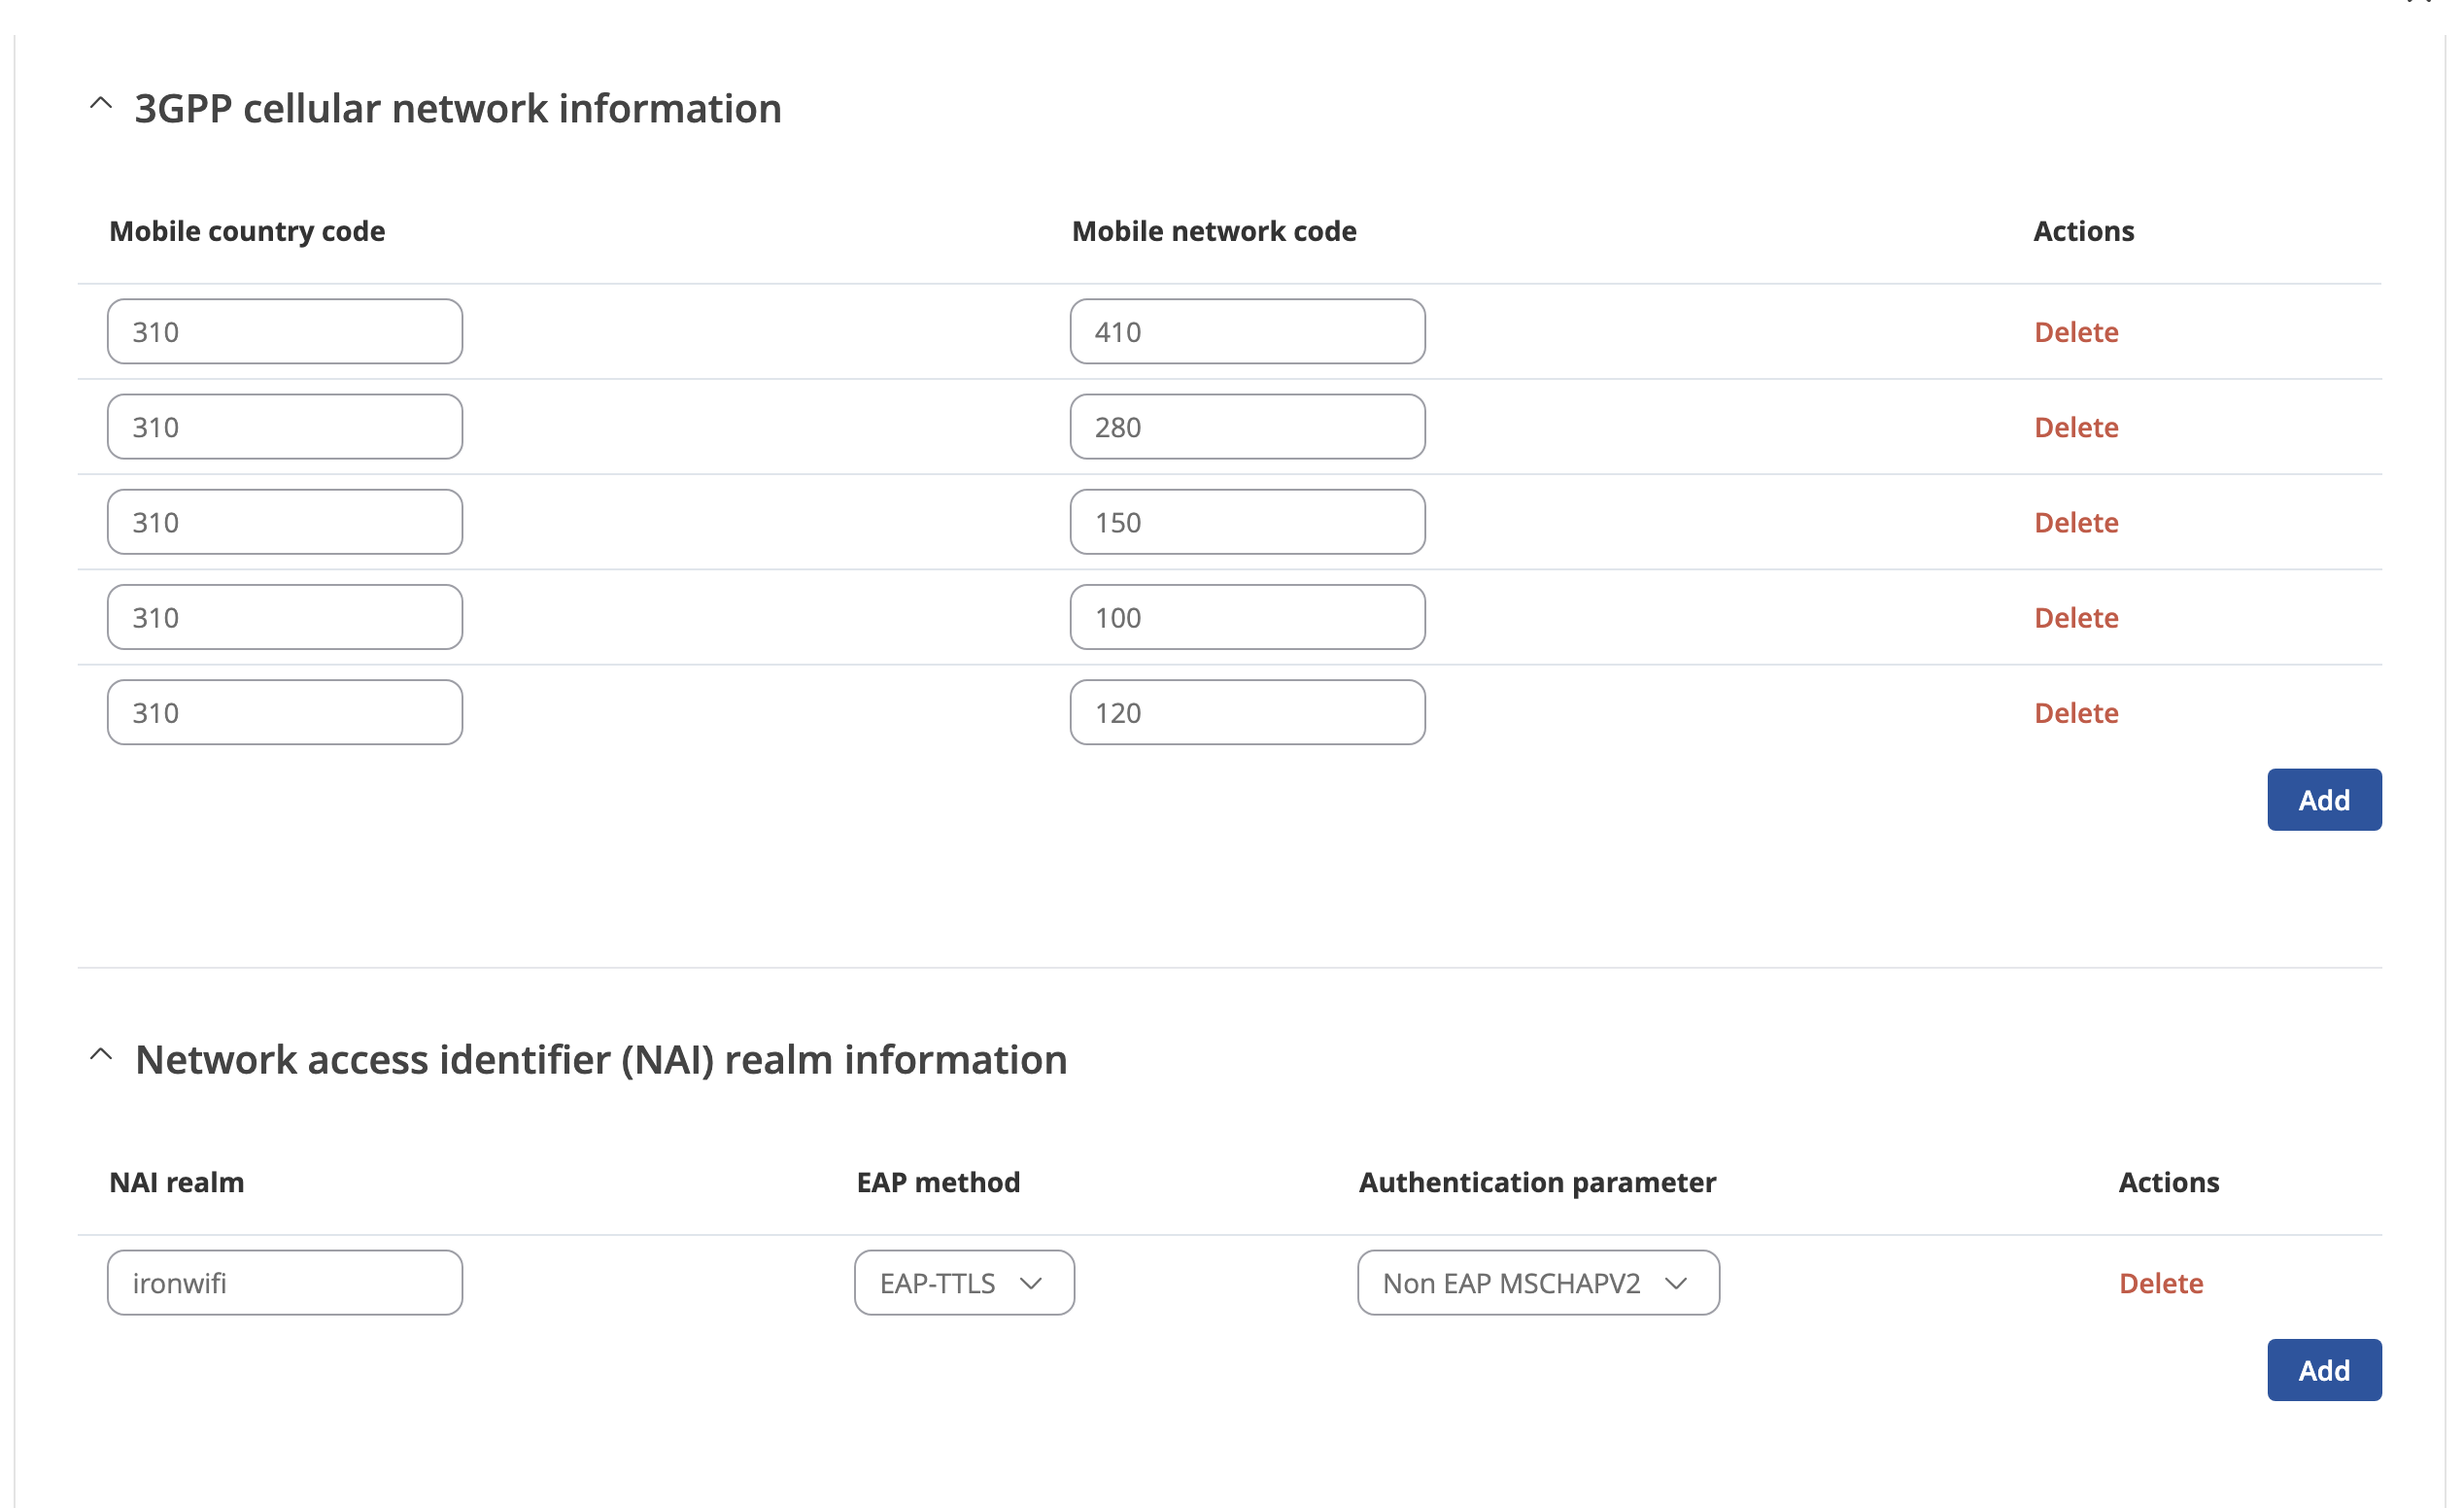
In 3GPP cellular network information add 5 MCC/MNC pairs as below.
Add required settings in Network access identifier (NAI) realm information section.
In Operator friendly name section, add details as below, press Save & Apply
