Stripe
Stripe
IronWiFi and Stripe Integration:
- Create an IronWiFi account the first >>> Open an account
- Follow the provided instructions to set up your AP configuration >>> AP configuration instructions
- Follow instructions on how to integrate your Stripe with IronWiFi⬇
1. Navigate to your Stripe account > https://dashboard.stripe.com/
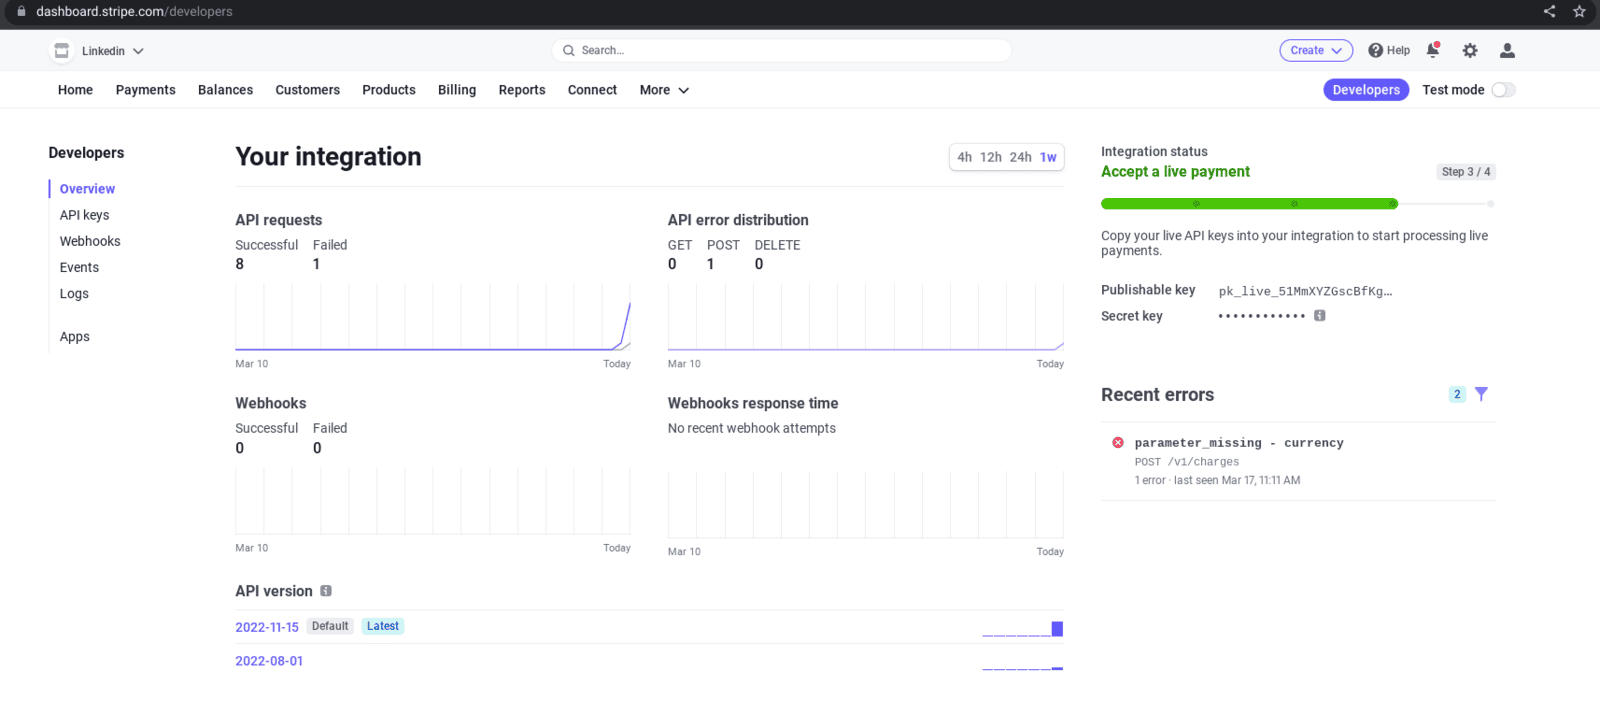
2. Go to the Developer's dashboard
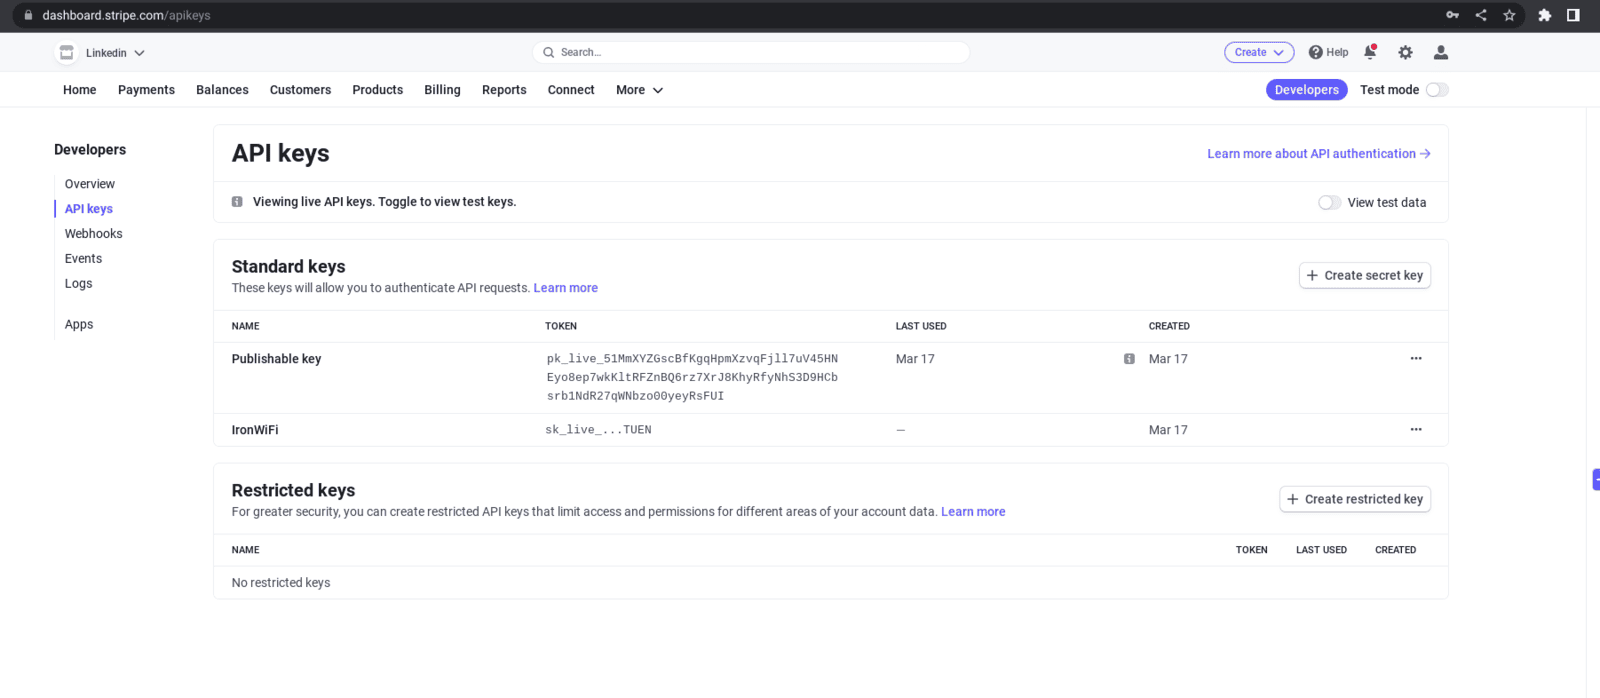
3. Click API Keys > you can see the publishable key here > click Create a secret key
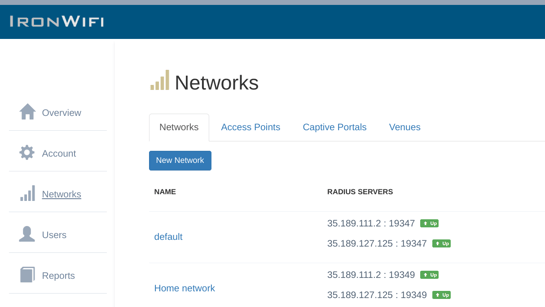
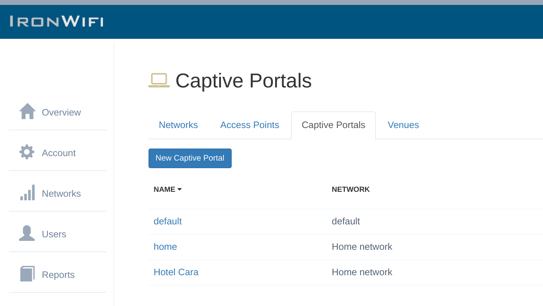
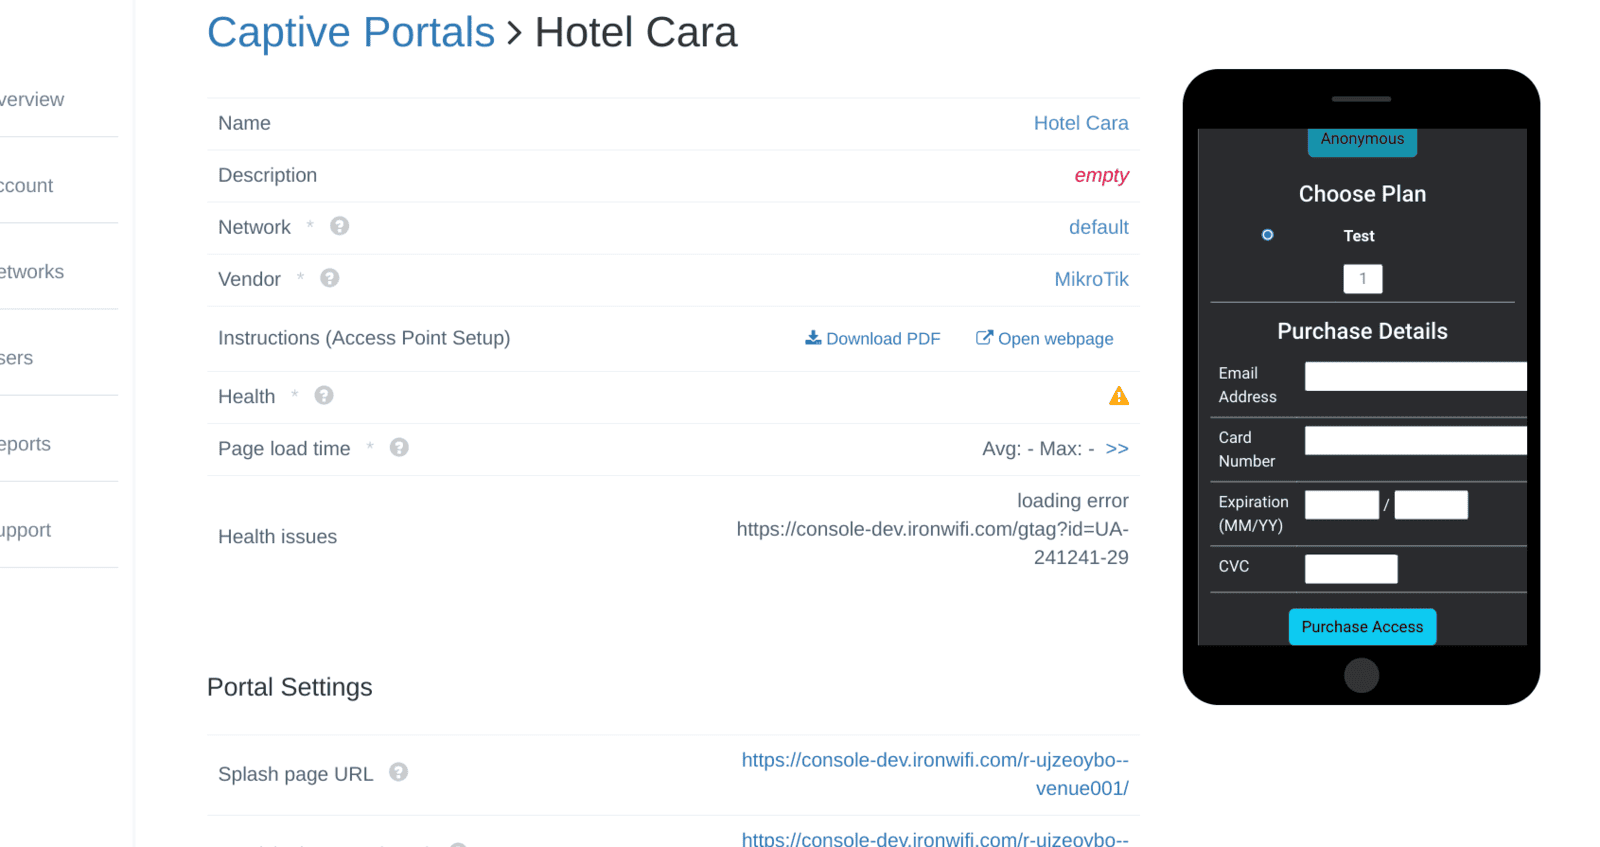
4. Navigate to IronWiFi Console > Networks > Captive Portals > Your Captive Portal > Authentication Providers
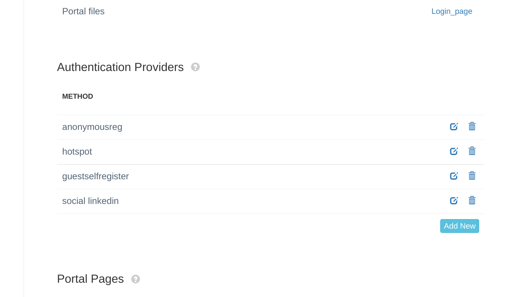
To accept payments through Stripe on the captive portal, you will need to create an authentication provider as well as hotspot plans that the visitors will be able to purchase.
5. Click Add new. You will need to provide credentials from your Stripe app.
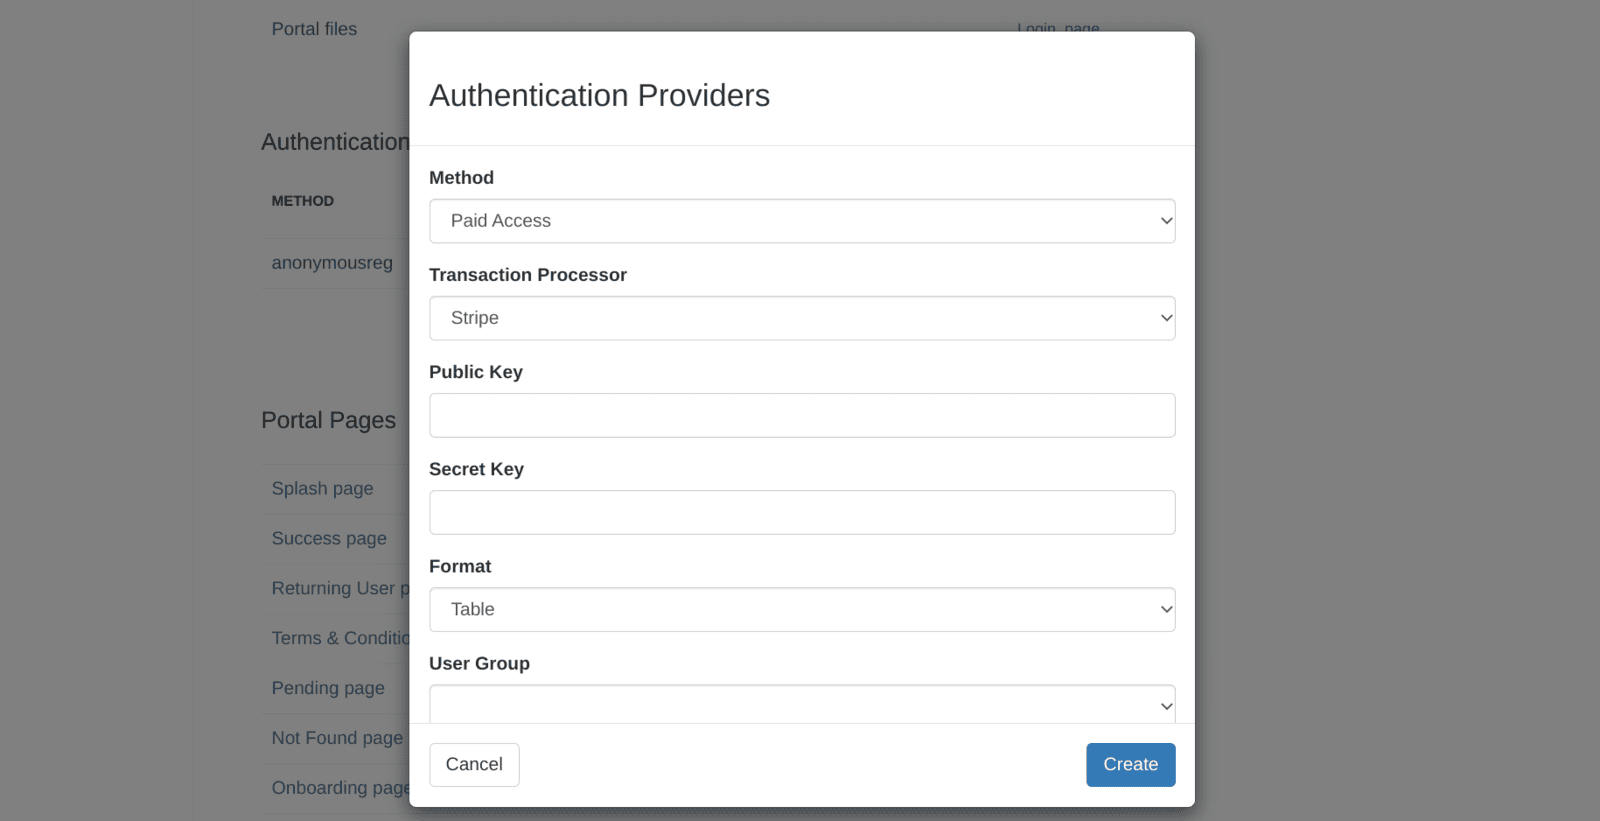
- Method - Paid Access
- Transaction Processor - Stripe
- Public Key - Copy your Publishable key from your Stripe account
- Secret Key - Copy your Secret key from your Stripe account
- Format - Display format of the hotspot plans on your splash page
- User Group - Guests will inherit attributes assigned to this User Group
- Organizational Unit - Guests will be added to all groups assigned to this Organizational Unit
- Guest Profile - Guest profile settings
- MAC-Based Reauthentication - Guests will be authenticated automatically next time they join the network
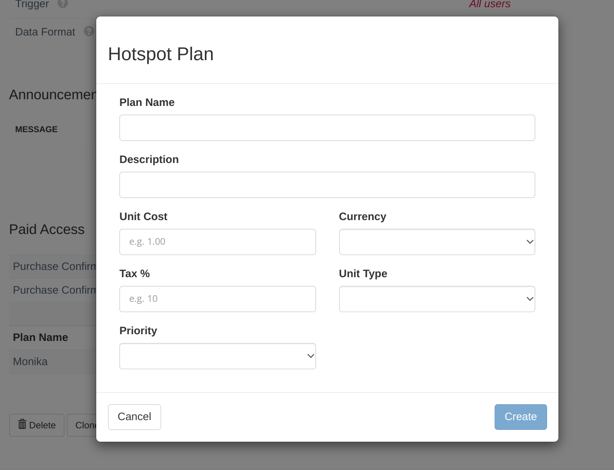
6. Scroll down to Paid Access, click Add a plan and create your plans.

8. Scroll up and test your Integration with Stripe
Related Articles
Stripe (Client Side)
IronWiFi and Stripe Integration: Create an IronWiFi account the first >>> Open an account Follow the provided instructions to set up your AP configuration >>> AP configuration instructions Add the following stripe domains to the Walled Garden list on ...Testing Stripe Payment Gateway (Client side) for Paid Hotspot Access
Create a new Captive Portal if it does not already exist. Networks -> Captive Portals -> New Captive Portal Enter Captive Portal Page Create a new Authentication Provider Set following values: Method: Paid Access Transaction Processor: Stripe (client ...Which payment gateway do you accept?
In terms of payment gateways, we currently support Braintree, Stripe, Paypal, Shift4 and Square, Authorize.net.Which payment gateway do you accept?
In terms of payment gateways, we currently support Braintree, Stripe, Paypal, Shift4 and Square, Authorize.net.What are the benefits of paid WiFi?
Selling Internet access Charge visitors for WiFi access based on time, data, or a superior usage bandwidth service. Drive revenue directly from your WiFi network through three usage methods – time, data, and speed. With IronWiFi's External ...