>> Passpoint Onboarding Experience <<
>> Passpoint Onboarding Experience <<
Note: Your device must be compatible with Passpoint to install a profile. Some devices, specifically older devices, may not support Passpoint.
Supported Operating Systems
Windows 10+, macOS 10.9+, Android 9+, iOS 7+
Windows
1. Click Download Passpoint Profile
2. Click Open Settings
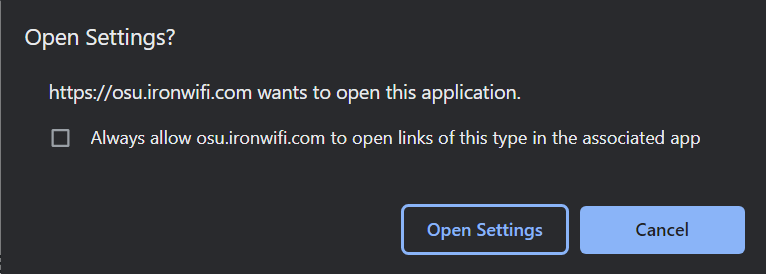
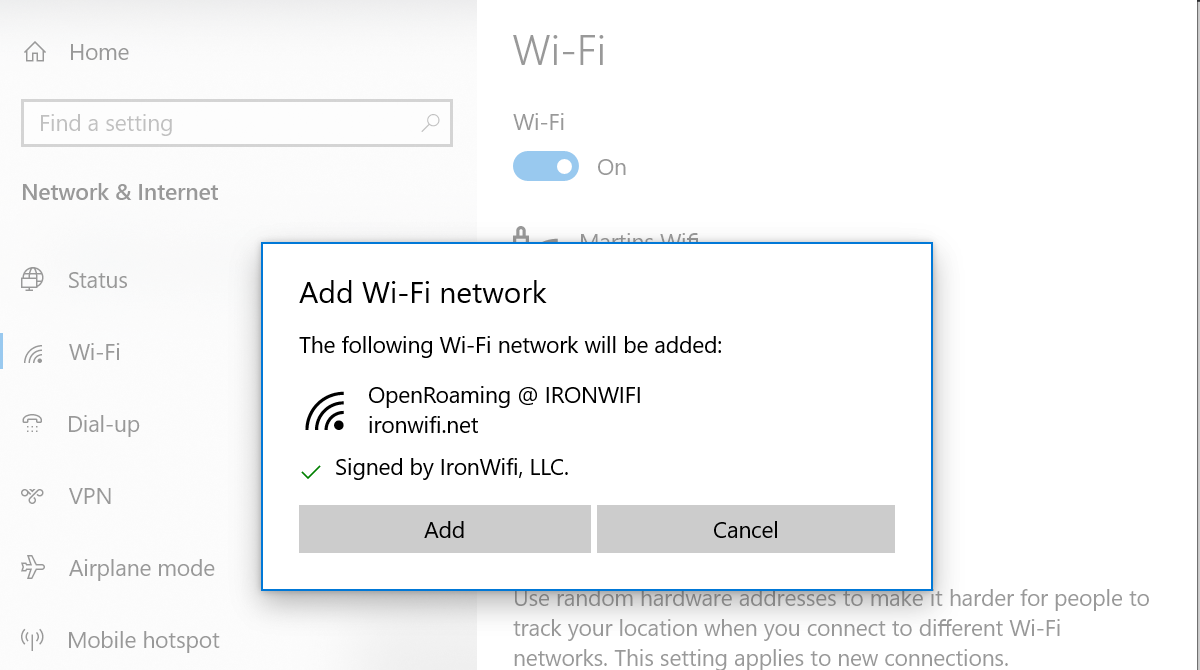
3. When the pop-up comes up, click Add
4. Once the profile is installed, search for and manually connect to the network. (It may take a minute for your device to detect the new network).
5. Moving forward your device should automatically connect to the network.
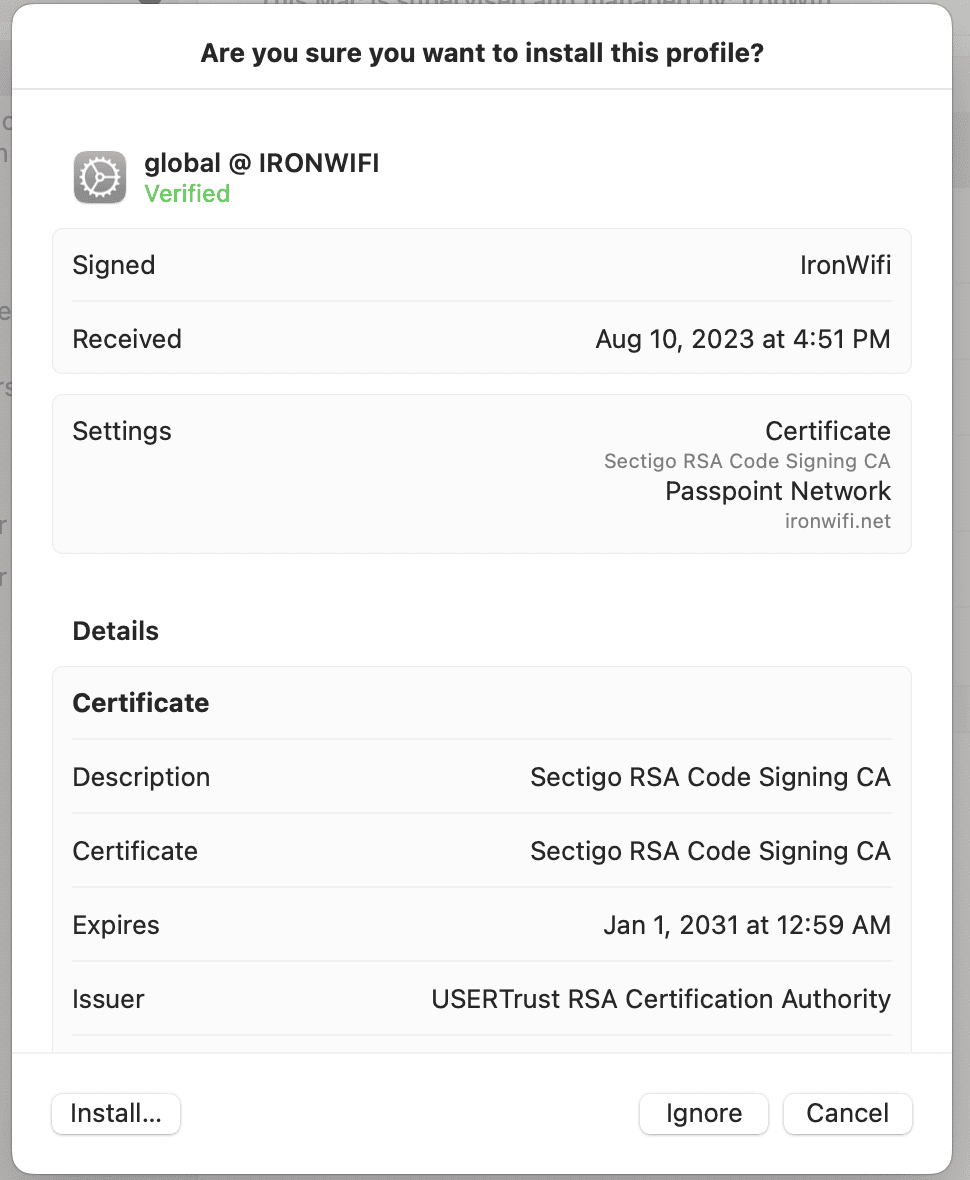
Apple MacOS
1. Click Download Passpoint Profile
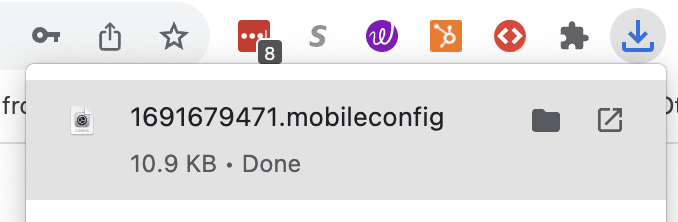
2. If using Chrome, click the downloaded file.
3. Follow the instructions prompted by your Macbook

4. Open the System Settings ![]()
5. Search for Profiles ![]()
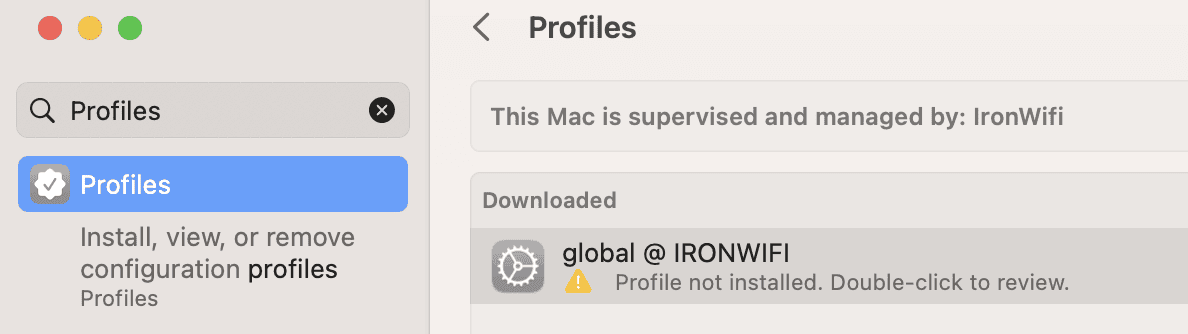
5. Double click the downloaded profile and click Install
6. Once the profile is installed, search for and manually connect to the network. (It may take a minute for your device to detect the new network).
7. Moving forward your device should automatically connect to the network.
Android
1. Download Passpoint Profile
2. Click Install when prompted.
3. Once the profile is installed, search for and manually connect to the network. (It may take a minute for your device to detect the new network).
4. Moving forward your device should automatically connect to the network.
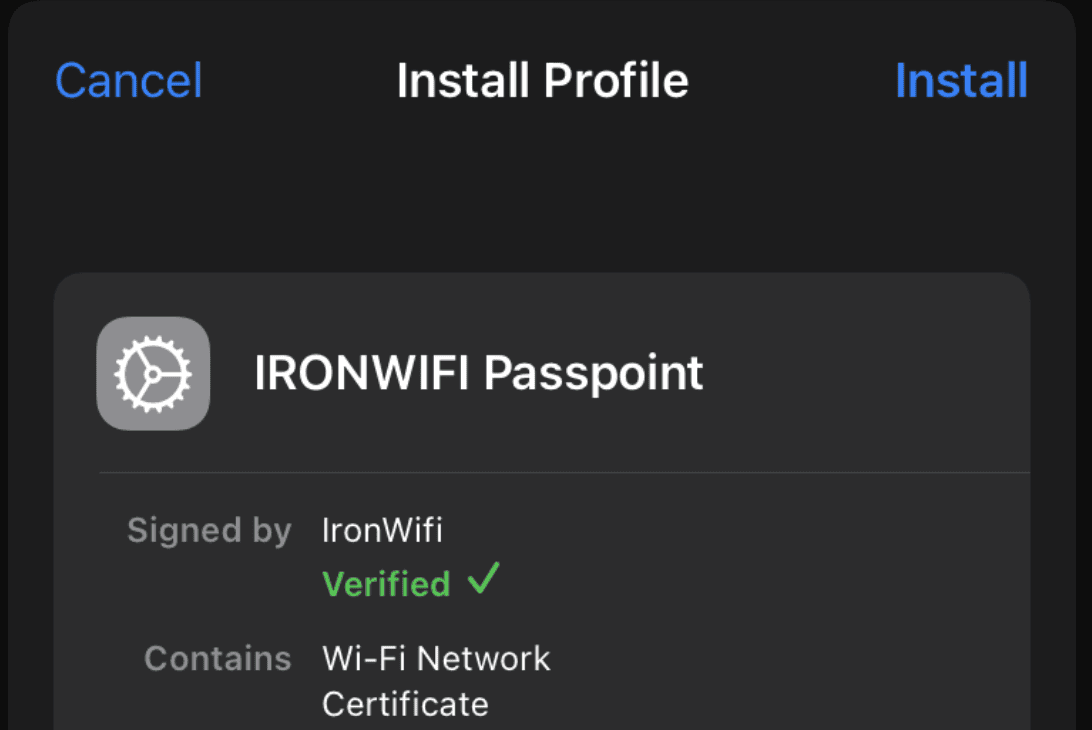
Apple iOS
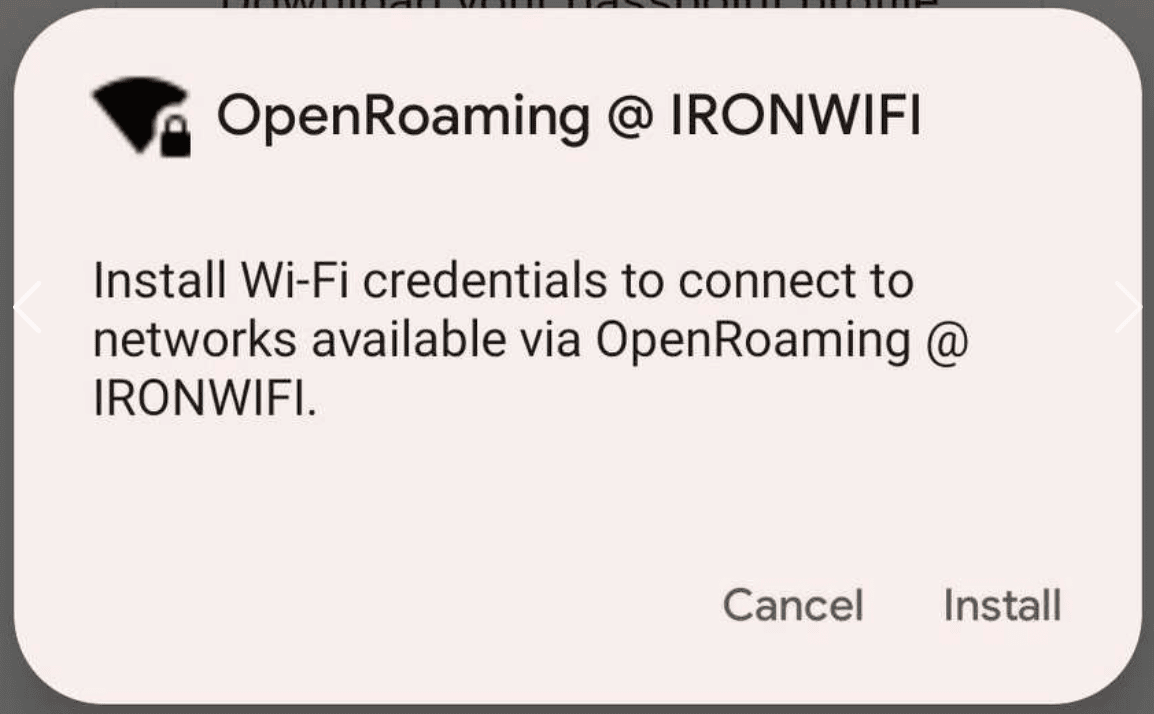
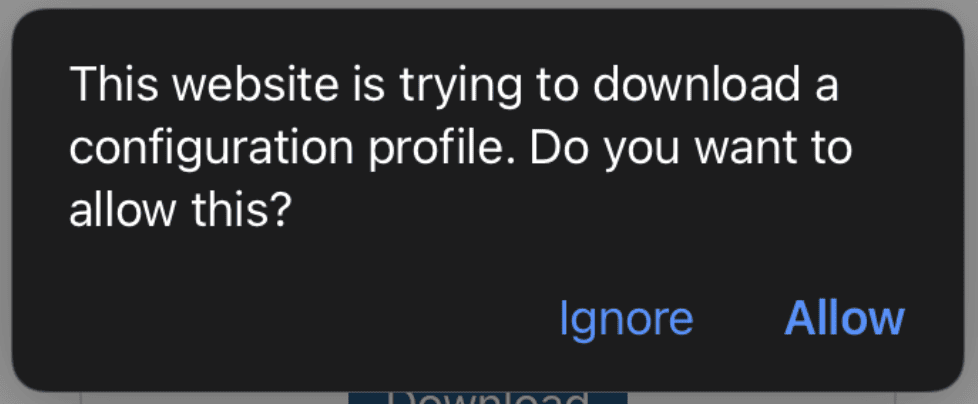
1. Click Download Passpoint Profile
2. Click Allow when prompted
3. Open the Settings app, and click on the button Profile Downloaded
4. Hit Install at the top right of the screen
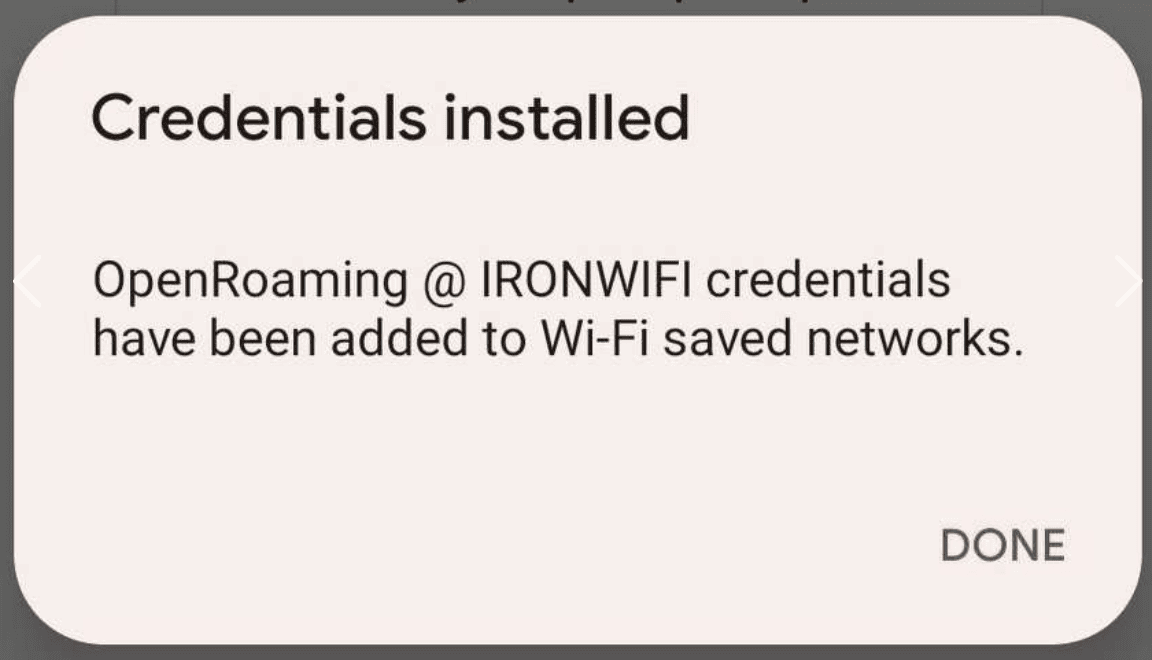
5. Once the profile is installed, search for and manually connect to the network. (It may take a minute for your device to detect the new network).
6. Moving forward your device should automatically connect to the network.
Related Articles
Invalid Signature error when downloading Passpoint profile on Windows
Due to change of logic introduced in Windows update in the past few months, that was seemingly reversed in the latest Experience Pack, whilst downloading Passpoint profile on Windows machine from the Captive Portal environment, you might encounter ...Juniper Mist OpenRoaming with RadSec
Prerequisites Access to the Mist Dashboard as a user with administrative privileges. Access to the IronWiFi Management Console - Sign in or Open Account RadSec enabled on your Network as detailed here (you will need to download the certificate ...Ubiquiti Unifi - Passpoint Configuration
This guide is for Network version 8.4.x and above ONLY. Ubiquiti has recently reintroduced Passpoint feature into their codebase. Further information about Unifi and Passpoint can be found on the Unifi website: Unifi Passpoint Prerequisites Access to ...Cambium cnMaestro - Passpoint configuration
Prerequisites Access to the cnMaestro Dashboard as a user with administrative privileges. Information about the assigned RADIUS servers (Server IP address, port numbers, shared secrets): Email or document that contains this information OR Access to ...Meraki - Passpoint configuration
Prerequisites Access to the Meraki Dashboard as a user with administrative privileges. Supported Meraki device - this solution works with all devices of the MR series. Information about the assigned RADIUS servers (Server IP address, port numbers, ...