Instructions on how to configure the integration between Optix and IronWiFi
The Optix and IronWiFi integration enables you to level up your internet security as well as streamline your check-in process for users. Read more about the integration here.
IMPORTANT: Listed features and functionality of this integration are dependent on the features of your network equipment and if your network equipment doesn't support them, the integration will not function as explained. In order to be able to authenticate with Optix credentials and automate the check-in process for users, the following is required:
-
RADIUS authentication and authorization
-
Configuration of an external captive portal
-
The ability for your devices to send accounting data to an external RADIUS server
For additional support, reach out to IronWiFi at support@ironwifi.com.
Create a Captive Portal in IronWiFi
-
Sign-up and/or sign-in to IronWiFi console
-
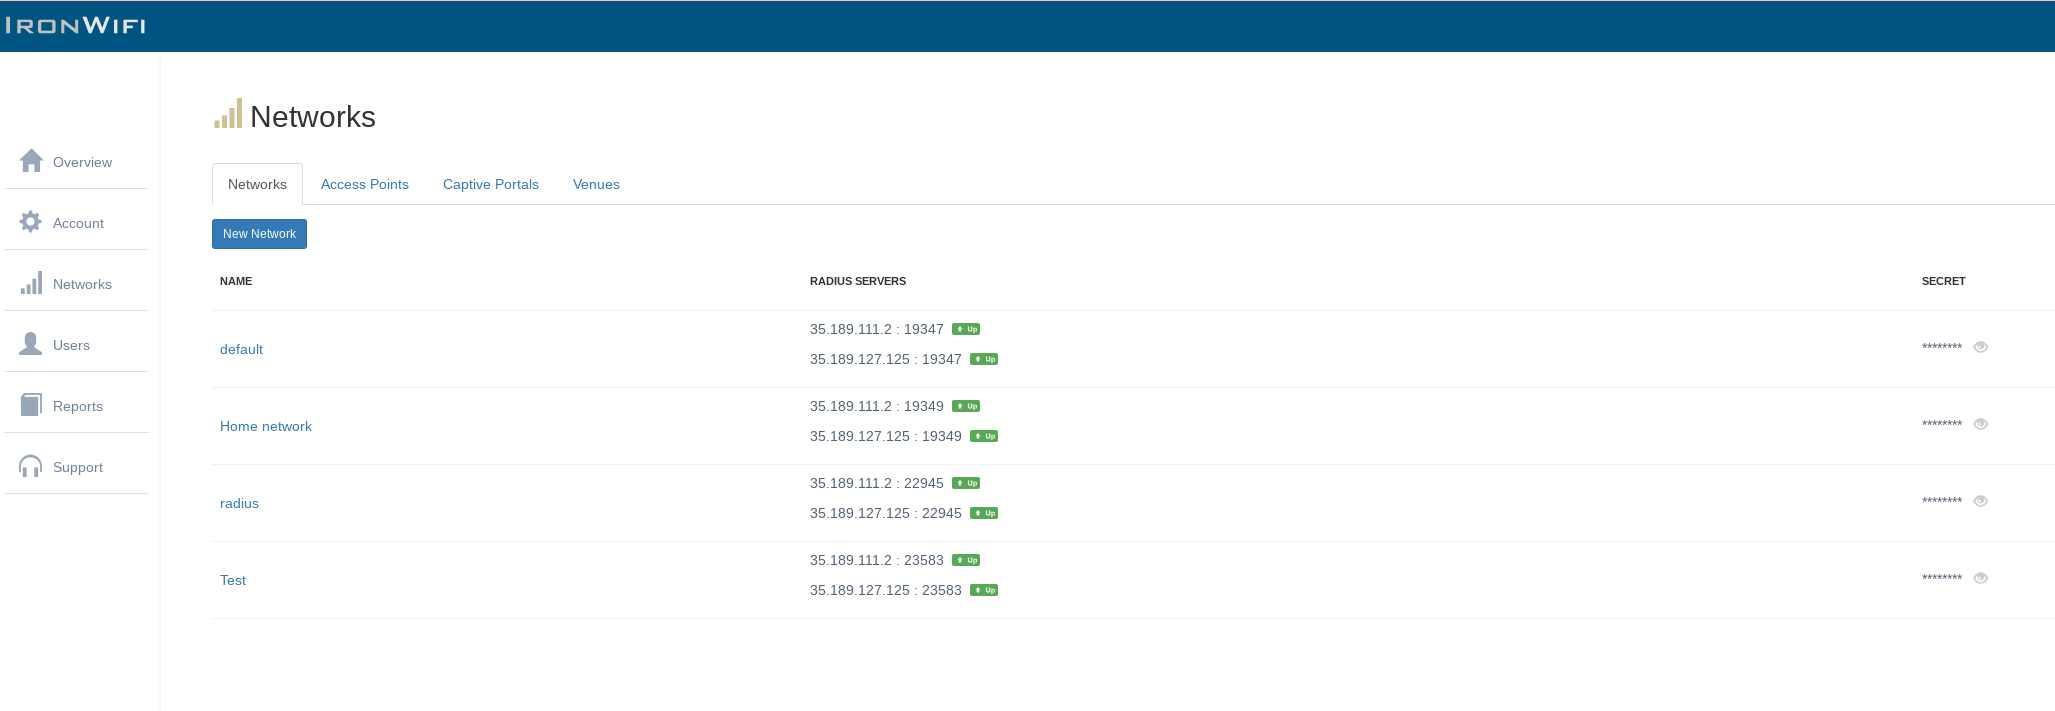
Select Networks from the left-hand side menu and create a new Network if no default Network is listed
-
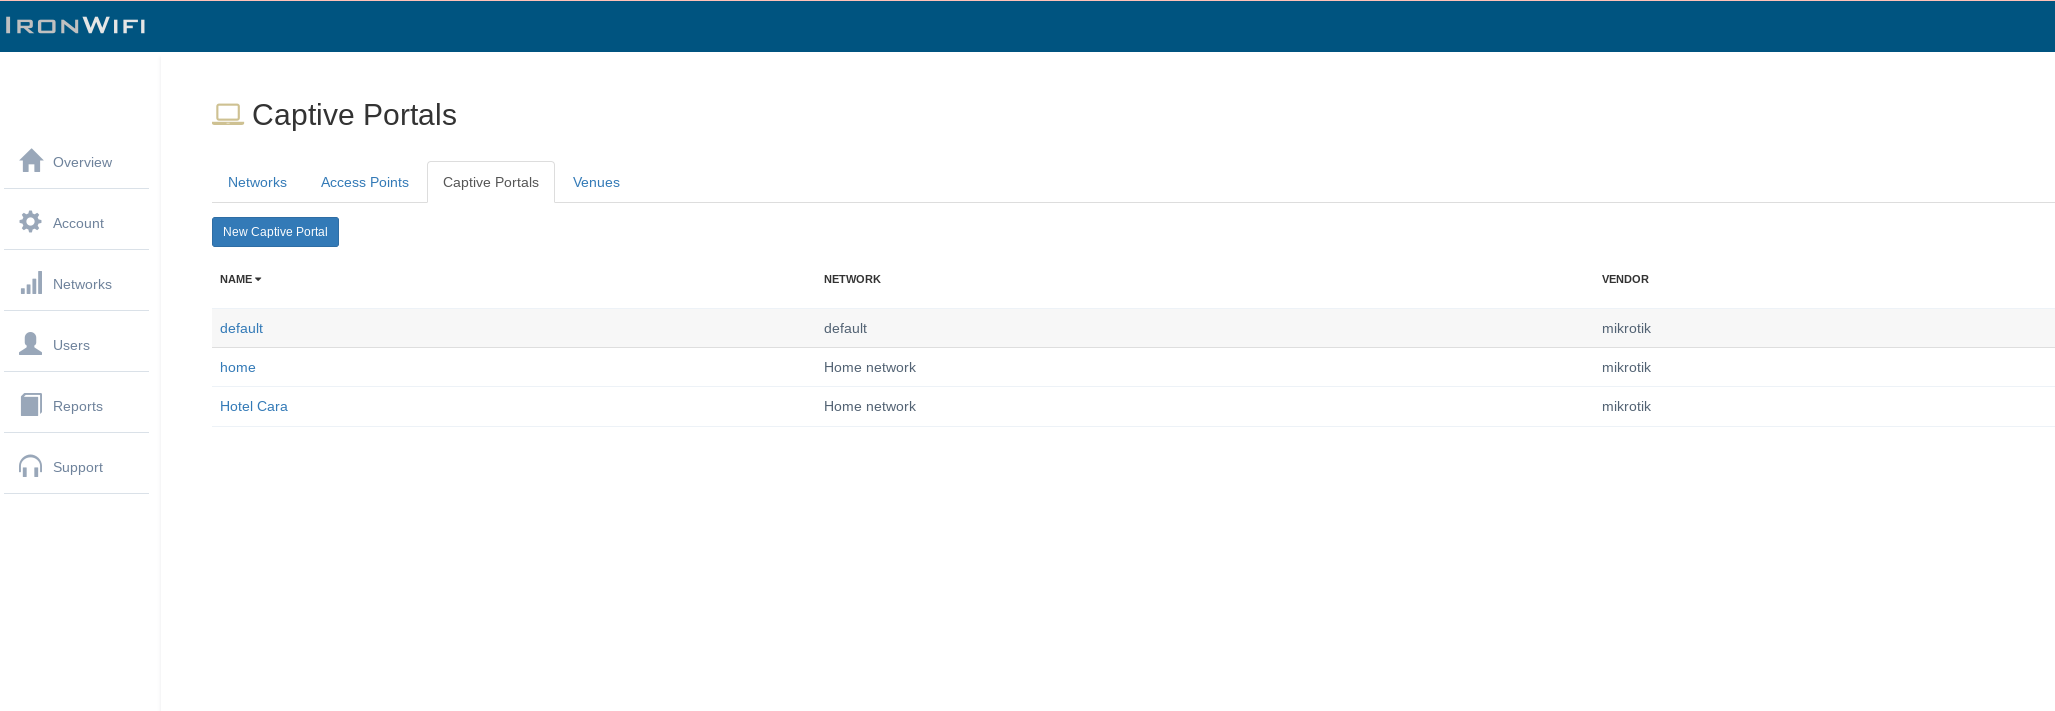
Navigate to the Capital Portal tab and create a Captive Portal for the Network
-
Configure your router to use the new Captive Portal by following the instructions described in the IronWiFi documentation for your vendor
Note: Each Location should have its own Network if you are looking to automate the check-in process for users. Steps 2-4 should be repeated for each location and the routers/hardware used at each location will need to be selected/configured.
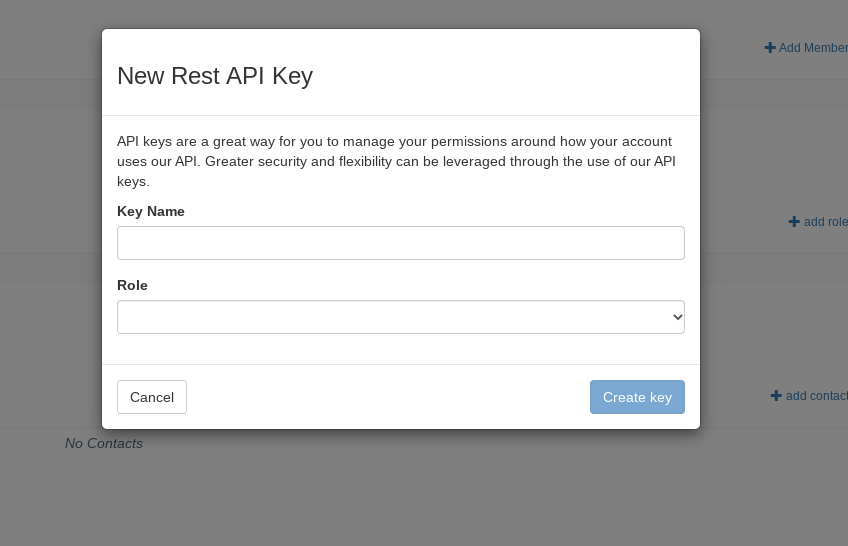
Create an API Key in IronWiFi
-
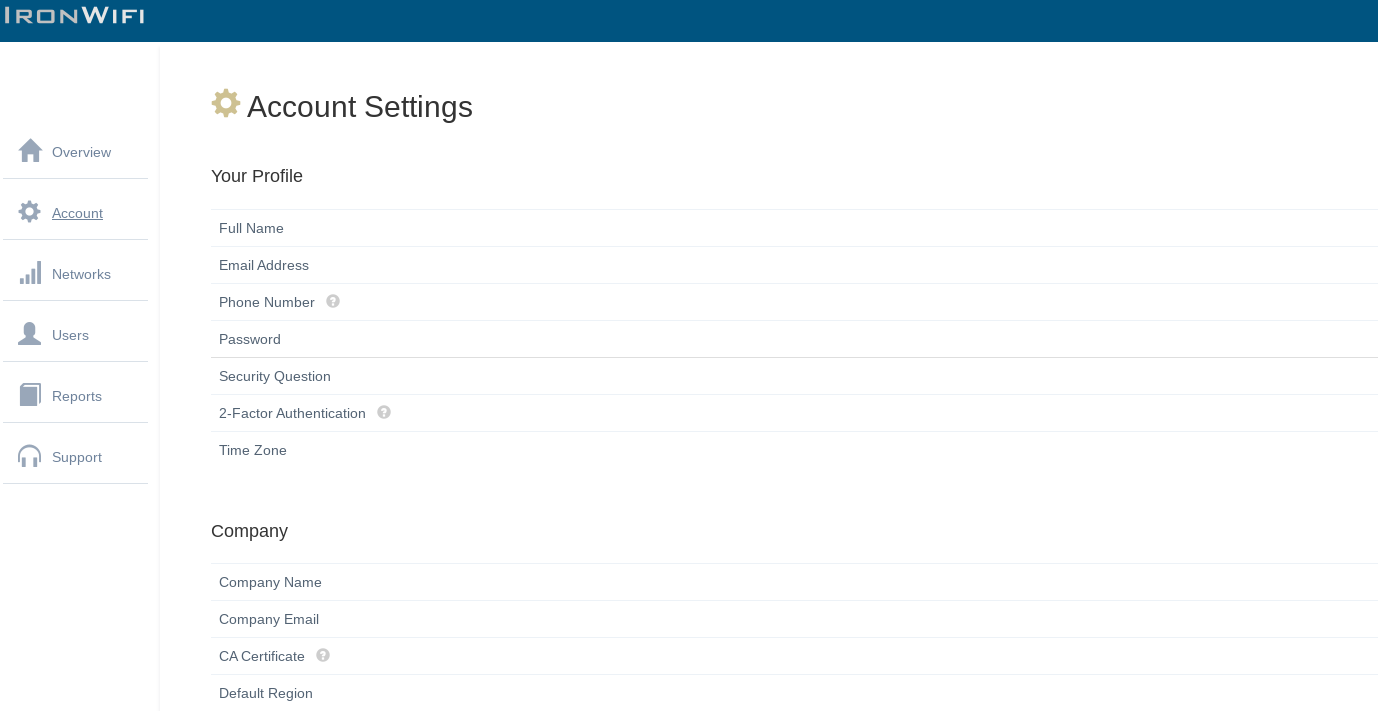
Select Account from the left-hand side menu
-
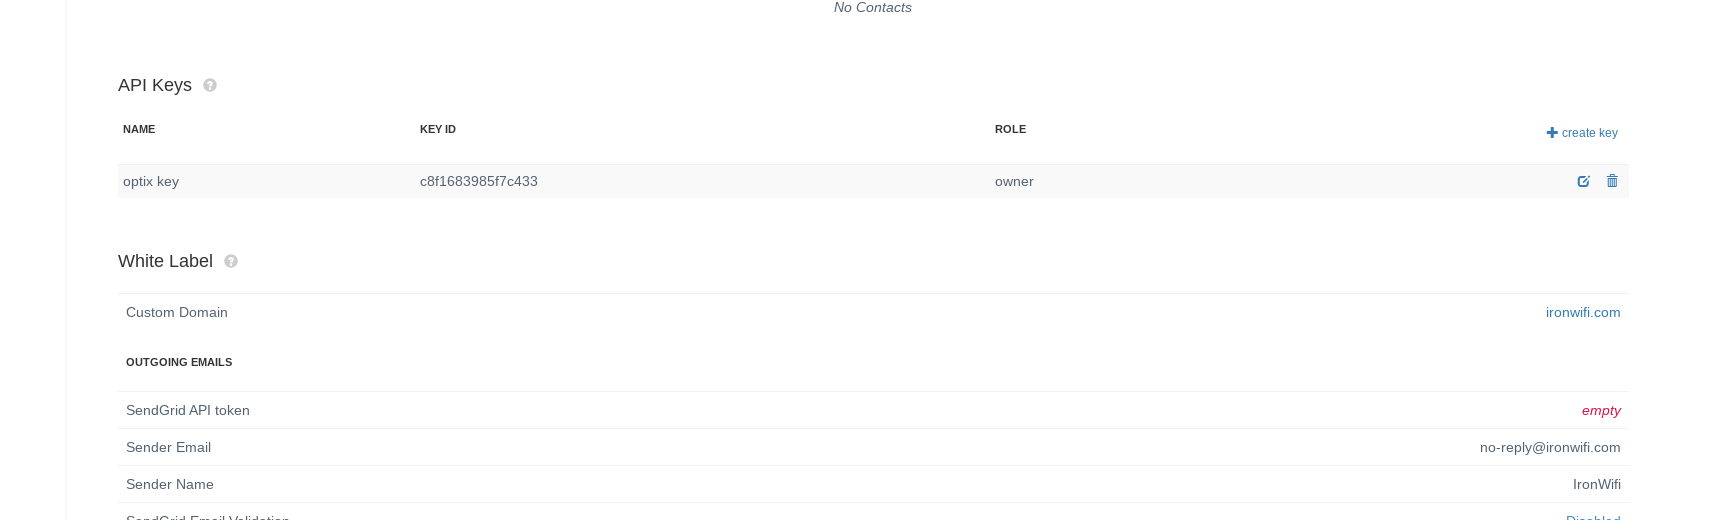
Scroll down to API Keys and click on Create Key
-
Enter a name for the API key (i.e. Optix) and select your Role as Owner. Click Create
-
Copy the API key shown on the screen and click Close. Note: This key will only be shown once so be sure to copy the key for future reference
Integrating IronWiFi and Optix
1. Navigate to your Optix Account >>> https://login.optixapp.com/
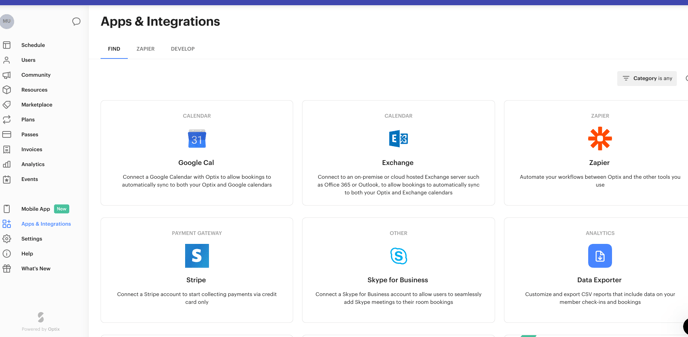
2. Select Apps&Integrations from the left-hand menu, then click Find new apps
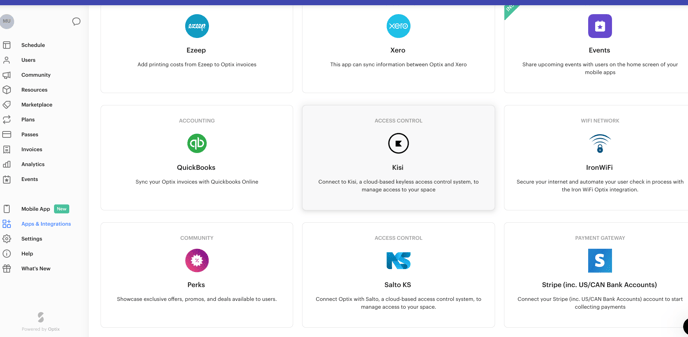
3. Scroll down and click IronWiFi
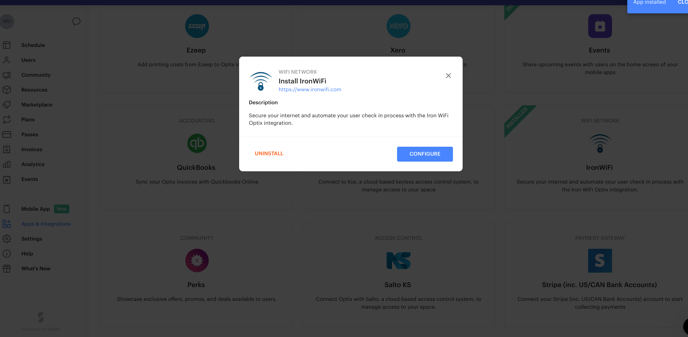
4. Install IronWiFi
5. Select Settings from the left-hand menu
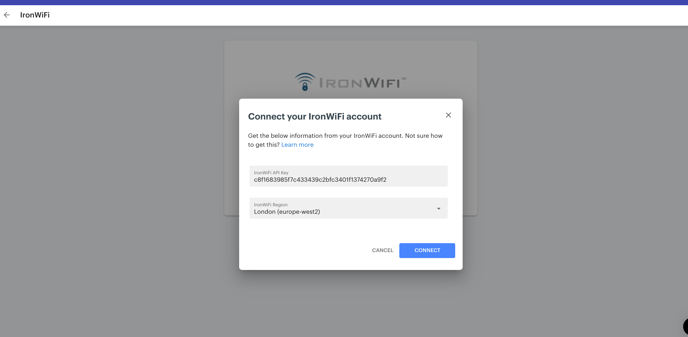
6. Click Connect and input your IronWiFi API Key and IronWiFi region
7. Click the Add Captive Portal button and select the Location and the Capital Portal created for that Location
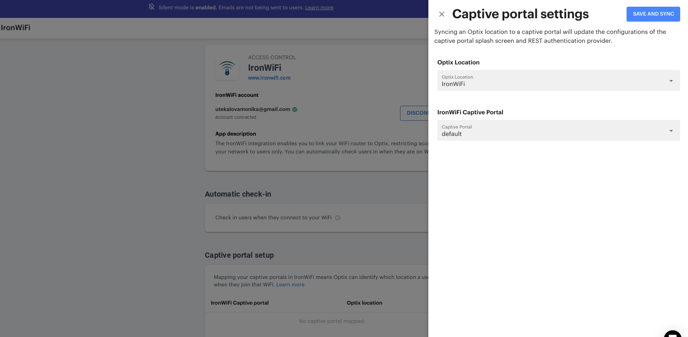
8. Click Save and Sync
9. Access the Walled Garden configuration of your router and include the Hostname: `ironwifi.optixapp.io` to the allowed IPs/Hostname
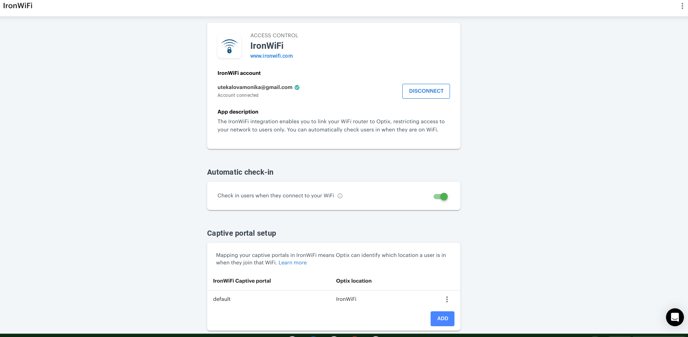
To enable users to be checked in automatically via IronWiFi, turn on the toggle ‘Check in users on Optix when they are on WiFi.
Note: When a user is removed from Optix, the user will also be removed from IronWiFi.
Source: https://support.optixapp.com/en/articles/6085753-how-do-i-connect-ironwifi-and-optix