How to configure the MailChimp - IronWiFi integration?
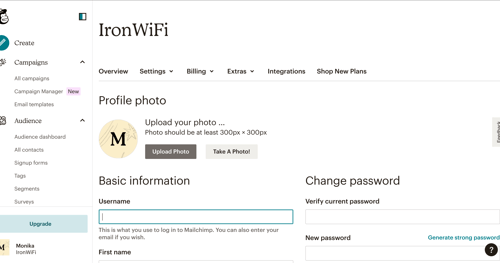
1. Sign in to your MailChimp account, go to your Profile.
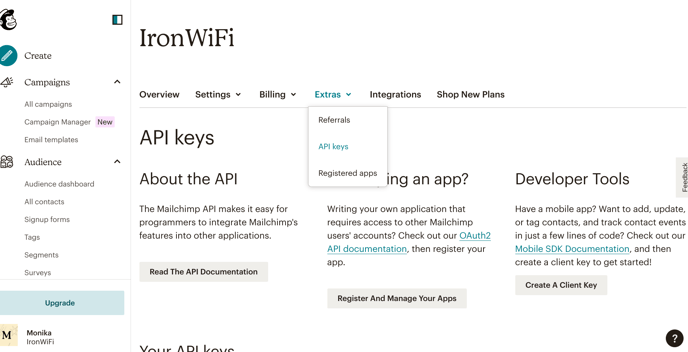
2. Click on Extras and API keys.
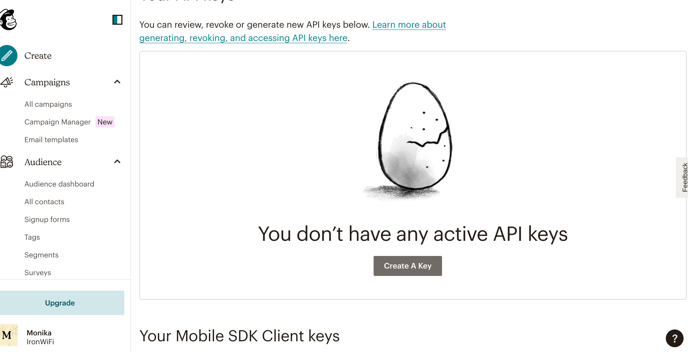
3. Click on the Create A Key.
4. Click generate API key and copy generated key.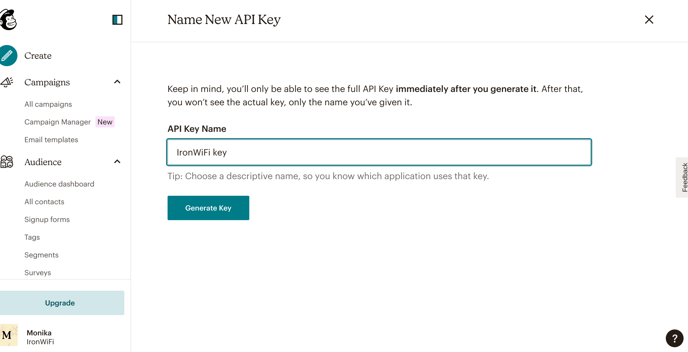
5. Sign in to the IronWiFi Console
.png?width=688&height=371&name=35.189.111.2%20(11).png)
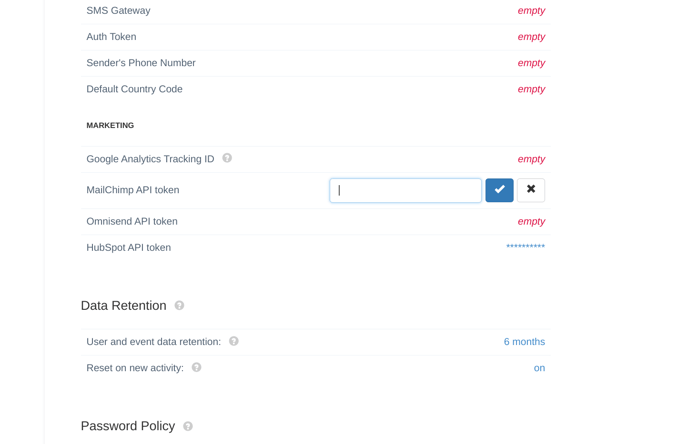
6. Go to Account -> White-label -> scroll down to the section Marketing> insert API key you copied from Mailchimp account
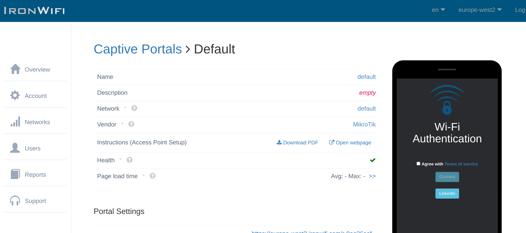
7. Go to Networks > Captive Portal settings
.png?width=508&height=274&name=35.189.111.2%20(11).png)
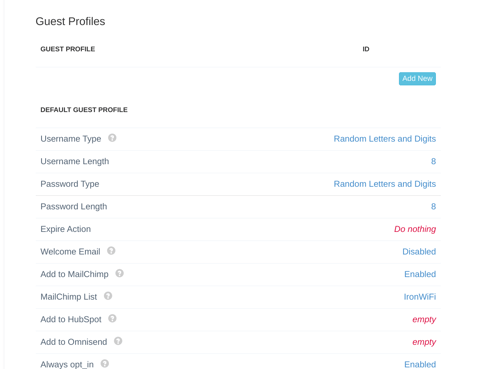
8. Scroll down to the Guest Profiles > enable the "Add to MailChimp" feature > Select the MailChimp list > enable Always opt in
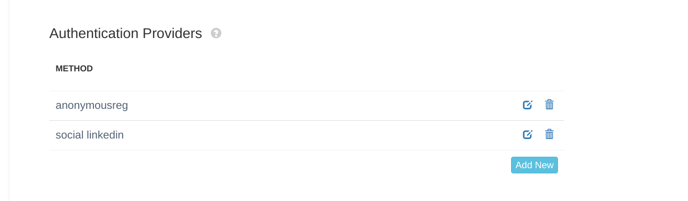
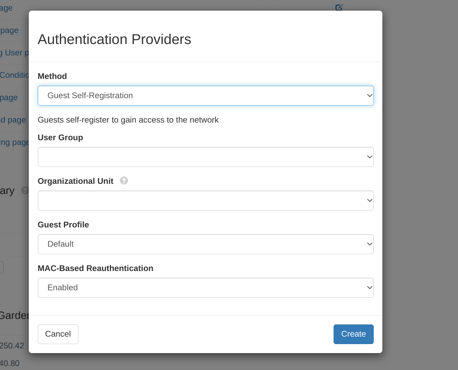
9. To add users to your MailChimp list> scroll up to the Authentication Providers > click ad new
10. Select Method (select the method where your users use email addresses) > click Create
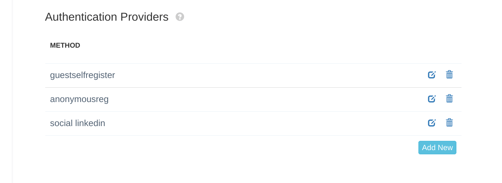
11. Click edit method you created.
12. Include checkbox with the name "opt_in", or type "hidden" to the Source Code if you wish to sign up all guests.
<input type="checkbox" name="opt_in" />
or
<input type="hidden" name="opt_in" value="on" />
.png?width=520&height=411&name=35.189.111.2%20(12).png)
Click save.
13. Test the guest registration process.
.png?width=603&height=332&name=35.189.111.2%20(13).png)
If an invalid or suspicious email address was entered, an error message will be displayed.
14. Member will be automatically added to the selected MailChimp list.
.png?width=500&height=242&name=35.189.111.2%20(14).png)