This page provides instructions on how to configure your Facebook App to allow Captive Portal authentication with OAuth 2.0.
Enabling Facebook's social login through IronWiFi provides users with a secure way to log in to third-party applications and websites using their FB account as their identity source. With this feature configured and activated, IronWiFi can easily obtain basic public information from Facebook and allow users to log in without needing to remember and enter their login credentials.
IronWiFi and Facebook Integration:
- Create an IronWiFi account the first >>> Open an account
- Follow the provided instructions to set up your AP configuration >>> AP configuration instructions
- Follow the instructions how to install your own Facebook app⬇
1. Create a Facebook App:
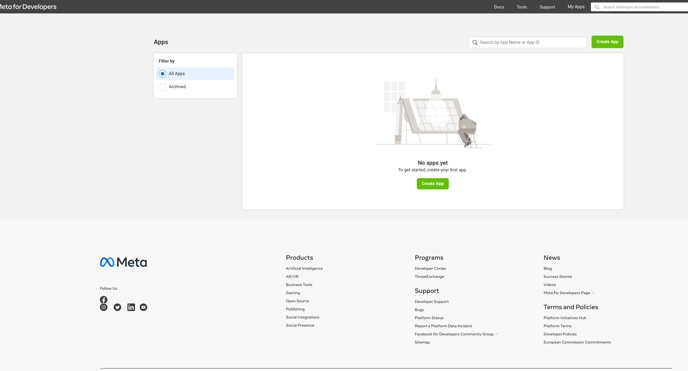
a. Log in to your Facebook account and visit https://developers.facebook.com/apps/.
b. Click on "Create App" in the top right corner.
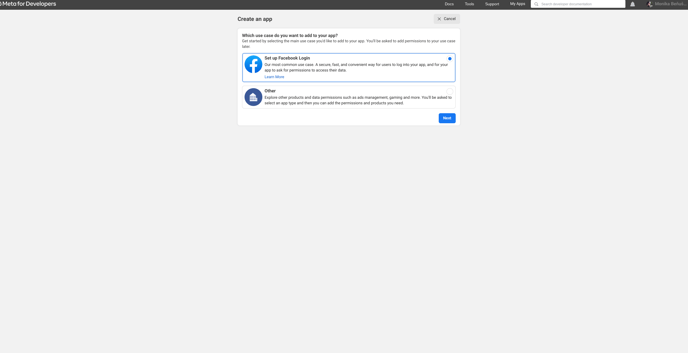
c. Select "Setup Facebook Login" and click "next".
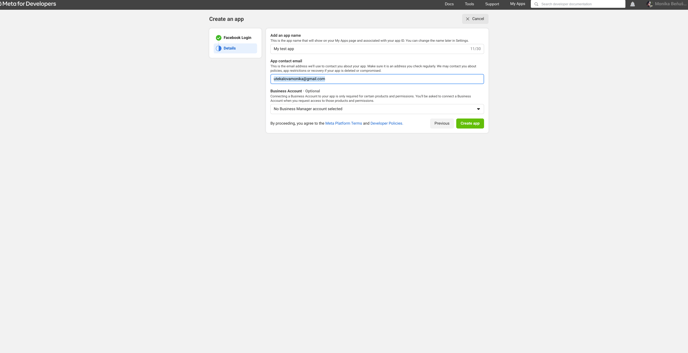
d. Provide a display name, contact email, and purpose for your app, then click "Create App ID". e. Complete the security check and click "Submit".
2. Set up Facebook Login:
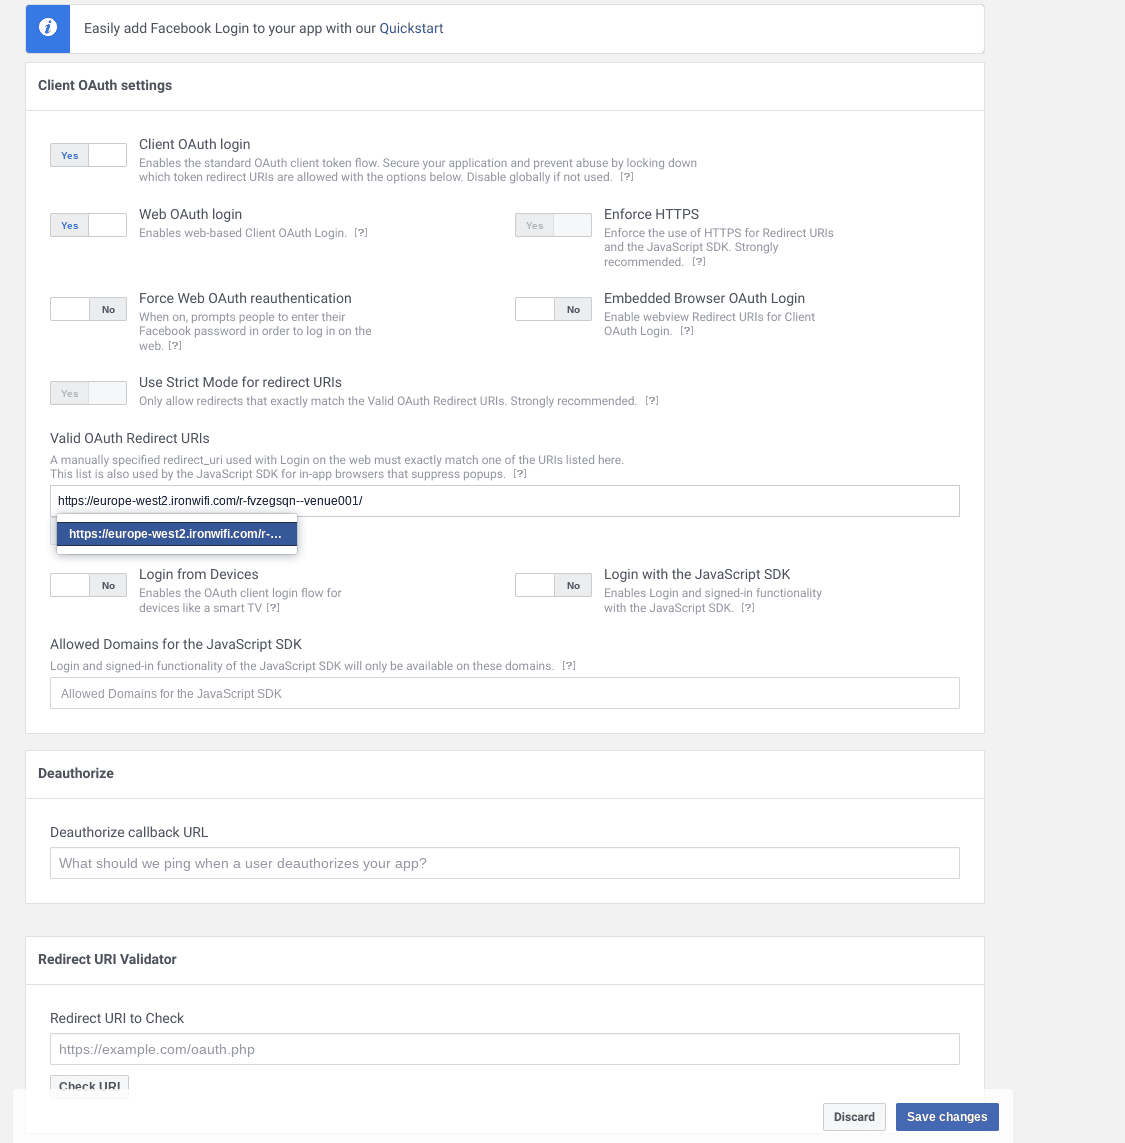
a. In your App Dashboard, Products section > your app, click configure > settings

b. Ensure "Client OAuth Login" and "Web OAuth Login" are enabled.
c. Add your Captive Portal splash page URL in the "Valid OAuth Redirect URIs" field and click "Save Changes".
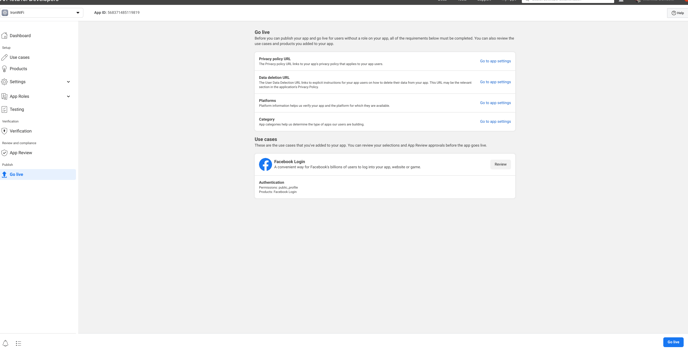
d. Make your app public > In the left sidebar, click on "App Review".

e. Click Go live in the left menu > provide Privacy policy and Data deletion information in Setting/Basic before going live > then click Go live in the right bottom corner
3. Retrieve App ID and App Secret:
a. Go to the "Settings" > "Basic" section in the left sidebar.
b. Note your "App ID" and "App Secret" as you'll need them to configure your Captive Portal.
IronWiFi Console
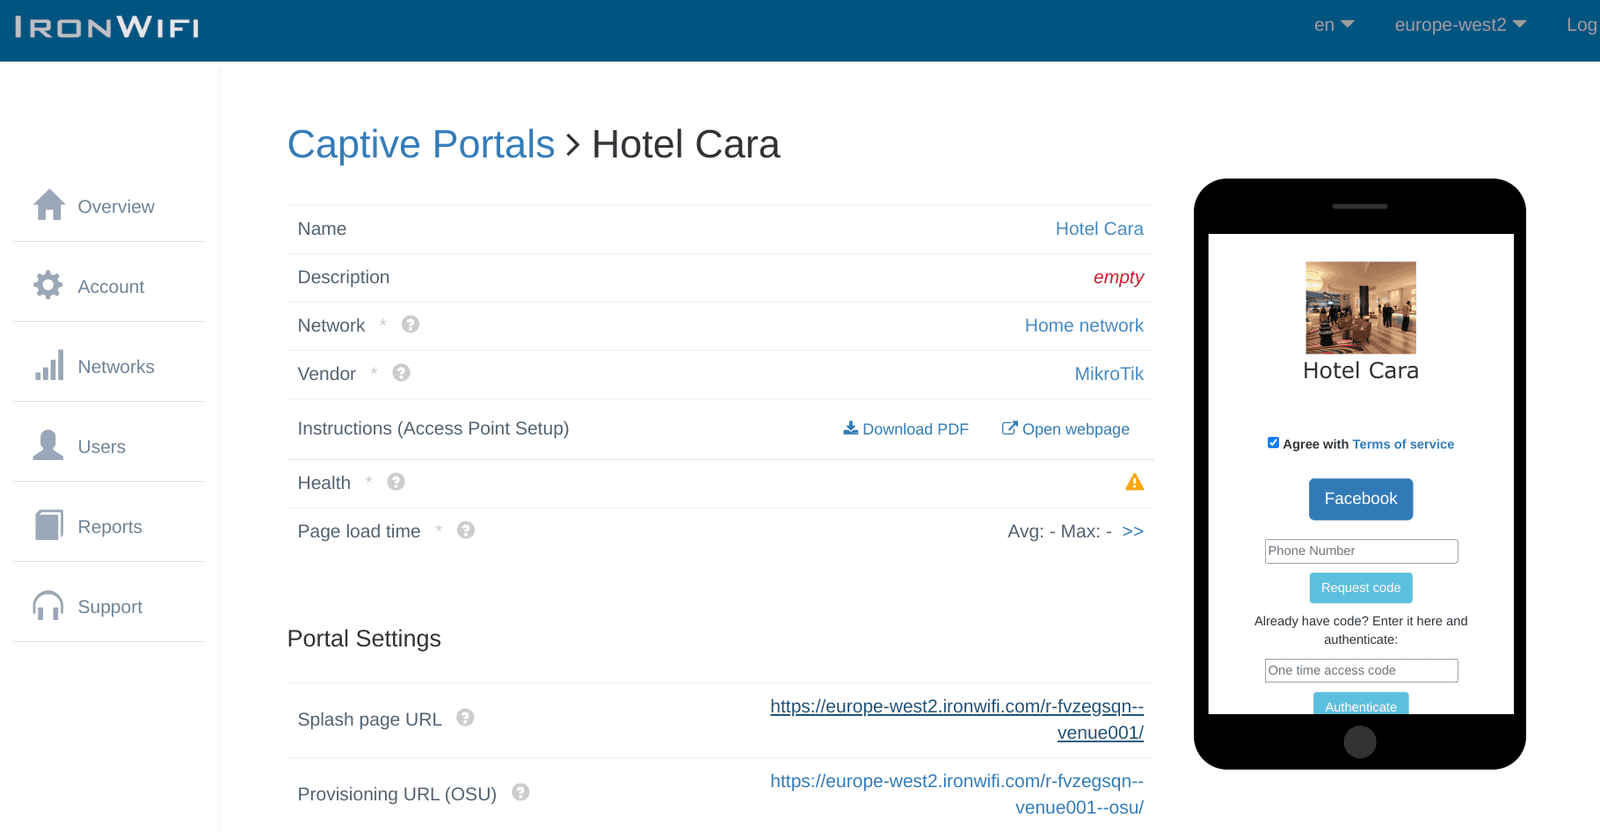
1. Navigate to IronWiFi Console > Networks > Captive Portals > Your Captive Portal > Authentication Providers

2. Click Add new > Copy App ID and App Secret and add it to the Authentication Provider settings > click create
3. Test Splash page authentication, and authorize application access to the user profile. Optionally you can change the logo of your application to match your brand and styling.
Congratulations. Your guests can now use a Facebook account to authenticate on your Captive Portal.