In this guide we describe how to configure your Aruba Mobility Controller to work with external Captive Portals.
Prerequisites
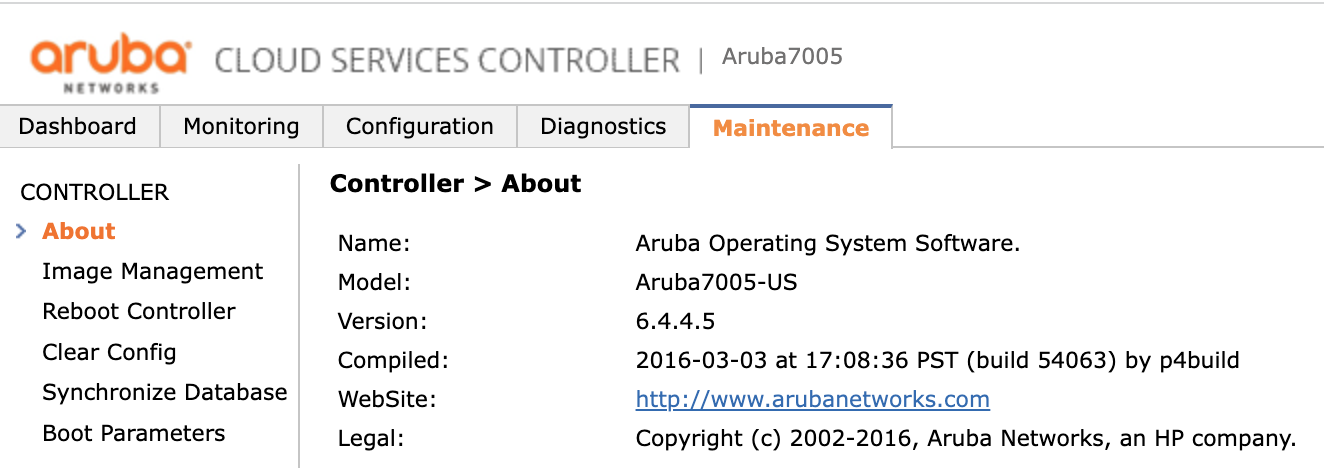
This guide applies to the Solution for the Aruba Operating System version 6.3.1.9 or later.
The controller and access points must be connected to the Internet and the access points must be configured to correctly point to the controller.
Accessing the controller
You must access the controller through the web UI.
Setting RADIUS configuration
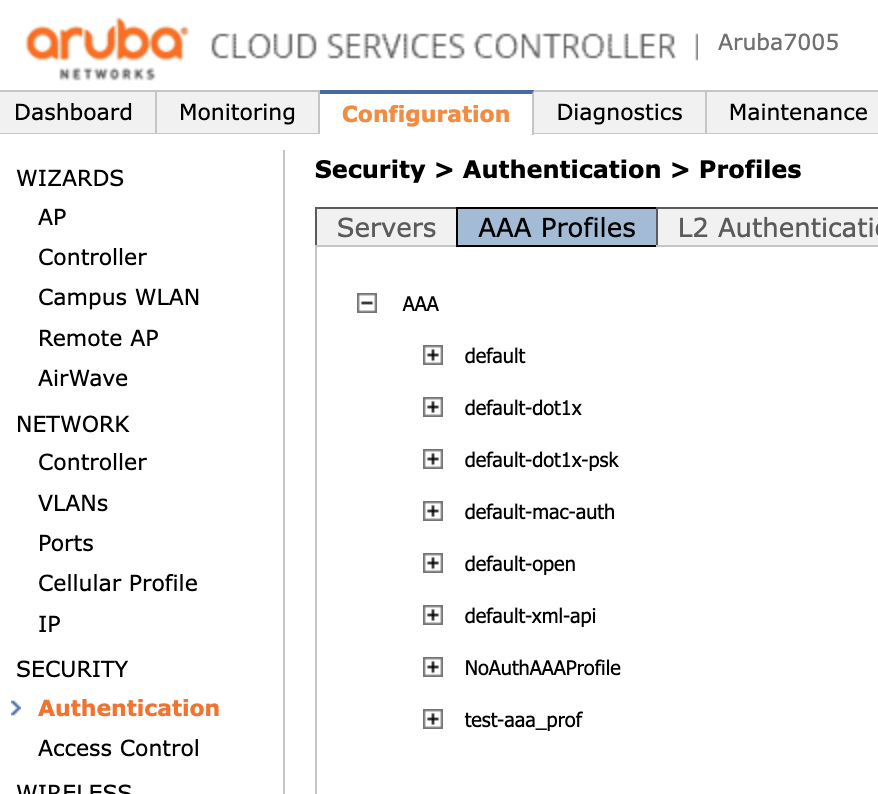
To set the RADIUS configuration you must click on the Configuration tab on the main page.
Under Security, you have to click Authentication and then choose the Servers tab.
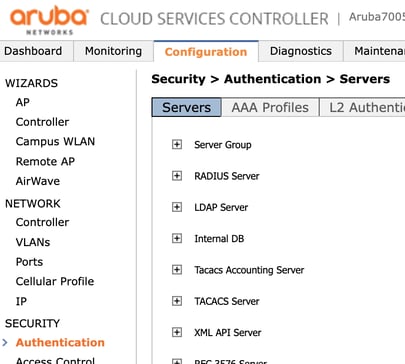
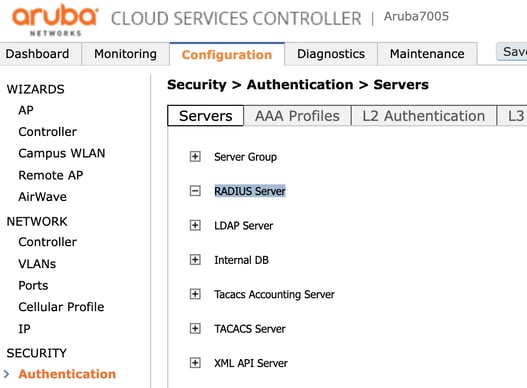
Once in the Security > Authentication > Servers page, expand the RADIUS server section, as indicated below.
Now you must add a new RADIUS server to your list by entering a new name and clicking Add.
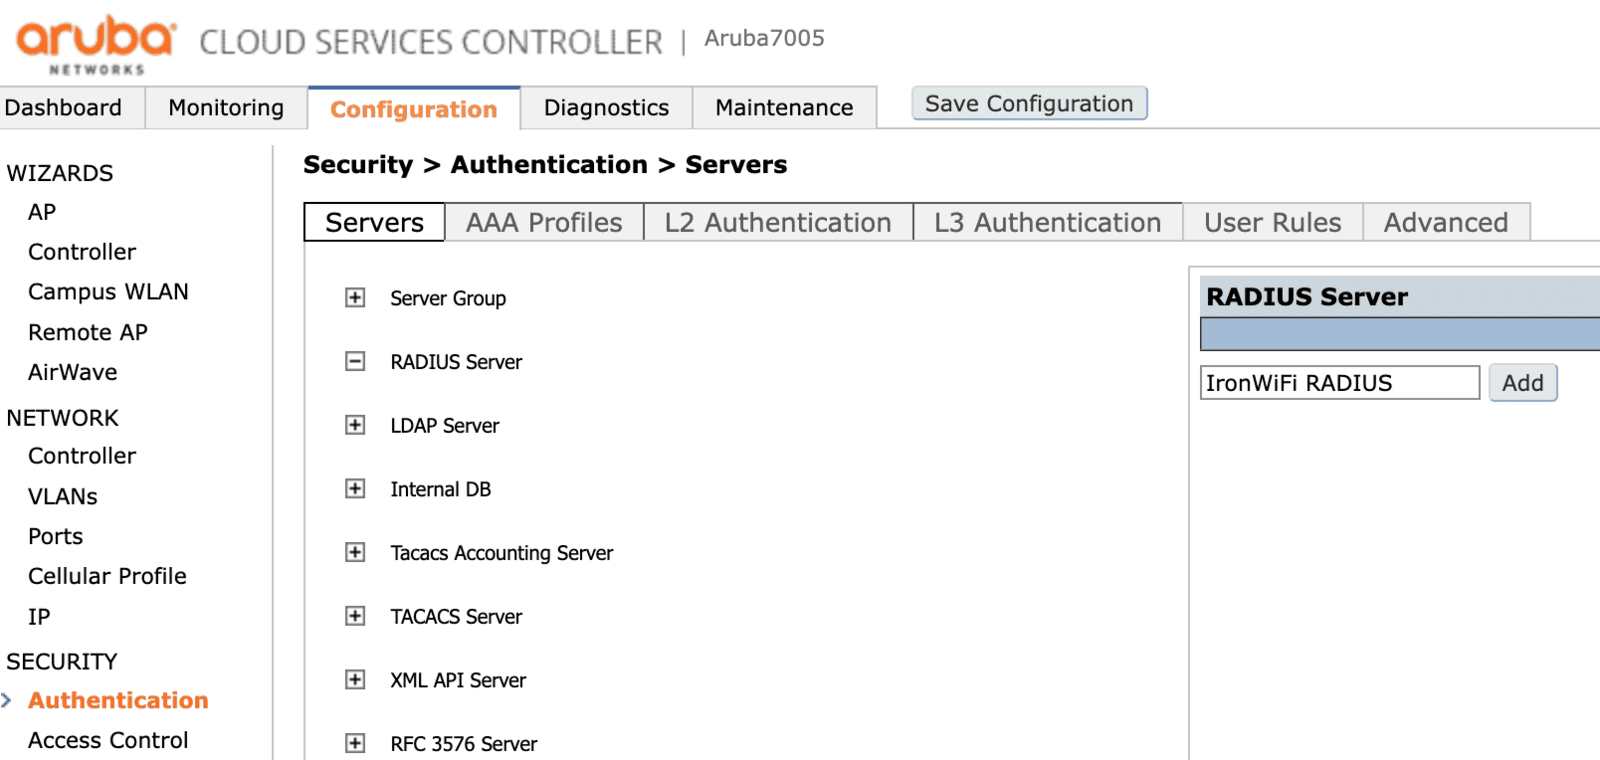
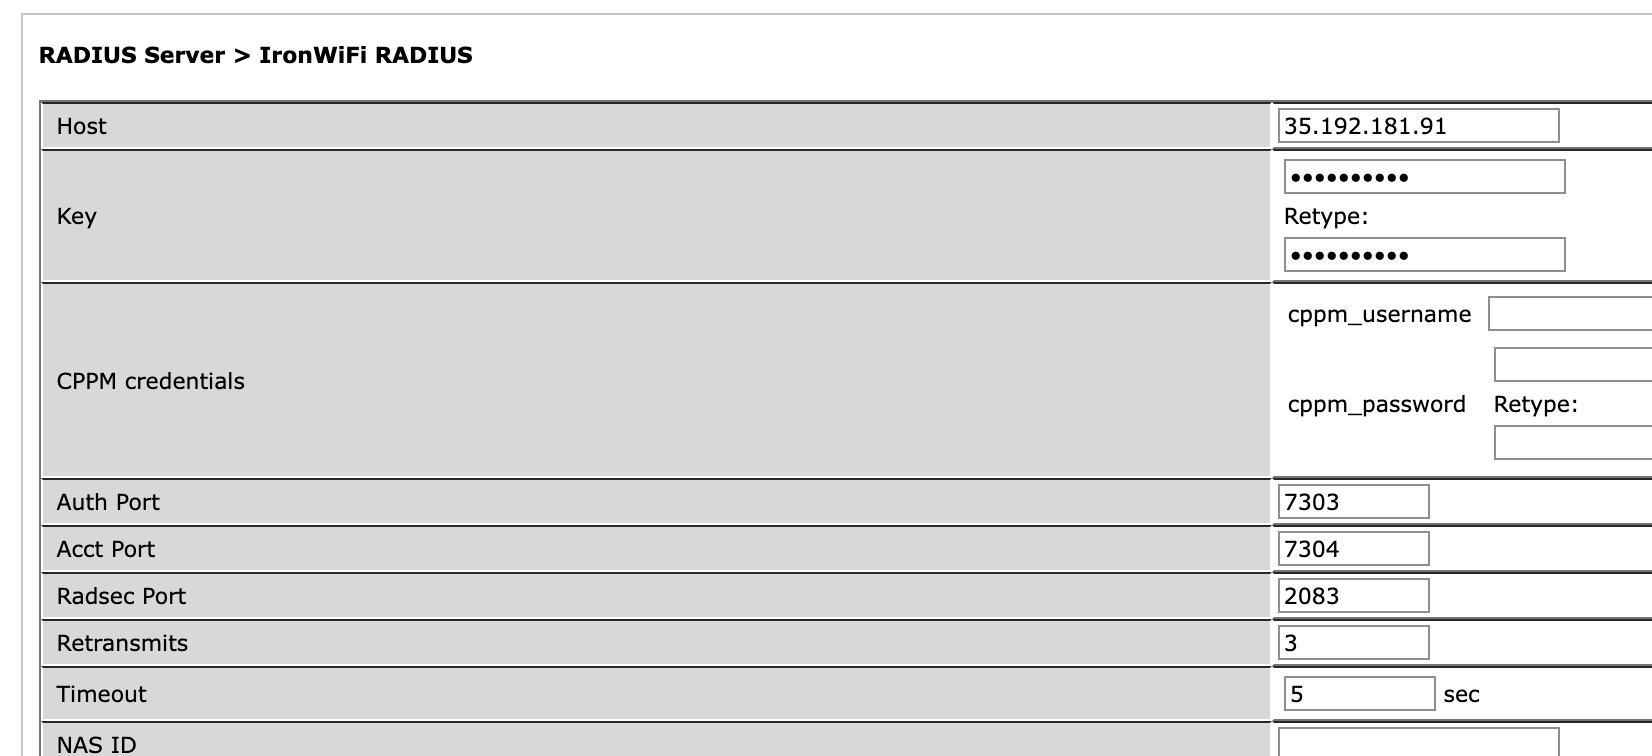
By clicking a name of a RADIUS server, you can edit its configuration: you must set the following data with the values from the IronWiFi management console.
- Host - RADIUS server IP address
- Key - shared secret
- Auth Port
- Acct Port
Click Apply to save the changes.
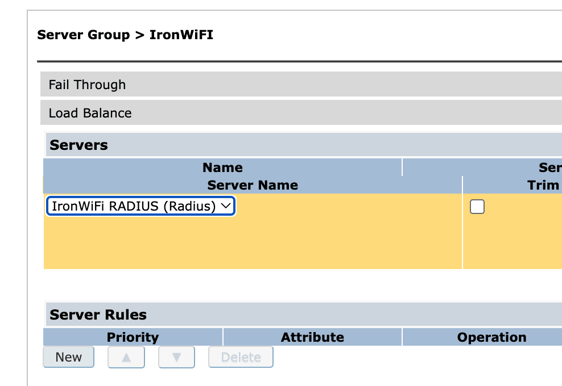
Then, in the same Security > Authentication > Servers page, under the same Servers tab, expand the Server Group section and create one item.

Click the newly created group and in the drop-down menu select the RADIUS Server previously created (in this case "IronWiFi Radius").
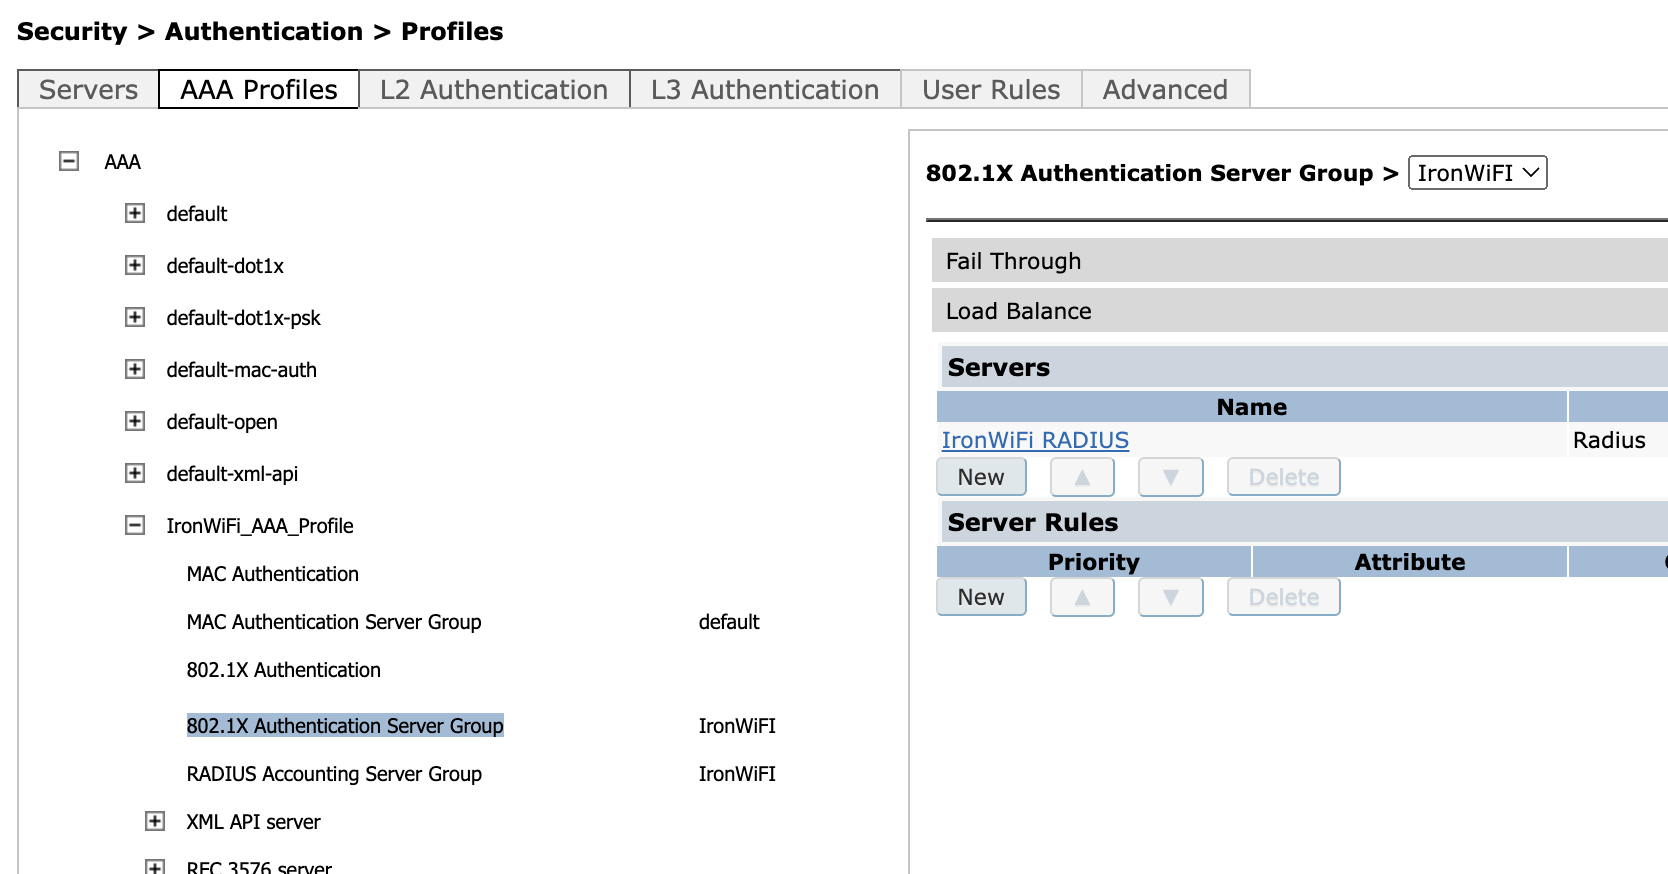
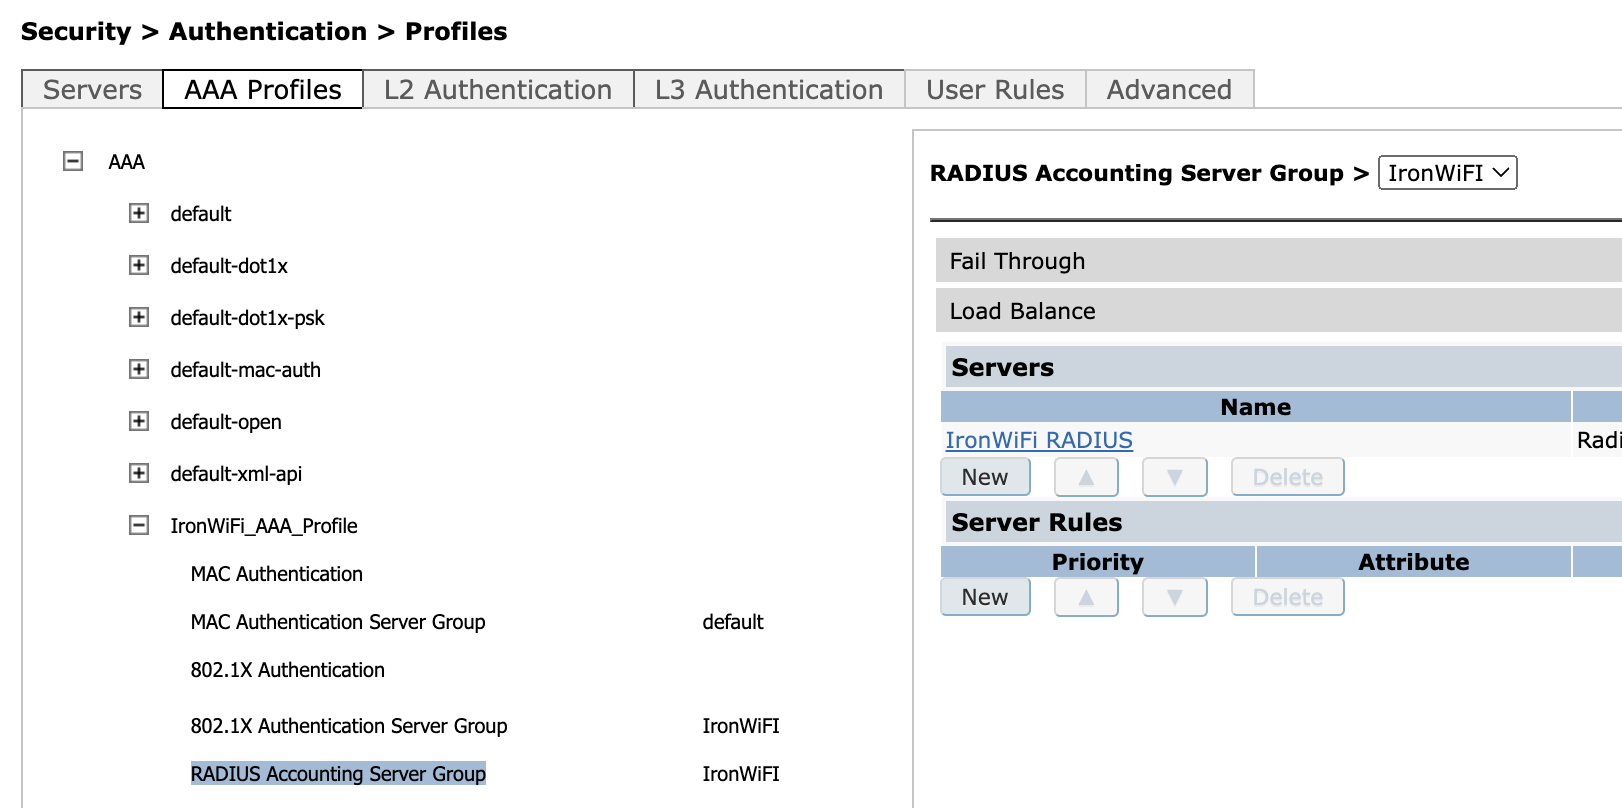
Then go to the AAA Profiles tab and expand the AAA section.
Then create a profile (in this case called "IronWiFi_AAA_Profile") by clicking the Add button under the list of profiles.
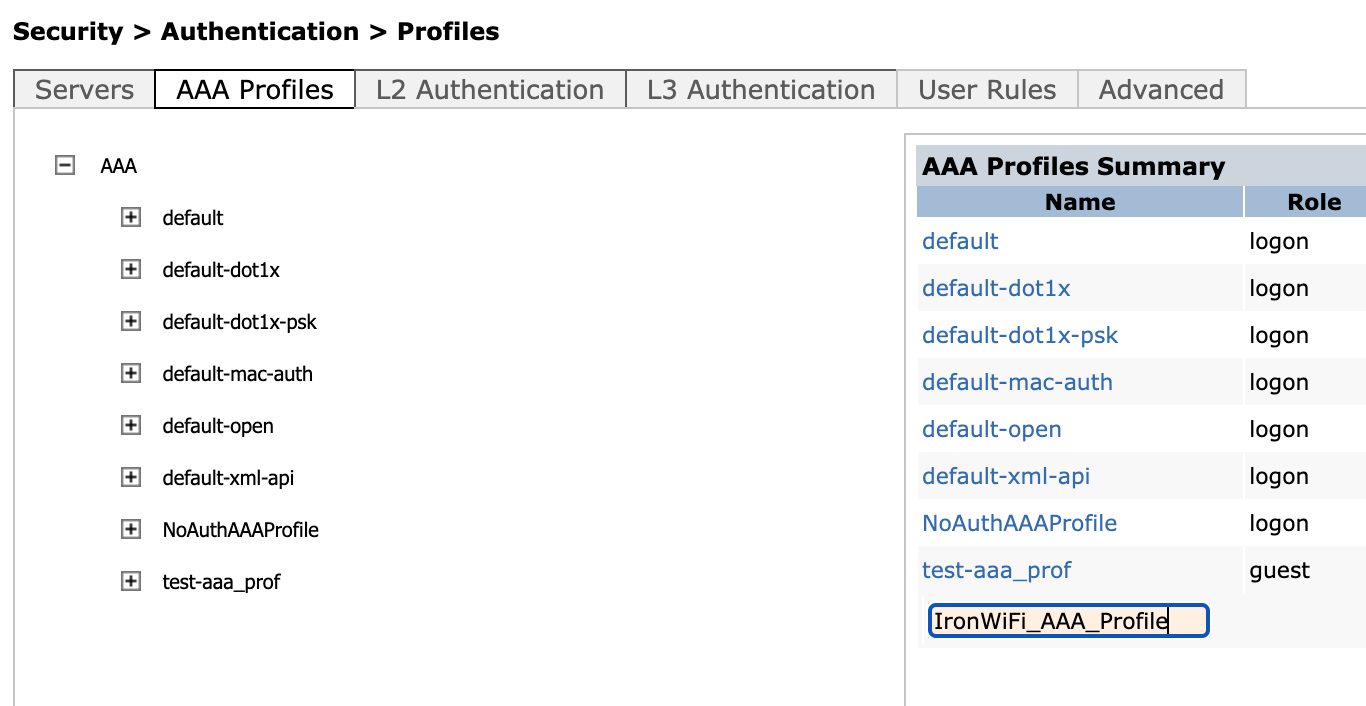
Expand the profile you just created and set the RADIUS Server created above (in this case "IronWiFi Radius") as both the 801X Authentication server and also as RADIUS Accounting Server group.
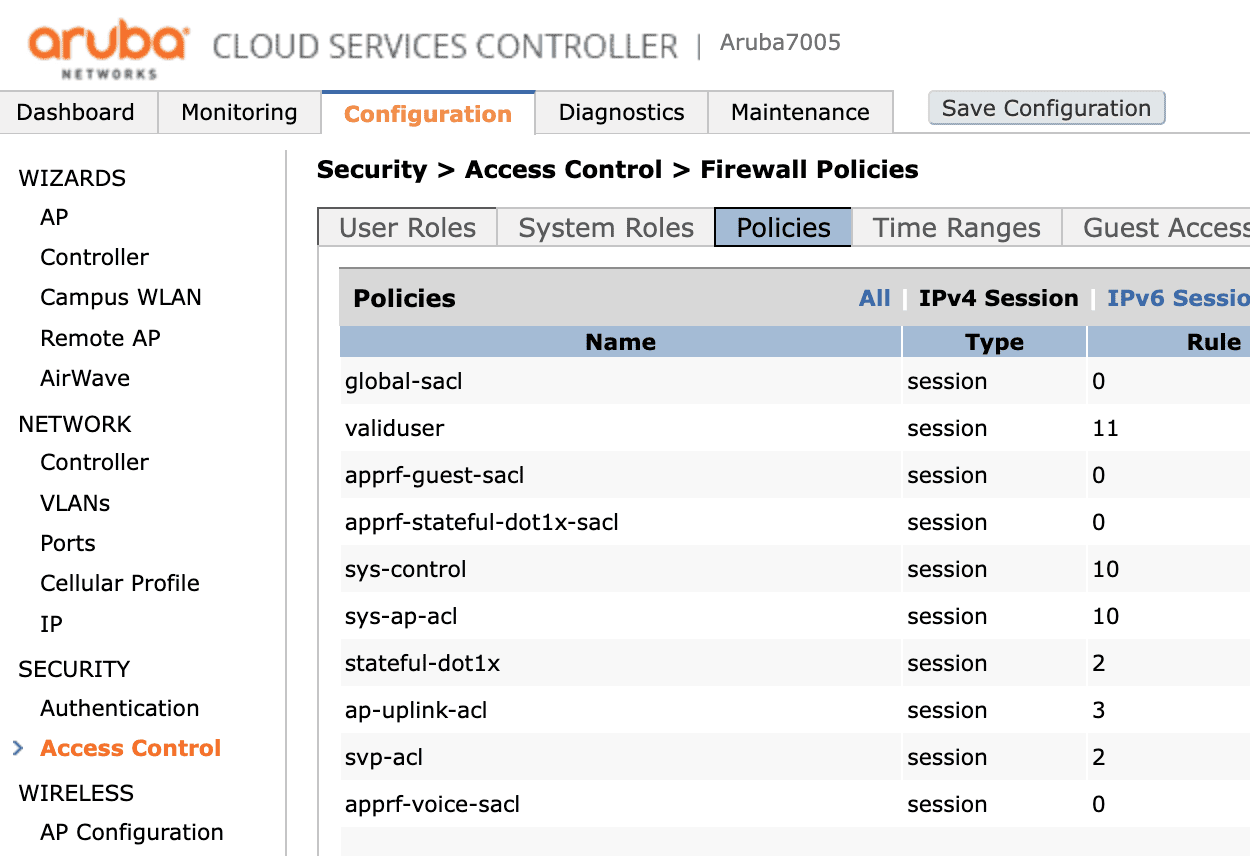
Setting access policies
You must set the ACL for your device. You can do this by clicking the Configuration tab on the main page and then, under Security, clicking Access Control and choosing the Policies tab.
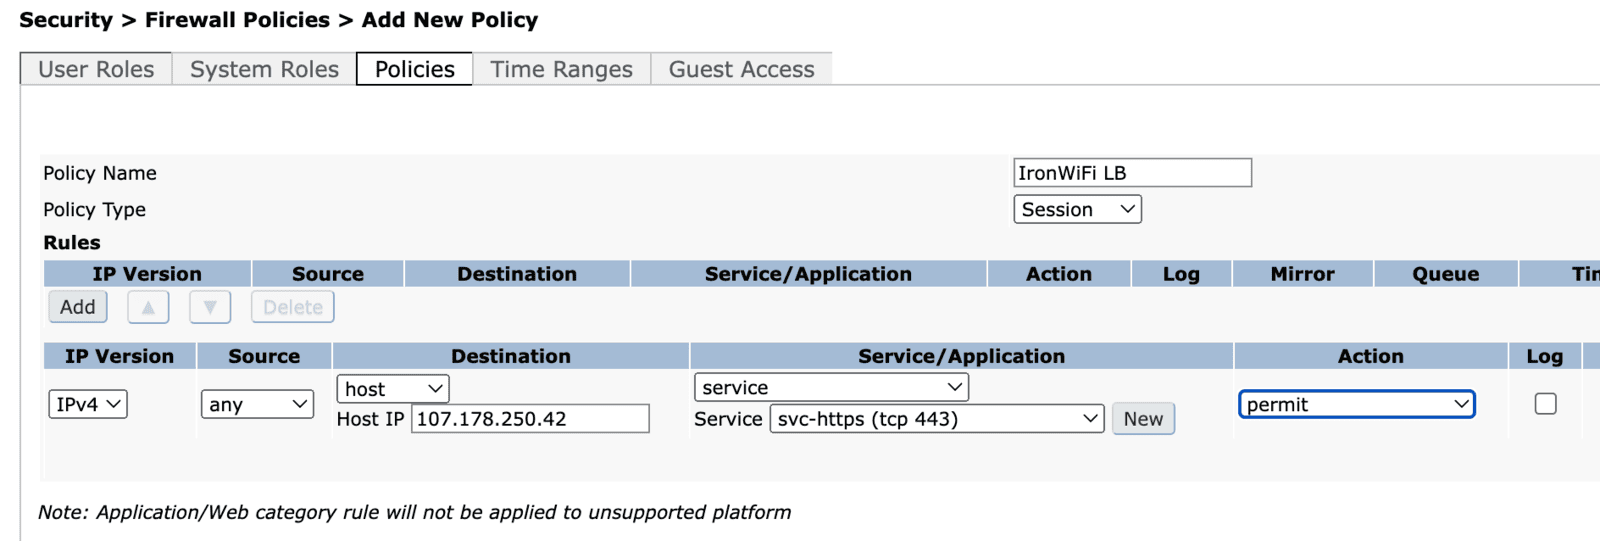
You have to create a new ACL set as the picture below allowing HTTPS traffic from your network to the IronWiFi Load-Balancer's IPv4 address - 107.178.250.42 service svc-https (tcp 443)
Setting captive portal configuration
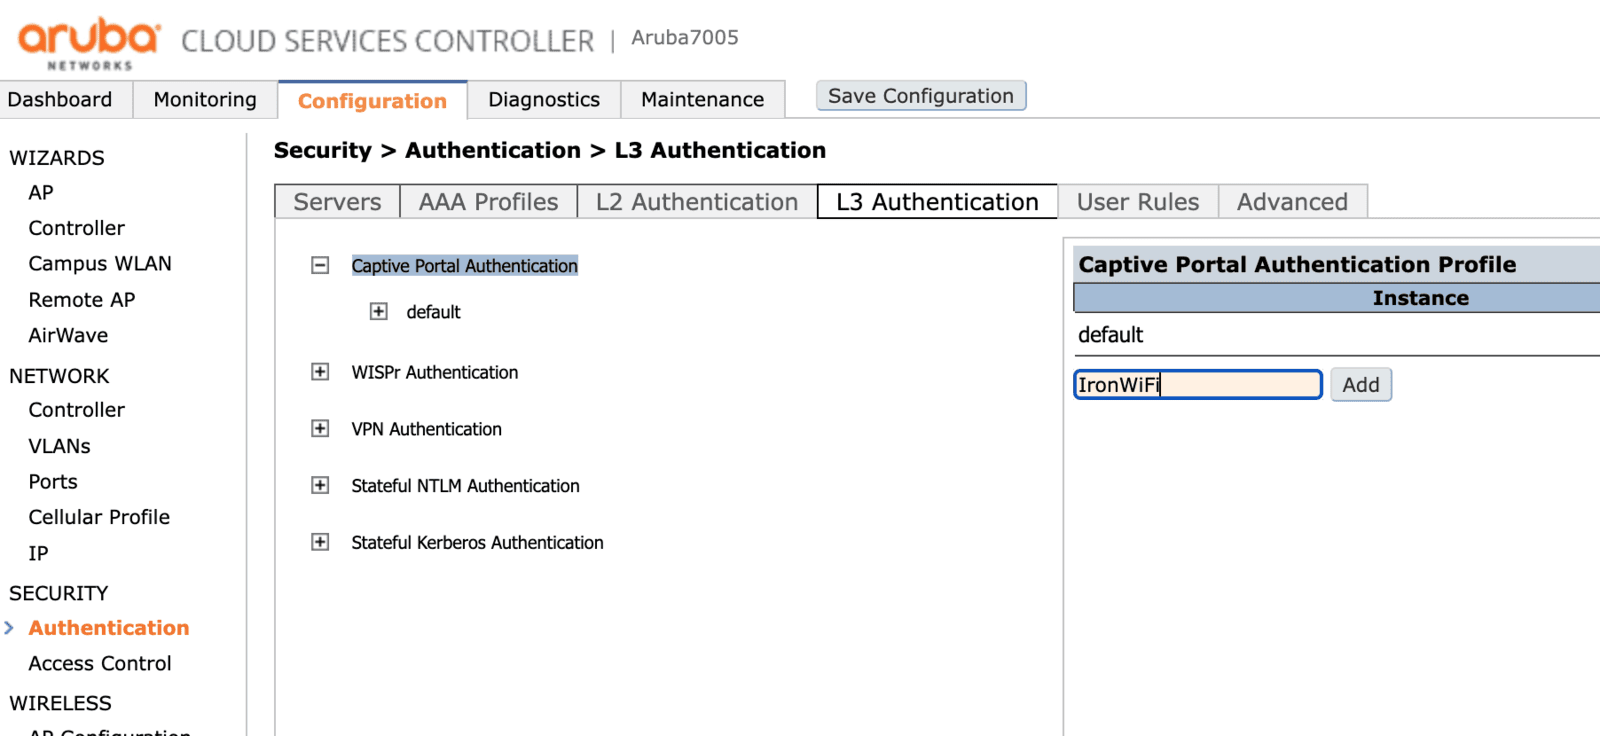
To configure the captive portal you have to choose the Configuration tab on the main page. Then, under Security, you have to click Authentication and then choose the L3 Authentication tab. Then expand the Captive Portal Authentication section and create a new configuration profile.
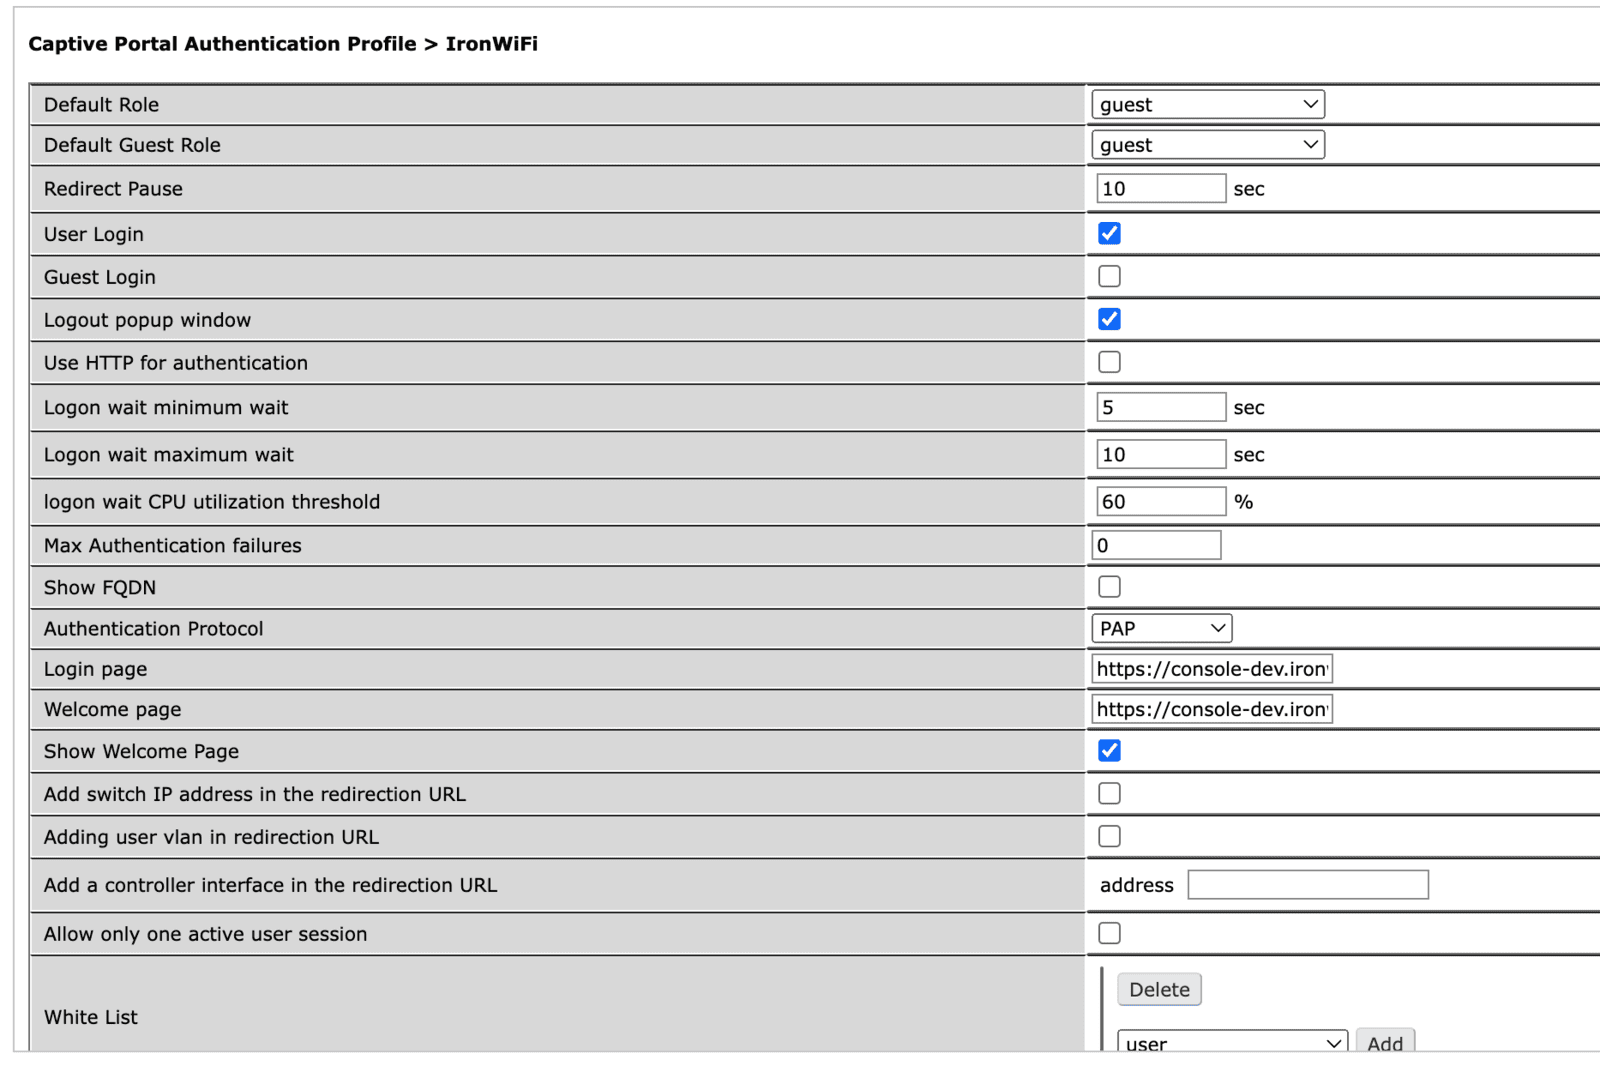
By clicking the name of a profile, you can edit its configuration: you must set the following data with the values from the IronWiFi management console.
- Login page - Splash page URL
- Welcome page - Splash page URL
- Redirect URL - Success page URL
You can also configure the walled garden for your device here, this is mentioned later in this article, in the paragraph "Walled garden".
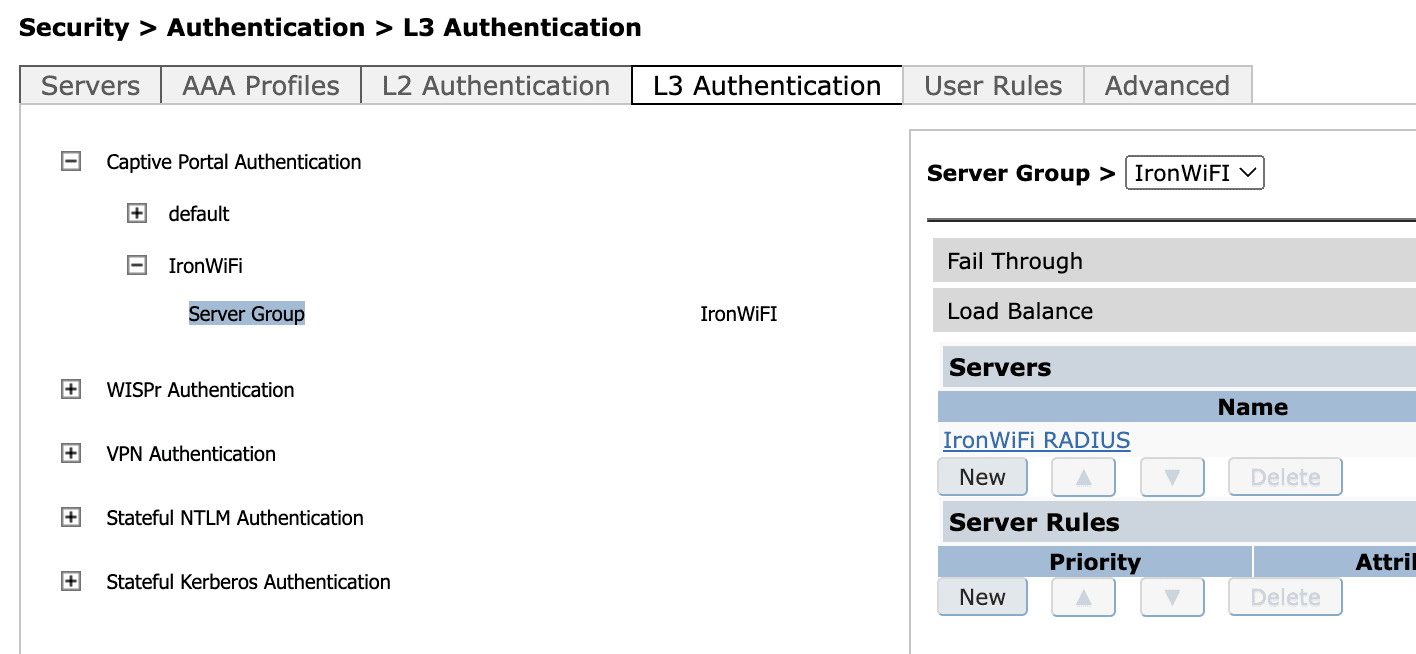
Next, click on the Server Group and assigned the previously created group (in this case "IronWiFi") to the configuration profile just created.
Setting network configuration
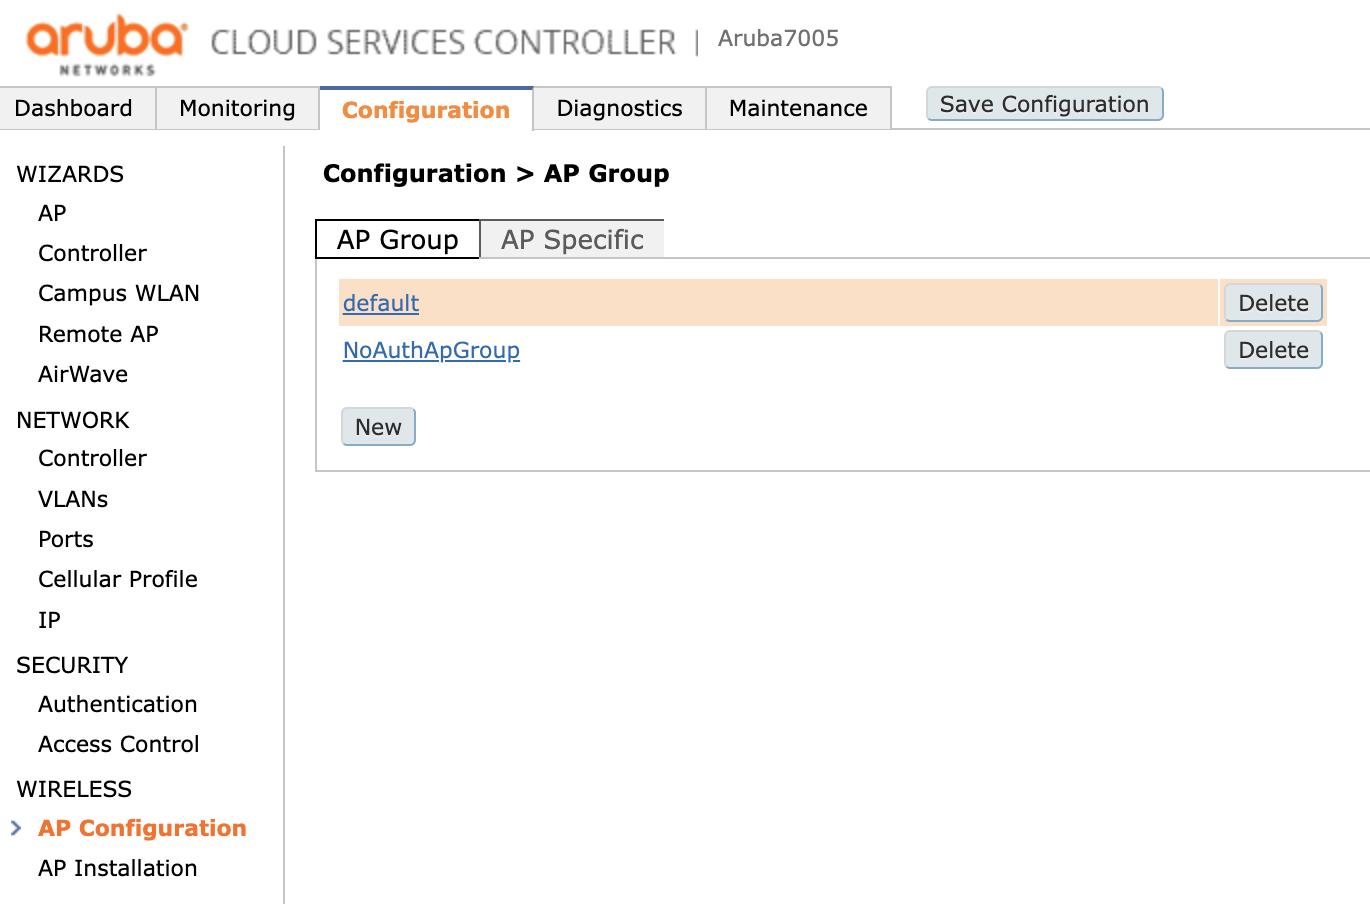
First, you must choose the Configuration tab on the main page. Then, under Wireless you have to click AP Configuration and then choose the AP Group, in this case group called default.
Expand the Wireless LAN section, click the Virtual AP and add a new profile.

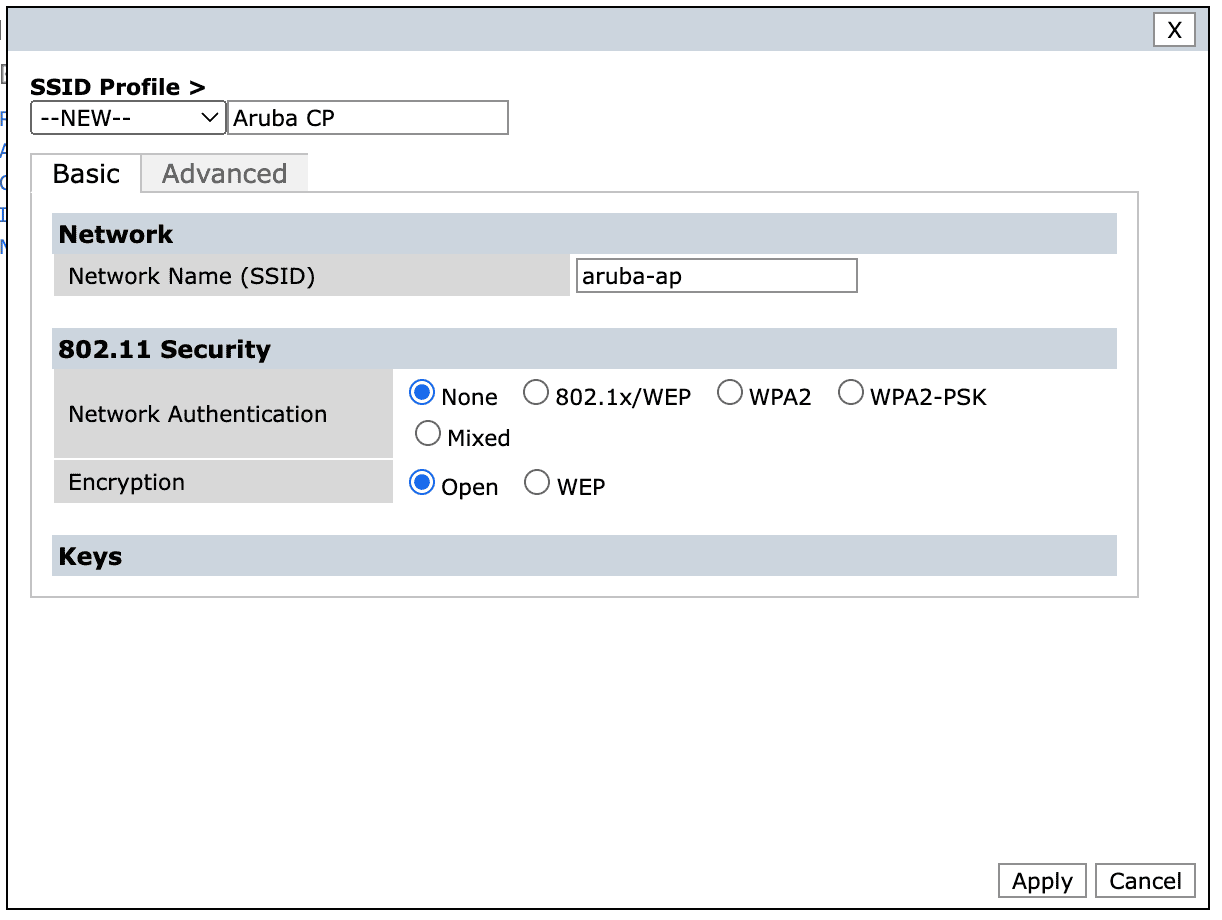
Assign the previously created AAA profile and assign or create a new SSID Profile.

If creating a new SSID profile, select Network Authentication None and Encryption set to Open.
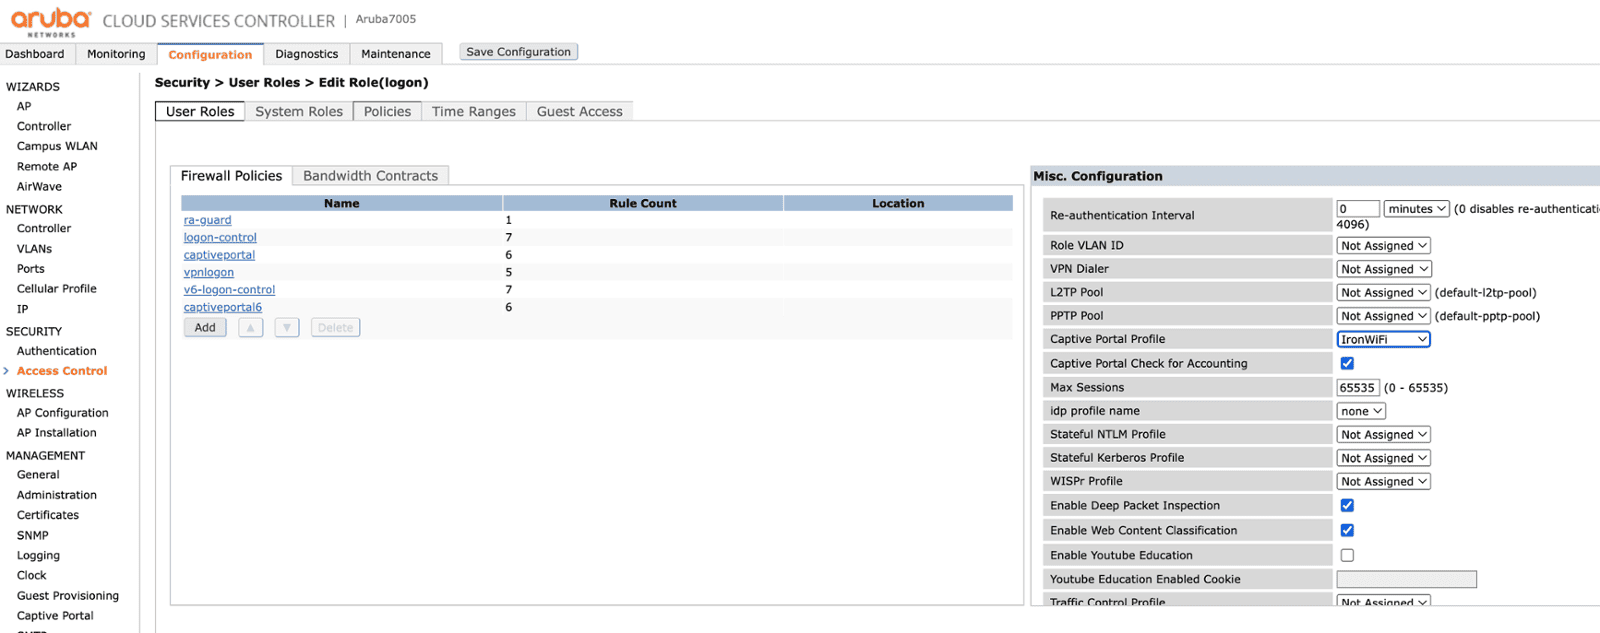
Click on Access Control -> Users Roles -> the default role - logon, and assign the newly created Captive Portal Profile - IronWiFi.
Walled garden
In the Configuration tab on the main page, under Advanced Services click Stateful Firewall and then select the Destination tab. Click Add to create a new destination profile.
Click the profile and specify all the domains included.

Return back to the Captive Portal Authentication profile - under Security, click Authentication and then choose the L3 Authentication tab.
Click the profile, find the section called White list and add the newly created destination profile.
