Configuration of SAML authentication using Azure Active Directory
This page provides instructions on how to configure your Azure Active Directory to allow Captive Portal authentication with SAML.
- Navigate to https://portal.azure.com
- Go to the Azure Active Directory submenu
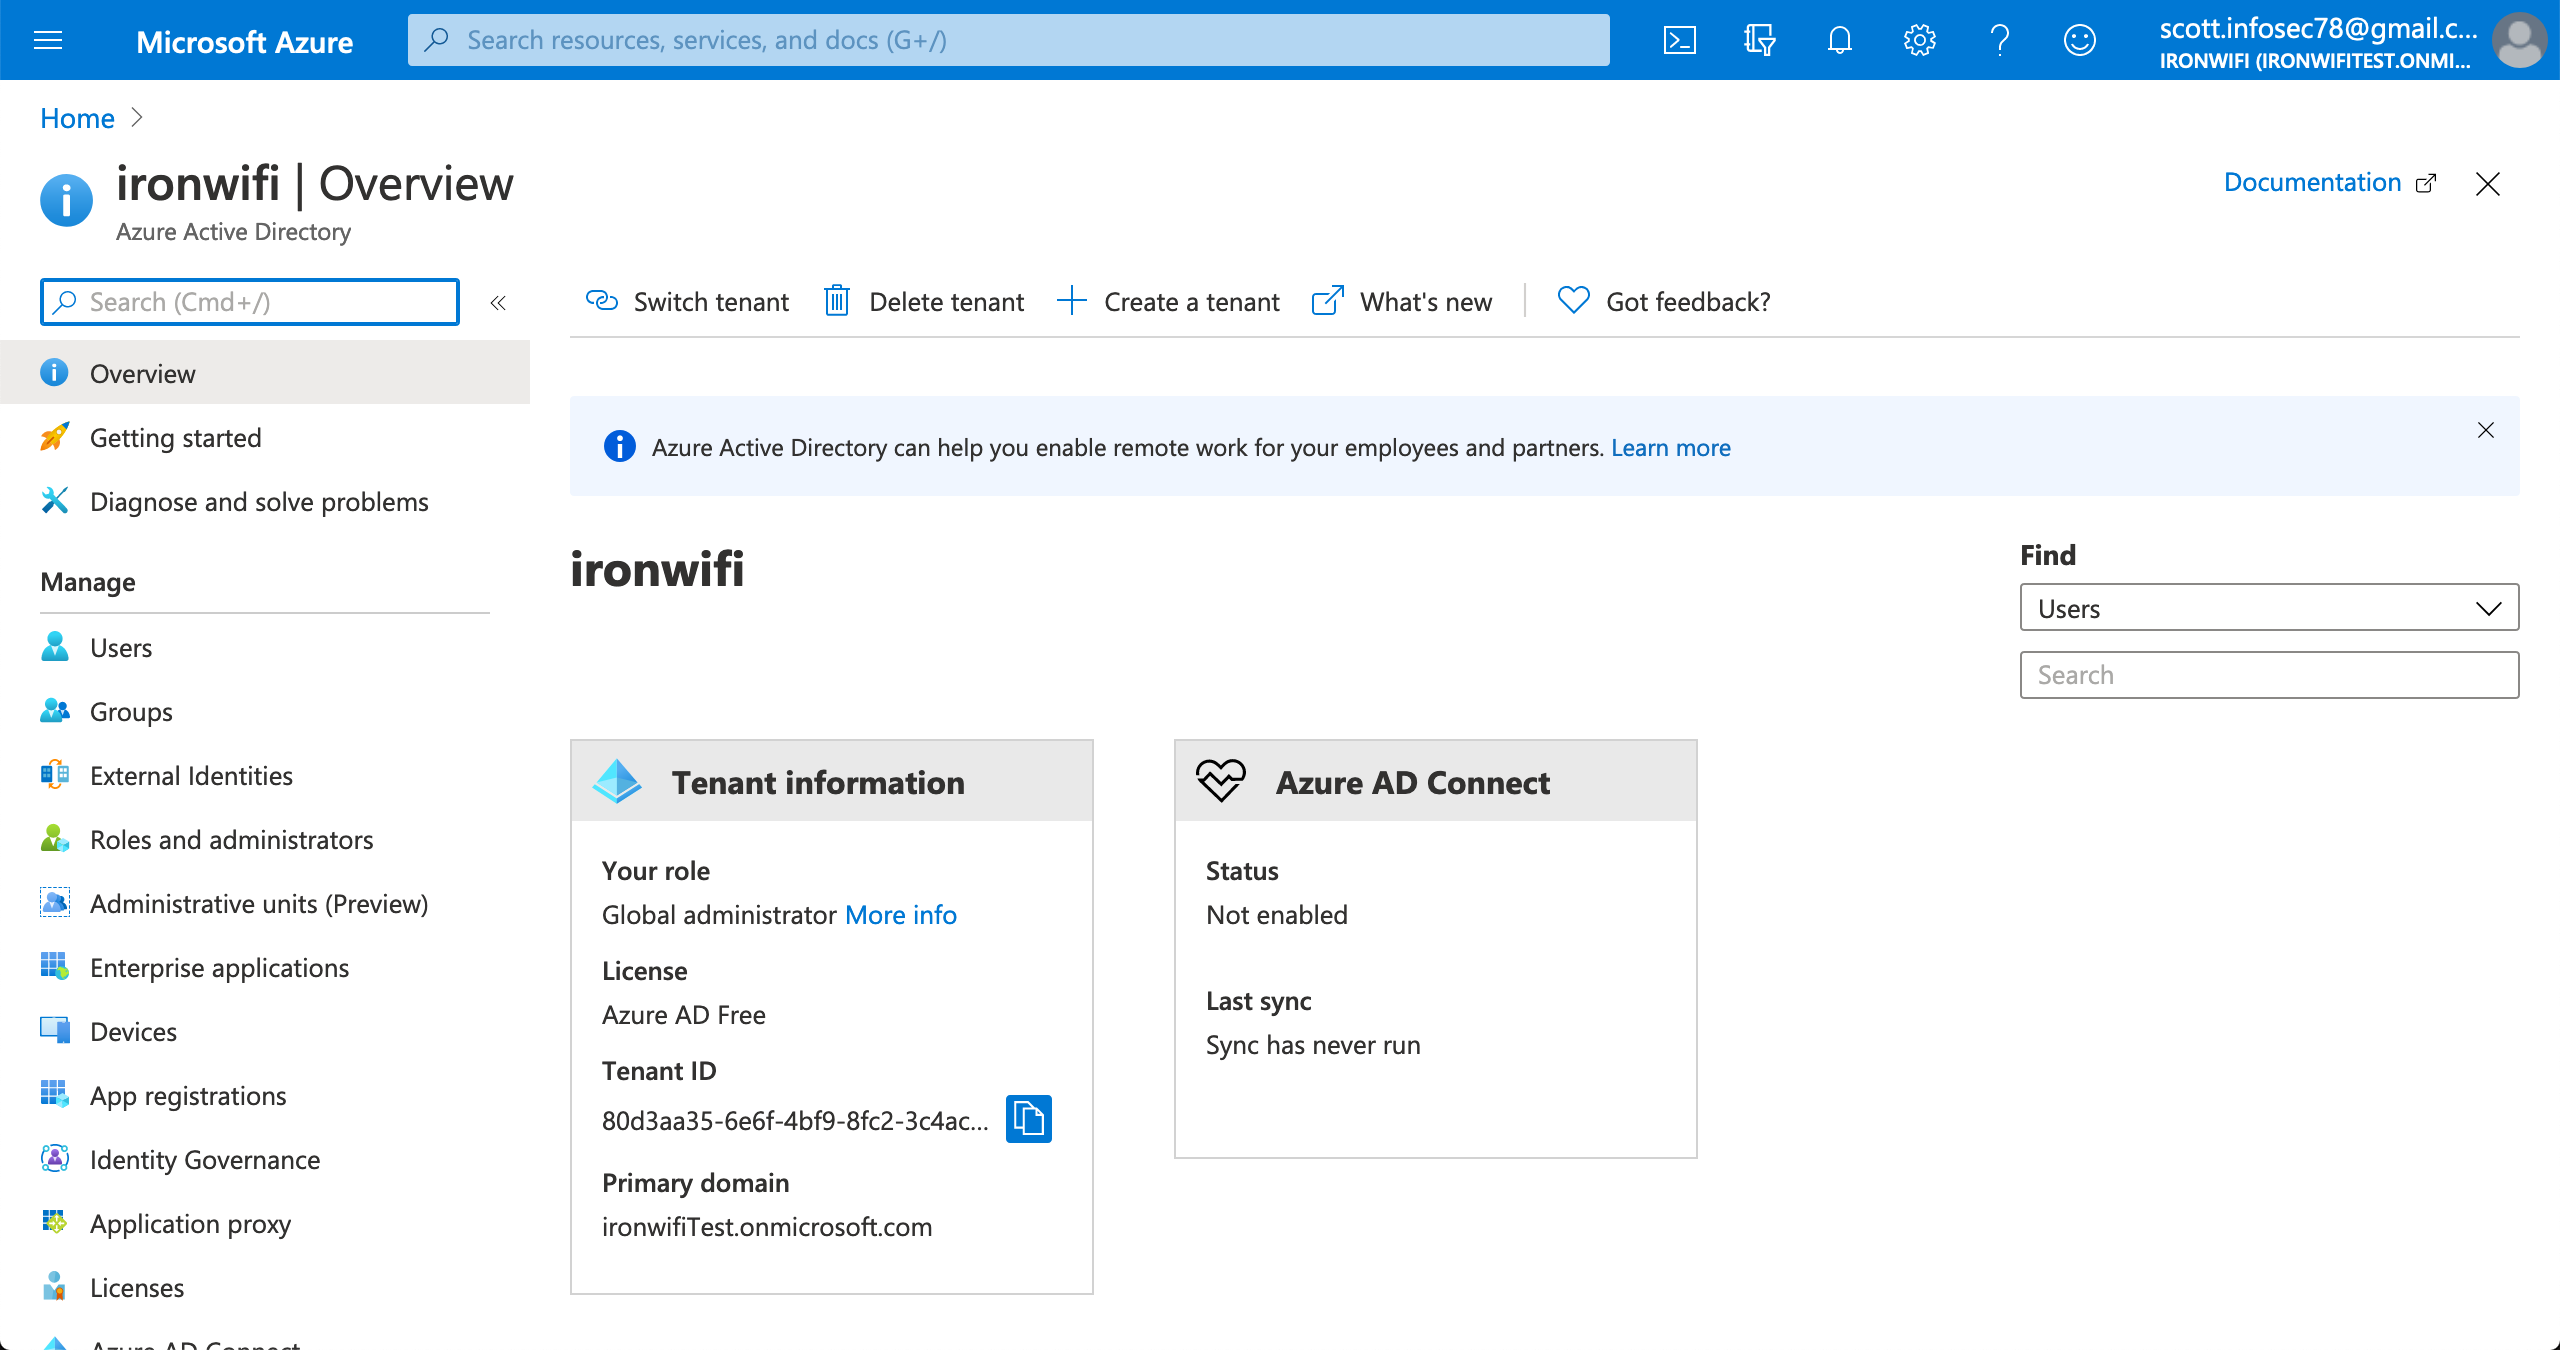
3. Select the active directory you wish to use for SSO
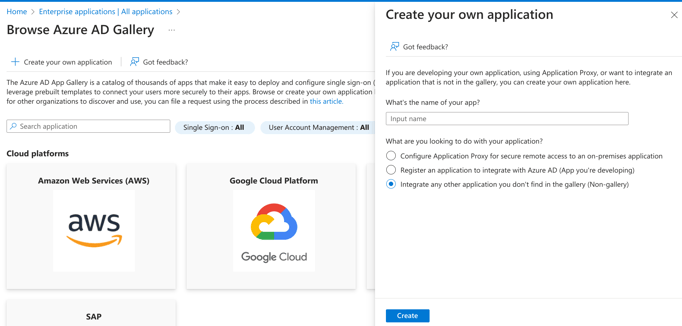
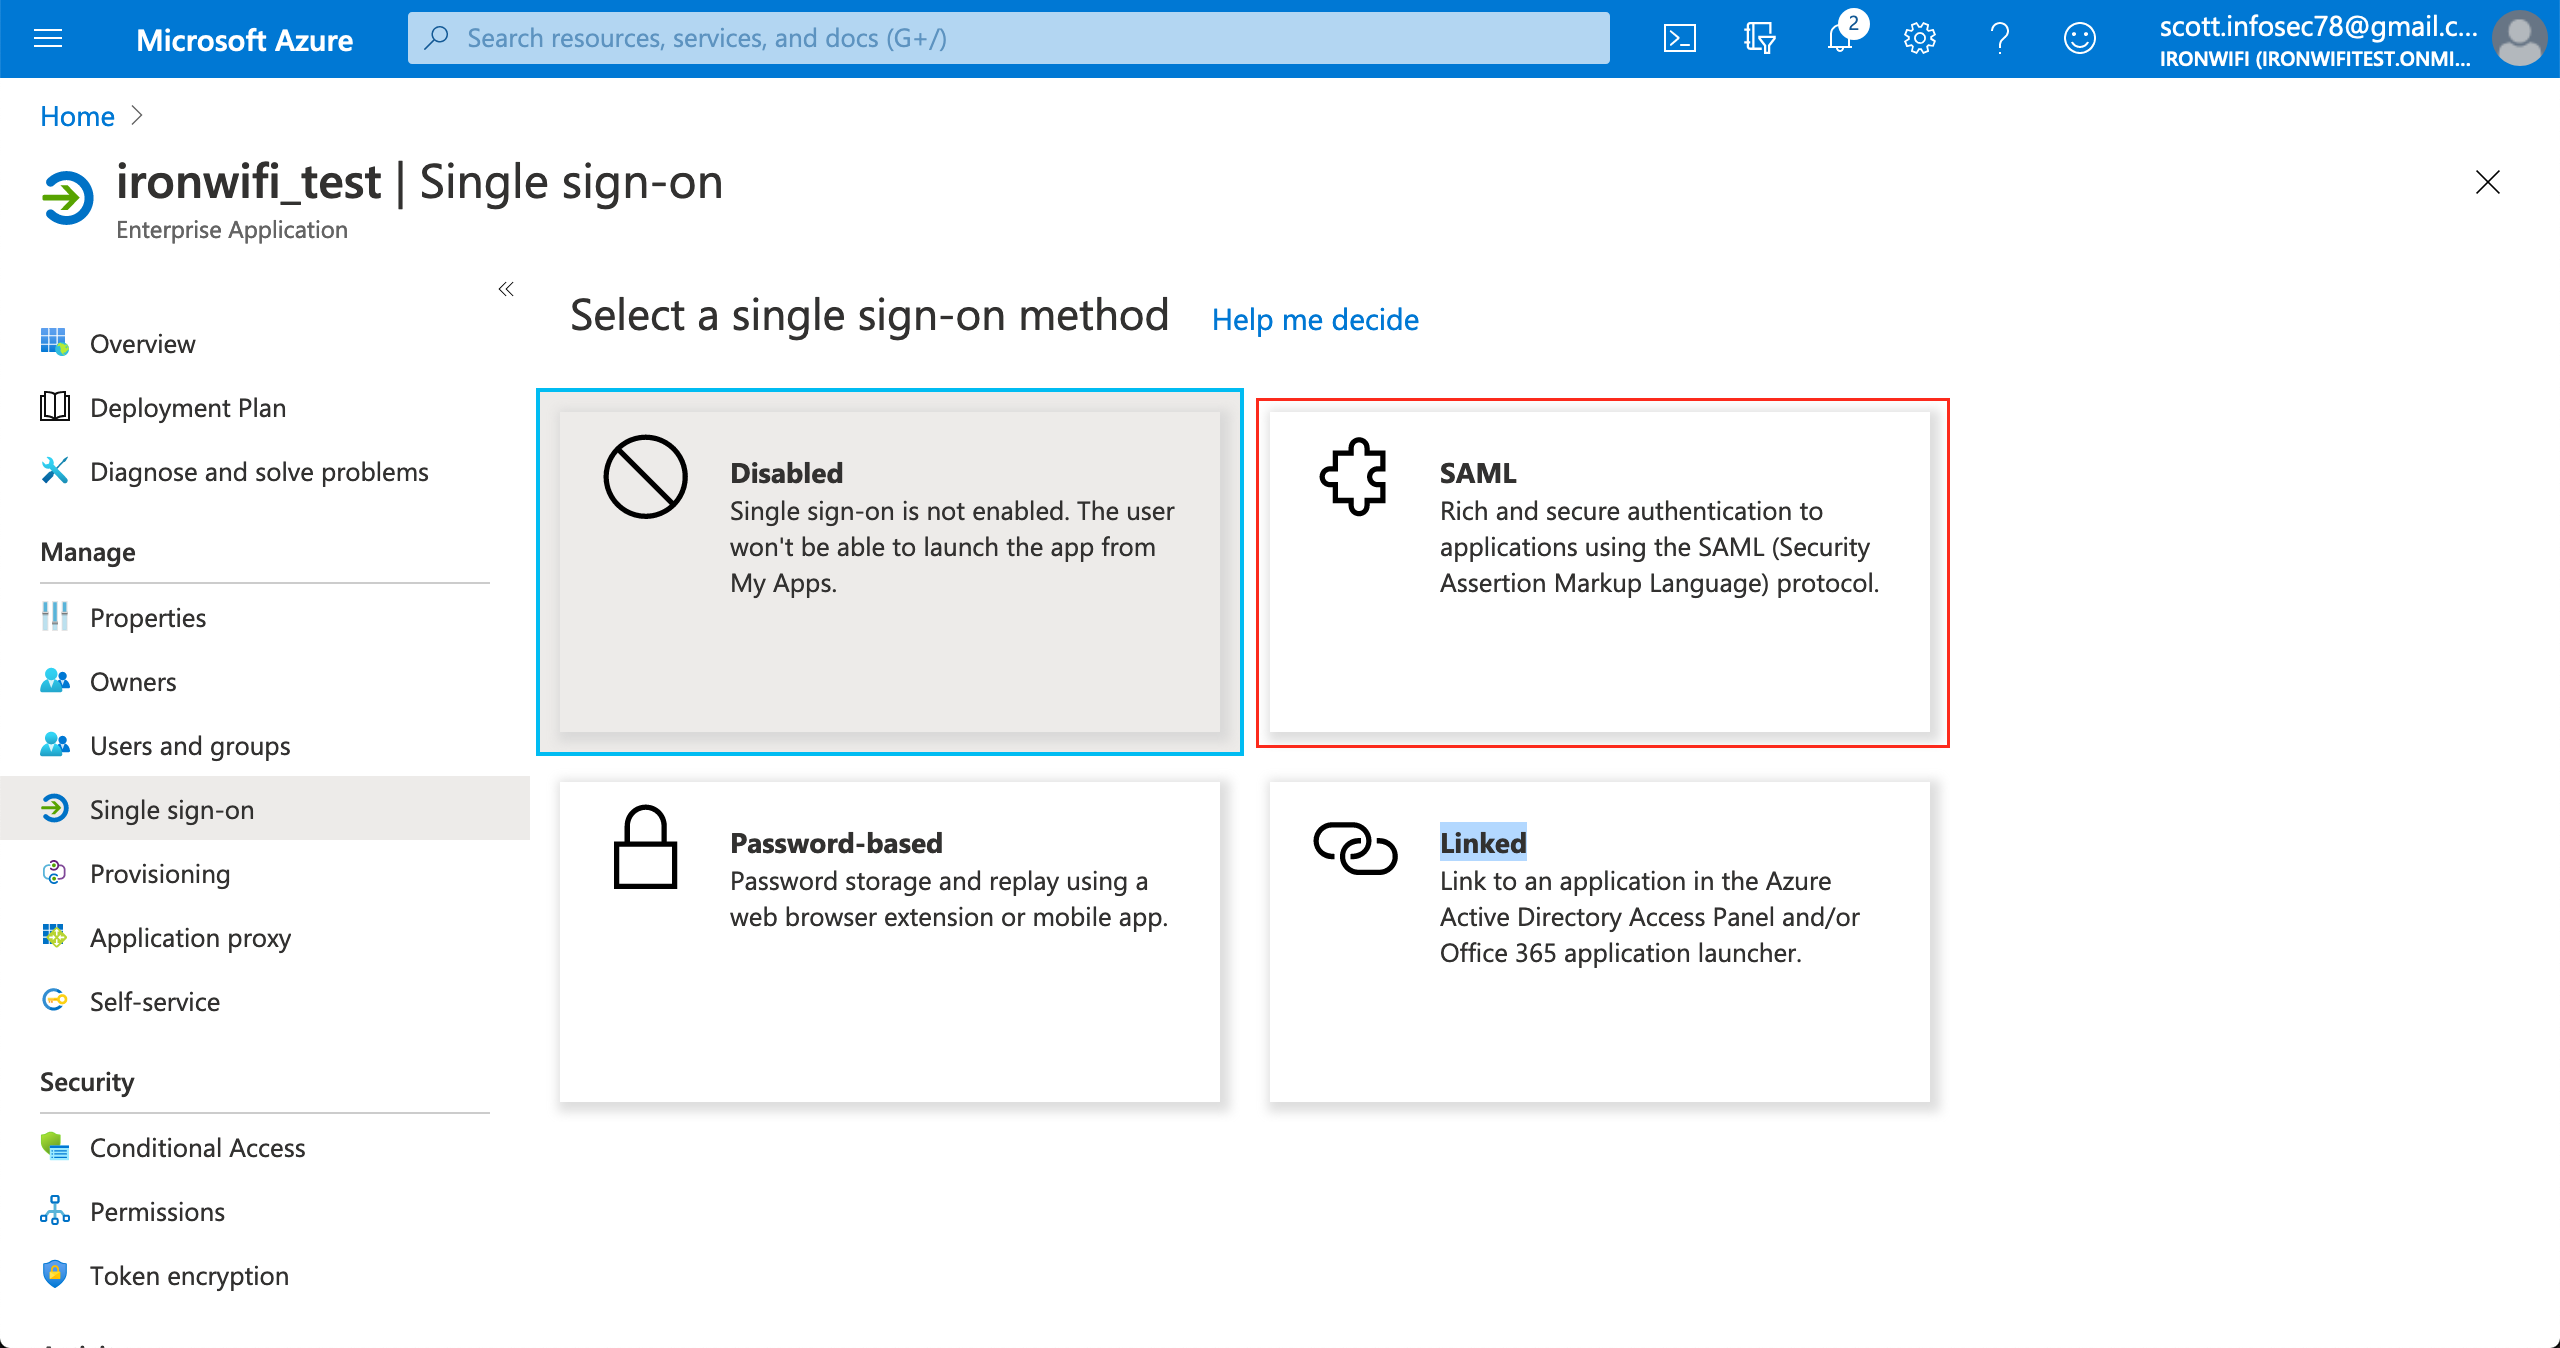
4. Click on Enterprise applications > New application > Create your own application(non-gallery)
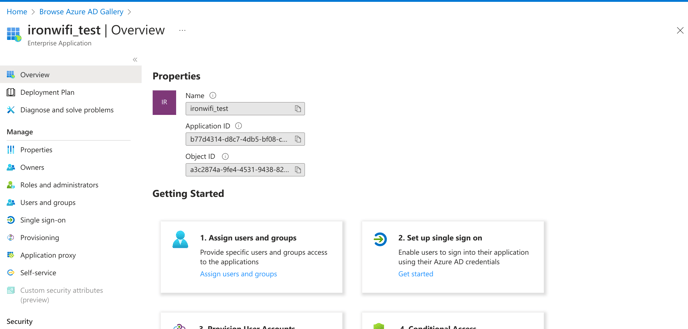
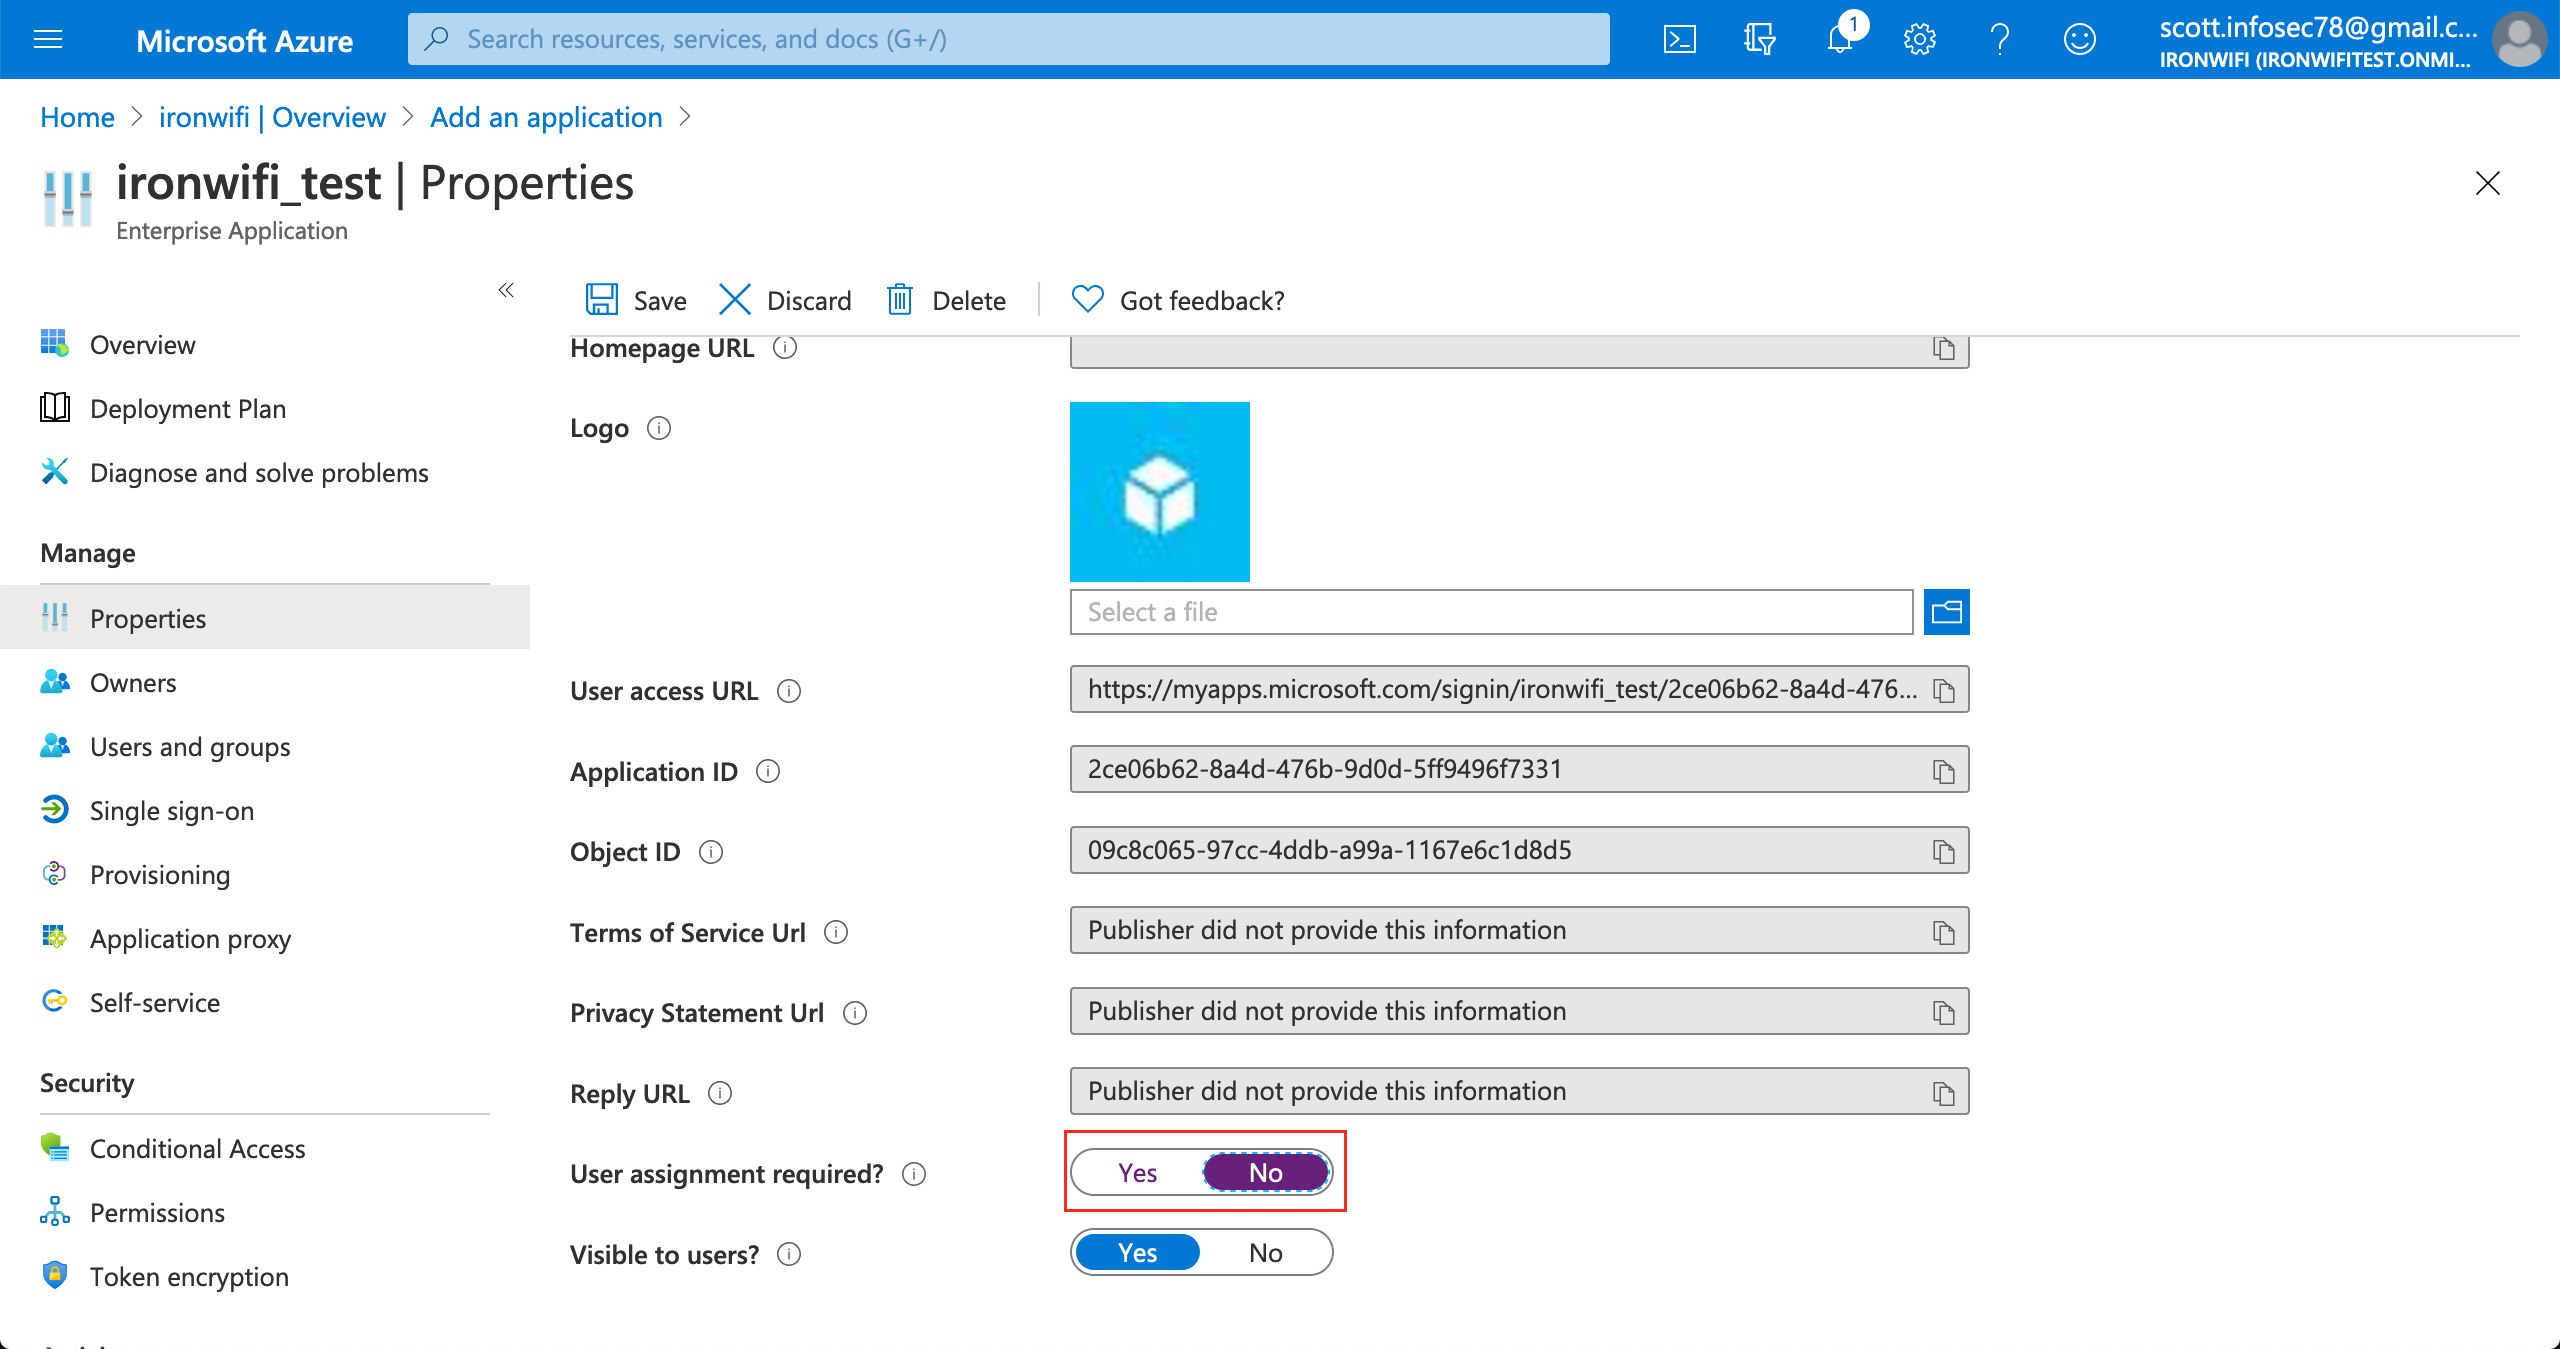
6. In the application settings page, click on Properties
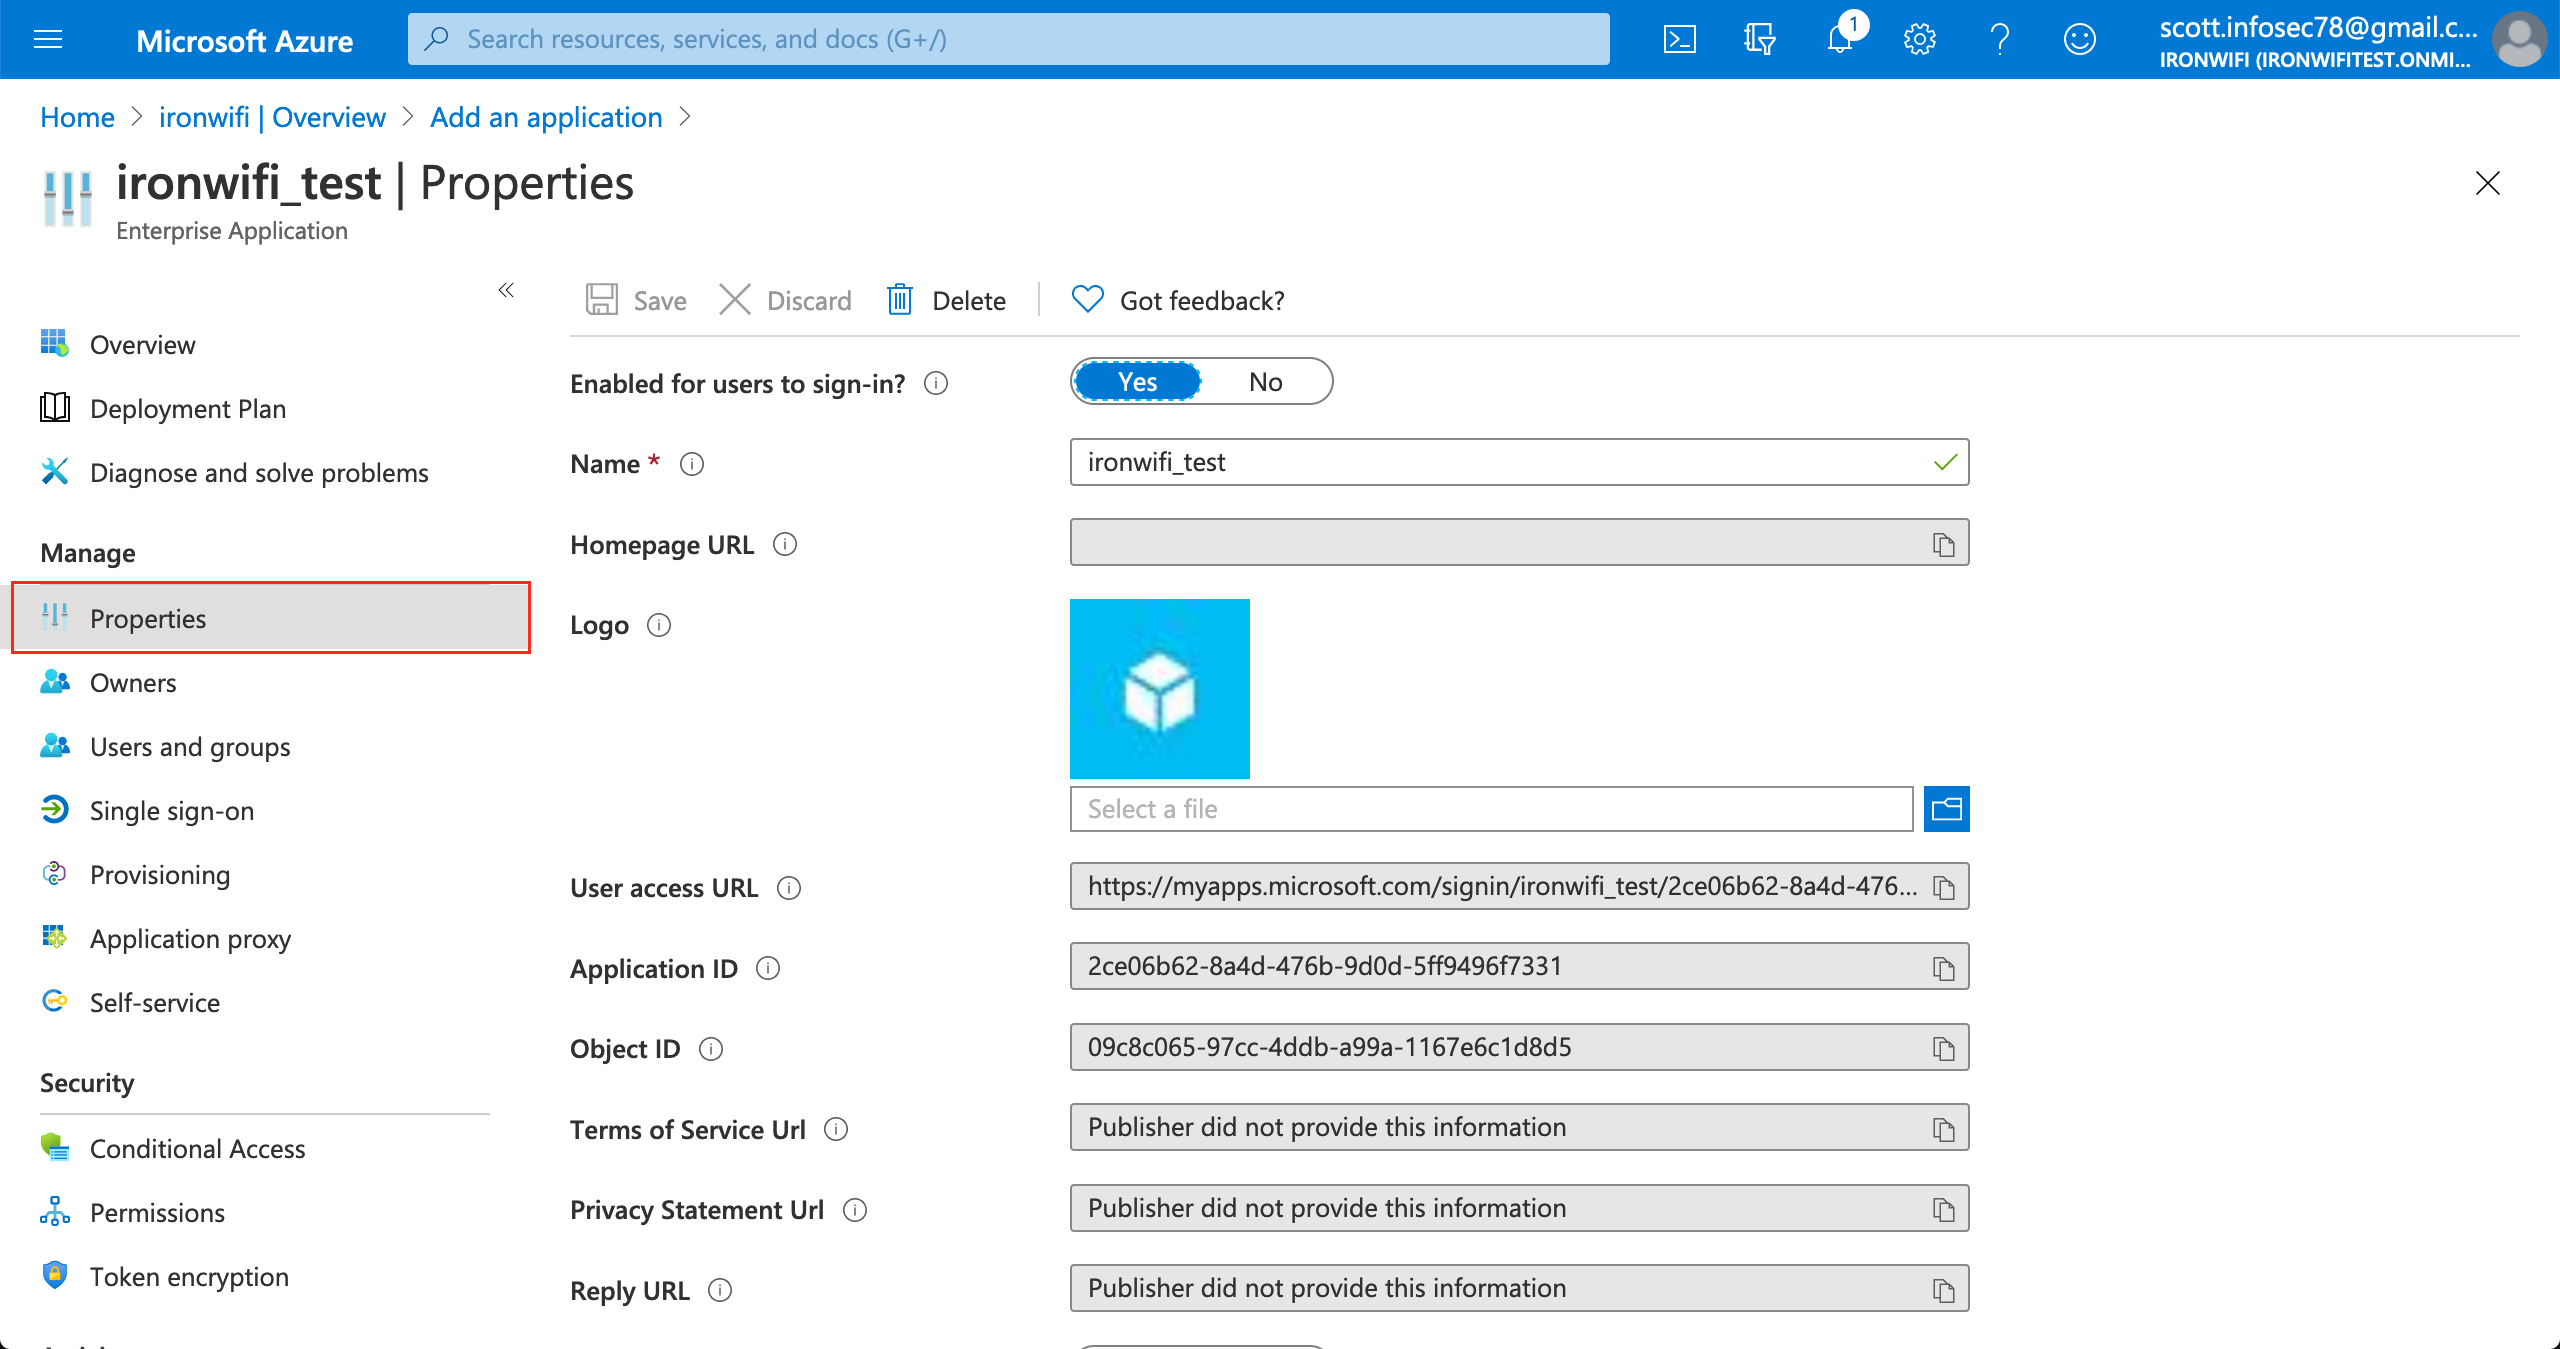
7. Change "Assignment required" value to No
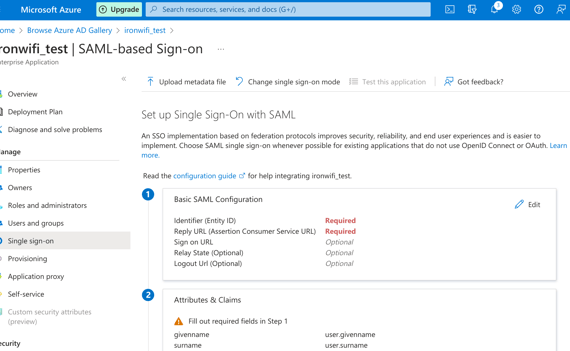
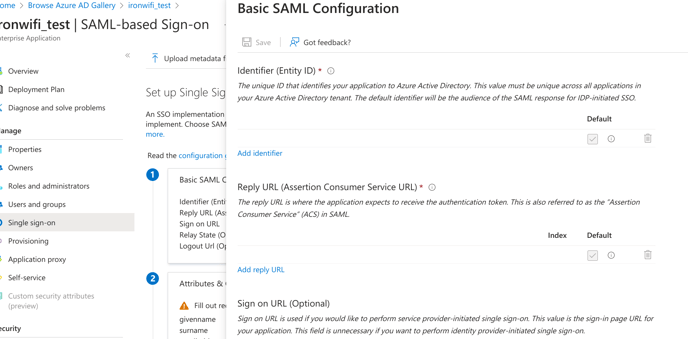
9. Enter Identifier (Entity-ID) and Reply URL.
Valid values are displayed in IronWiFi Console > Captive Portal settings>Authentication Providers.
Sample values: Entity ID - https://europe-west2.ironwifi.com/api/signin/saml2
Reply URL - https://europe-west2.ironwifi.com/api/signin/saml2?acs

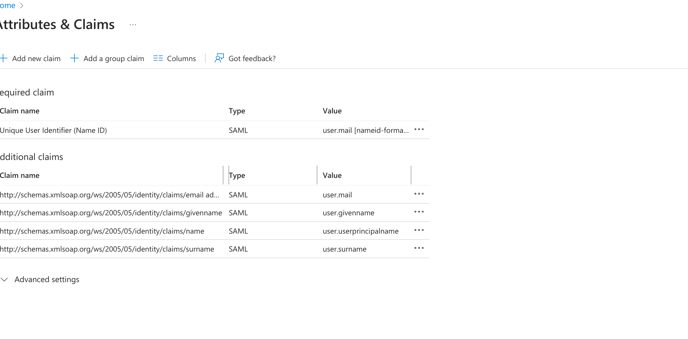
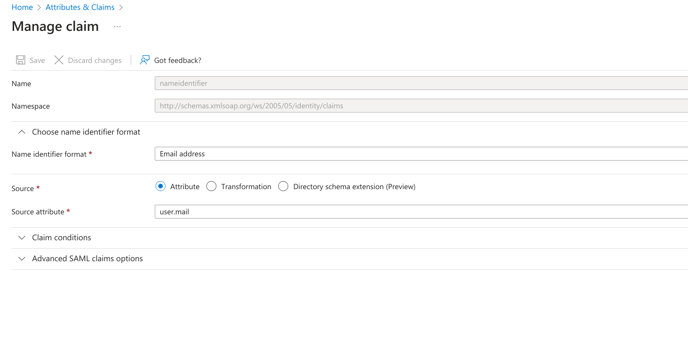
10. Under User Attributes, change User Identifier to user.mail
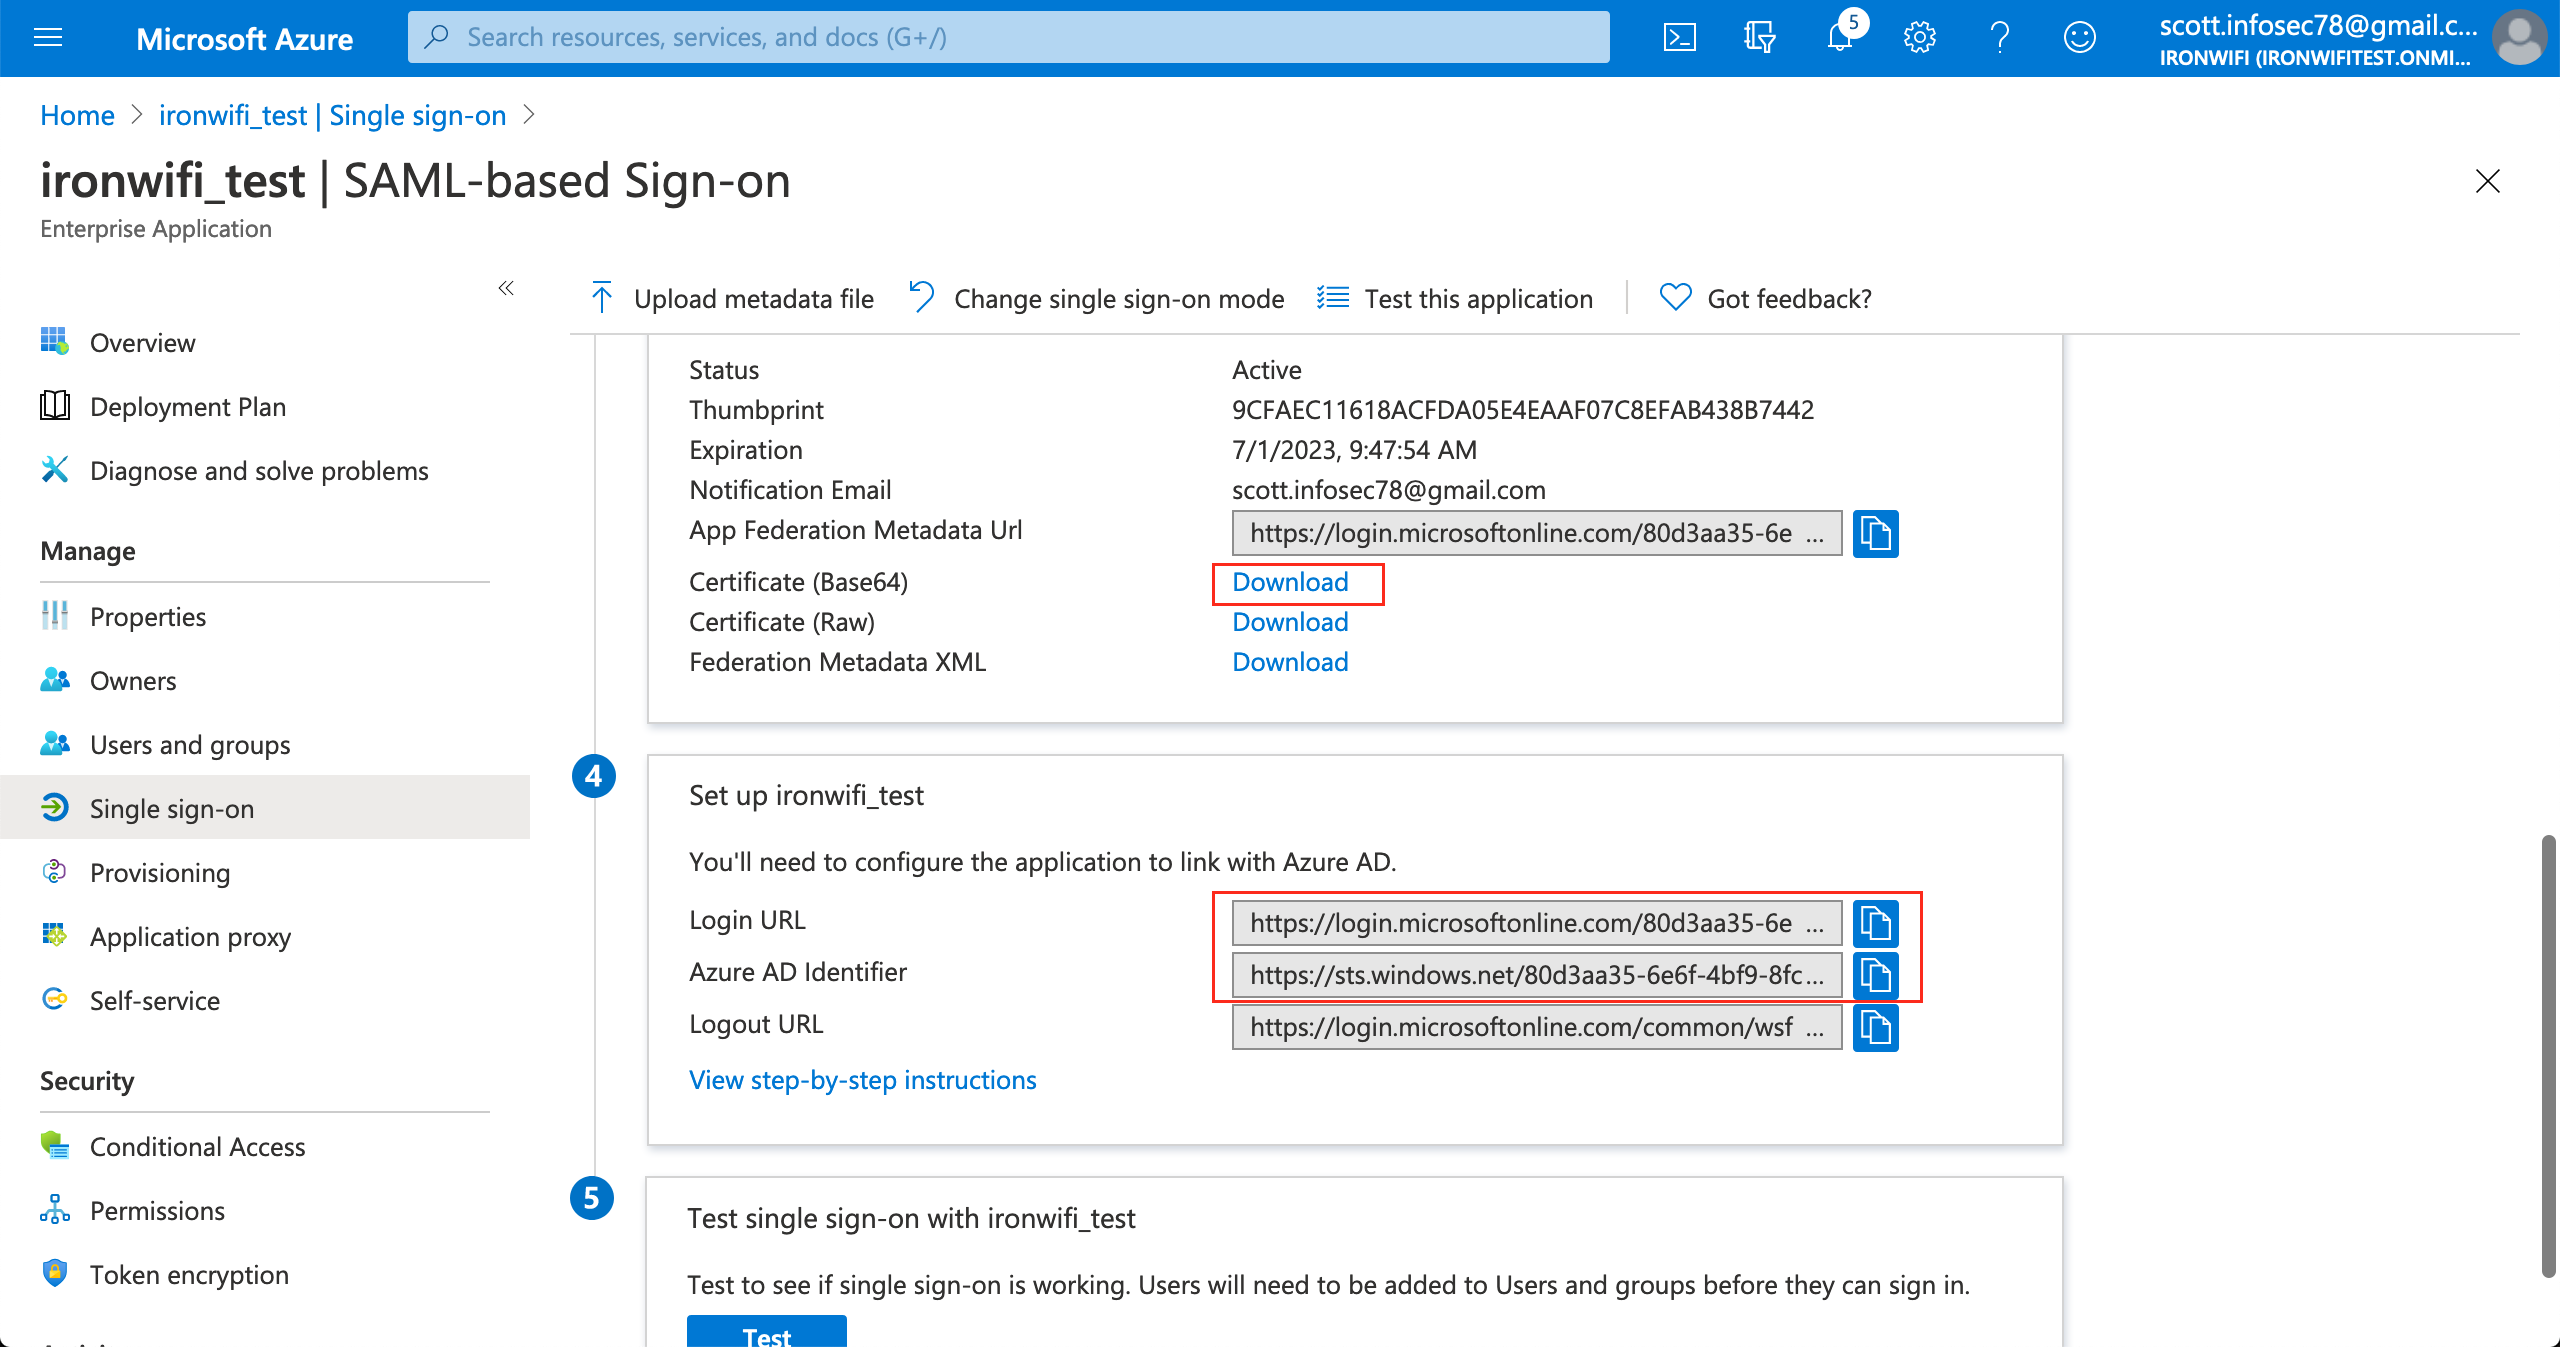
11. Scroll down on the single sign on page, click on "Set up your_application_name"
12. Copy SAML Single Sign-On Login URL value
13. Copy SAML Azure AD Identifier(Entity ID) value
.png?width=688&height=437&name=35.189.111.2%20(20).png)
14. copy SAML Signing Certificate - Base64 encoded content
.png?width=688&height=402&name=35.189.111.2%20(21).png)
Sign in to IronWiFi Console
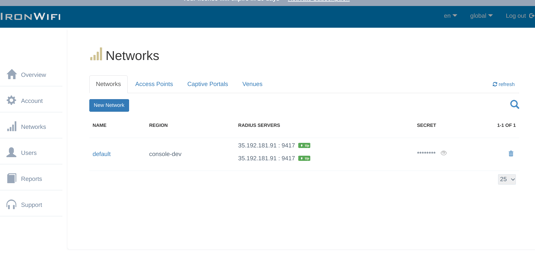
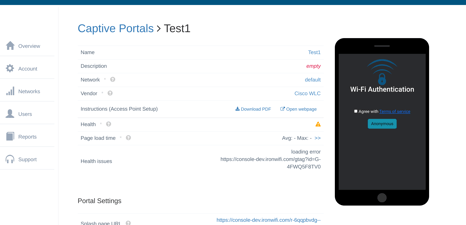
1. Click on Networks > Captive Portals
2. Create New Captive Portal
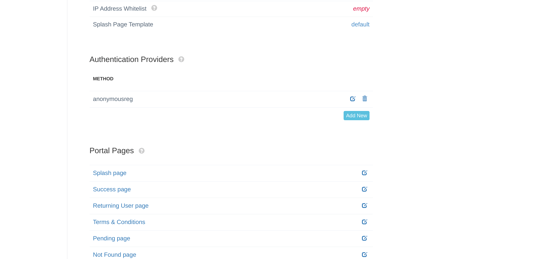
3. Expand the Authentication Providers menu and click Add New
4. select SAML2 Single Sign-on method
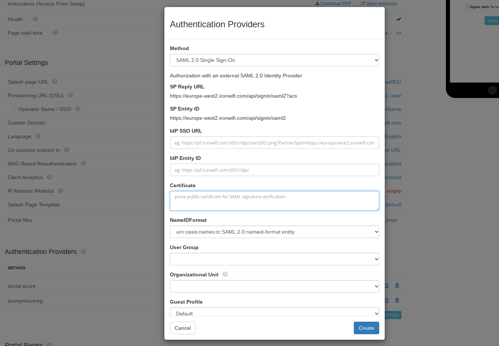
5. Paste copied SAML Single Sign-On Login URL value to SSO URL
6. Paste copied SAML Entity ID(Azure AD Identifier) value to IDP Entity ID
7. Paste copied SAML Signing Certificate - Base64 encoded content to Certificate
8. Select NameIDFormat value urn:oasis:names:tc:SAML:1.1:nameid-format:emailAddress

9. Click Save
10. You can test your SAML authentication using Azure Active Directory